You might wonder why we need this shape. This shape works like a mask layer. Go to ‘Blending’, then ‘Mask’, and apply the mask. Now look—like this, like this, like this. I placed it a bit far, but don’t keep it too far; keep it closer like this. To make it come faster, add a proper curve like this. Now look, super nice! Take a little more time and try to make it even more perfect. Now it has come out like this. Let’s duplicate both. Select both, tap the plus icon at the top, copy, and duplicate them. Tap the plus icon at the top again and paste it. After pasting, it comes exactly as it is, but the beat changes. So we can check the beat mark at the bottom and change it. I am doing this a bit fast now. I showed the same thing before, but now I want to show something different
Here I want to show the eyes completely, so I am bringing this photo down a bit and placing it near the eyes. Now look, the eyes are visible. When it reaches the beat, those eyes must blink. If you want the eyes to blink 100%, first duplicate the photo you generated. Duplicate it and trim one side of the photo. Select the photo, use the trim option to cut it, and go to ‘Color & Fill’. In ‘Color & Fill’, add the photo with the closed eyes that you generated. Keep it up to this point, that’s enough, and trim the extra part on the side. Now look, look, it’s perfect! If you want it to open again, trim the extra part here. See, it opened like this. Duplicate this and place it at intervals, and it will go open-close, open-close, open-close. Now look, I am showing you this quickly just to give you an idea, but you can adjust it based on your creativity
You can continue adding other photos and backgrounds according to your style. I gave you a lot of backgrounds in the description, so you can add whichever one you like. For example, I will take one background just to show you. Go to ‘Move & Transform’, rotate it by 90 degrees, and zoom in. The beat is good up to this point, so I will keep it here and set a beat mark. Let me play the audio for you, nice.
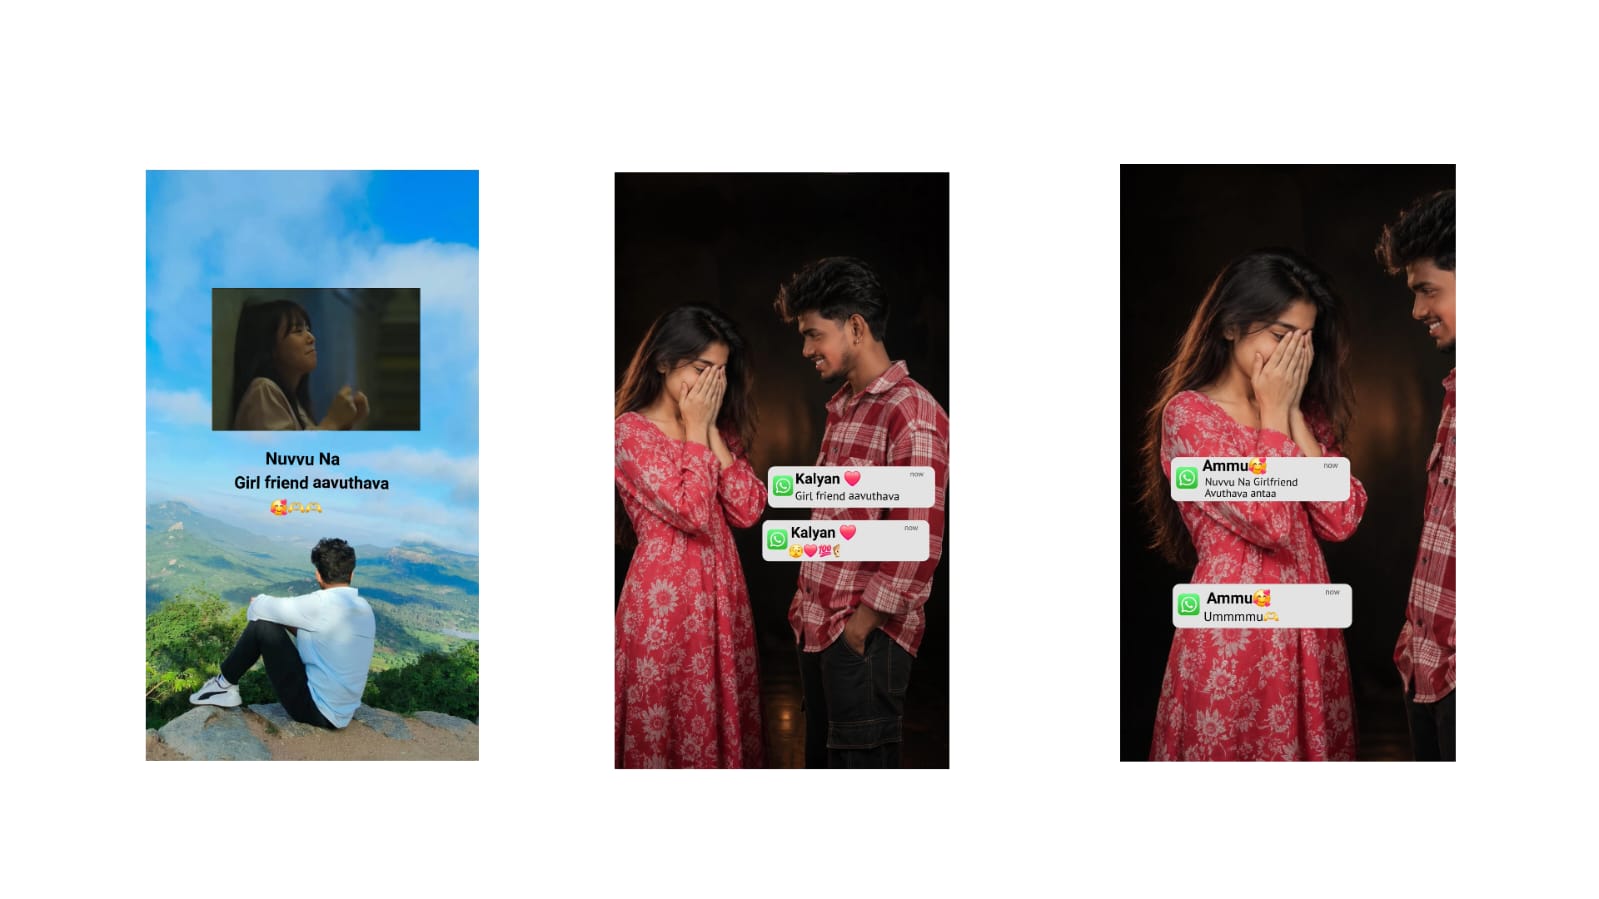
Now let me show you what is in the reference image again. Select the reference video, go to ‘Move & Transform’, and set the Z value to a slightly negative number so it appears on top. Now look, in the reference image, the background comes first, then a flower-type pattern appears around it, and then the photo appears. Now let’s hide the reference video by clicking on the eye icon.
Next, I will take an image, and I will put that image link in the description too, so check it out. I will provide high-quality images; I will give you many beautiful options, so you can choose whatever you like. Give me a moment, I am looking for a good one. I am choosing this nice flower. Go to effects. If you want to remove the black color, you can choose ‘Screen’ from here to blend it out, or you can use Chroma Key to remove the black color.
But since we want this circular element to animate, go to ‘Move & Transform’, then ‘Rotation’. Add a keyframe at the start, move forward, add another keyframe, and rotate it a bit. This will make it rotate slowly. Now we can add our photo on top of it. Before adding the photos, we need two PNG photos with transparent backgrounds. For the PNG cutout, open the Photoroom app. Don’t remove the background inside Alight Motion; we should remove the background using a separate app, remember that
I am removing the background from this photo to make it a PNG, then exporting and saving it. This Photoroom app is available on the Play Store or in our Telegram. I am removing the background for the other photo as well. You can remove the background for as many photos as you want using any app. I use Photoroom frequently, so I am recommending it to you. Now, for the photo we edited, the background should appear first. Move it forward a bit, and I am adding our photo here like this. It is my personal preference that it looks better in black and white. So I will reduce the size a bit, go to effects, then ‘Color & Light’, and select ‘Saturation’. Apply this preset, and it turns black and white. Now look: first it appears like this.
For the second photo, move forward a bit and duplicate this same layer. Trim the extra part on this side, go to ‘Color & Fill’, and add the other background-removed photo—the eye close-up one. Now look, it closed. If you want it to open again, trim the extra part here. See, it opened like this. Duplicate this and place it at intervals, and it will blink open and close rapidly. Look, I am showing you quickly just to give you an idea, but configure it according to your vision. You can continue with the rest of the videos and photos based on your style. For example, I added one photo here, and I will add another background too. Let me show you. Add this photo, rotate it, and zoom in. Now I have another PNG photo, and I will add that here too. Since the angle is slightly different, I am placing the angled photo here.
Zoom it in like this, go to ‘Color & Light’, and apply the same effect to make it black and white. Now duplicate this, select the lower layer, and trim it. Trim it again, reduce the size, select the lower layer, move it forward, trim it again—meaning duplicate it—and you can adjust the size as many times as you want. Now look, nice! Like this, you can make the eyes open and close in this section too. You can place text on top or at the bottom.
I will add another photo here and change the background. Change the background, zoom in, and add another photo. Go to effects, apply the same chroma effect, and since I have another side image, I will add that side image here. I am not over-explaining just to keep it simple for you, please understand. Place it here, go to effects, add effect, and select Chroma Key.
If you want this photo to go to the back, long-press it and drag it down. It goes to the back layer. Let’s duplicate this and place it on this side. But if we want it on this side—meaning we want to flip the face—click the three dots at the top and select ‘Flip Layer’. It will flip instantly. Now look, let me show you. It moves a bit fast, so watch closely. Look, nice!
I am duplicating this exact photo, and I will also add the eye close-up shot here. Look at it now. It all depends on your idea and how you want to design it. I believe you have a clear idea now. You can add more effects or anything extra. I have explained up to 10 seconds just to give you an idea.
Now let me show you the breakdown video again for reference. Let’s turn on the camera tracker. I have shared this project file as well. Look at this example: it depends on your creative thinking, like adding shadows. If you want to create a shadow like this, it’s very simple. Take your normal photo—for example, this photo. Go to effects, add effect, ‘Color & Light’, and select ‘Brightness & Contrast’. Add it and decrease the brightness, and it becomes a perfect shadow that you can position on the sides.
You can edit the remaining photos in the same way I explained before, managing the eye blinks. At the end, you can use the same masking shape technique I showed you earlier. Not just this, there are many variations you can create depending on your thoughts.
Full Project
Video link
XML file
Song