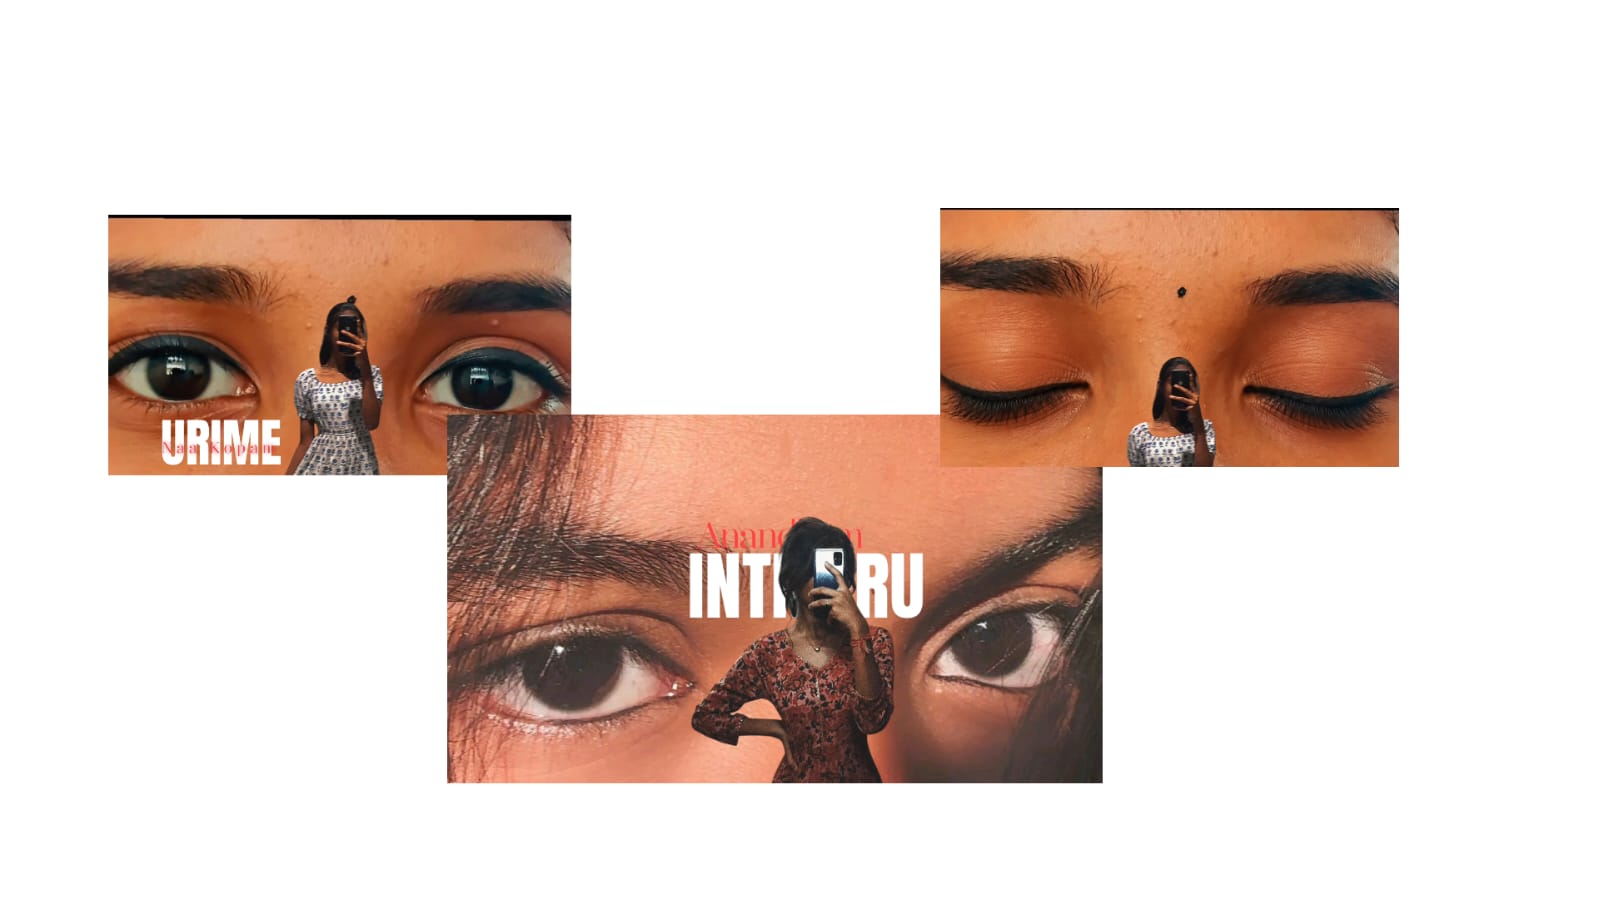
Photo editing is an important part of modern photography and digital content creation. A camera or smartphone captures the basic image, but editing can help improve its lighting, colors, composition, and overall appearance. Today, powerful editing tools are available on smartphones, tablets, and computers, allowing beginners and professionals to create impressive photographs without complicated equipment. Understanding a few fundamental techniques can make the editing process easier and produce more consistent results.
Start With the Original Image
Before making any changes, keep a copy of the original photograph. This is especially important when experimenting with different editing techniques. An original file allows you to return to the beginning if an adjustment does not produce the expected result.
Try to begin with the highest-quality image available. A sharp, properly exposed photograph provides more information for editing than a heavily compressed or blurry image. Although editing can correct many problems, it cannot completely recover details that were never captured.
Correct Exposure and Lighting
Exposure is one of the first things to check when editing a photograph. Images that are too dark can lose important details, while overexposed images may contain extremely bright areas without visible texture.
Adjust exposure gradually and then work with highlights and shadows. Lowering highlights can restore details in bright portions of the photograph, while raising shadows can reveal information in darker areas. Contrast can be adjusted afterward to create better separation between light and dark sections.
The goal should be balanced lighting rather than making the entire photograph extremely bright.
Improve White Balance
White balance affects how colors appear in an image. If the photograph looks unusually yellow, blue, or green, correcting the white balance can make it appear much more natural.
Temperature controls whether the image looks warm or cool. Tint can correct unwanted green or magenta tones. When editing portraits, white balance deserves special attention because inaccurate color can make skin appear unnatural.
Instead of relying entirely on automatic correction, compare the photograph with the original scene whenever possible.
Enhance Colors Without Overdoing Them
Color adjustments can dramatically improve a photograph. Increasing vibrance can make weaker colors more noticeable, while saturation affects the intensity of colors throughout the image.
Strong saturation may initially look impressive on an editing screen, but it can quickly make photographs appear artificial. Subtle adjustments generally produce a more professional result.
Selective color editing is useful when only certain elements need improvement. For example, the color of a sky, clothing, or background can be adjusted without significantly changing the appearance of the entire photograph.
Retouch Portraits Carefully
Portrait editing should focus on enhancing natural features rather than completely changing someone’s appearance. Small blemishes, temporary marks, and distracting spots can be corrected with healing or retouching tools.
Skin smoothing should be used carefully. Too much smoothing removes natural texture and can create a plastic appearance. Eyes can be enhanced slightly with brightness and clarity adjustments, while teeth can be whitened subtly.
A good portrait edit should still look believable when viewed at full resolution.
Remove Unwanted Objects
Unwanted objects can distract viewers from the main subject. Modern editing applications often include tools for removing people, wires, stains, signs, and other distractions.
After removing an object, inspect the surrounding area carefully. Automatic tools can sometimes produce repeated patterns or distorted textures. If necessary, use cloning or healing tools to refine the result.
Object removal works best when it improves the composition without making the photograph look artificial.
Improve Composition With Cropping
Cropping is one of the simplest ways to improve a photograph. Removing unnecessary empty areas can immediately make the subject more prominent. Straightening a tilted horizon can also make the image look cleaner.
Consider the final purpose of the photograph before cropping. Social media platforms, websites, profile pictures, and printed photographs may require different dimensions. Keeping the subject properly positioned can help maintain visual balance.
Use Sharpening and Noise Reduction
Sharpening can make important details appear clearer, especially after resizing an image. However, excessive sharpening can create bright outlines and unwanted artifacts.
Noise reduction is useful for photographs captured in low-light environments. It can reduce visible grain, but excessive noise reduction may remove fine details. A balanced combination of noise reduction and sharpening usually provides a cleaner result.
Develop Your Own Editing Style
Once you understand basic corrections, experiment with different visual styles. Some photographers prefer warm colors and soft contrast, while others enjoy cooler tones and stronger shadows.
Creating a consistent style can be useful for social media pages, photography portfolios, websites, and personal projects. Presets can speed up the process, but each photograph should still receive individual adjustments because lighting conditions are rarely identical.
Export the Final Photograph Properly
Before exporting, inspect the image carefully at full size. Check skin tones, edges, shadows, highlights, and areas where objects were removed. Make sure there are no accidental marks or excessive effects.
Choose the appropriate file quality depending on where the image will be used. Web images may need compression for faster loading, while photographs intended for printing generally require higher quality.
Conclusion
Photo editing is most effective when it improves an image without destroying its natural character. Exposure correction, white balance, color enhancement, portrait retouching, object removal, cropping, sharpening, and proper export can transform an ordinary photograph into a polished visual.
The key is to make controlled adjustments and regularly compare the edited version with the original. With practice, experimentation, and attention to detail, anyone can develop an efficient editing workflow and create professional-looking photographs for personal or digital use.
Font link
Full Project
XML file
Song link