Photo editing is one of the most useful skills for anyone who works with digital images. A well-edited photograph can look cleaner, brighter, sharper, and more attractive while still maintaining a natural appearance. Whether you use a smartphone or a computer, understanding the basic principles of editing can help you transform ordinary photographs into impressive visual content. Professional editing does not always mean using complicated effects. In many cases, simple and carefully controlled adjustments create the best results.
Choose a Good Starting Image
The quality of the original photograph has a major influence on the final result. Before editing, select an image that is reasonably sharp and properly focused. A photograph with sufficient detail gives editing tools more information to work with.
Keep the original file separately before making changes. This allows you to experiment freely and return to the original whenever necessary. It is also useful to avoid repeatedly saving an image in a heavily compressed format because repeated compression can reduce image quality.
Fix Exposure First
Exposure should usually be one of the first adjustments. If a photograph is too dark, increasing exposure can reveal hidden details. If it is too bright, reducing exposure can restore balance.
Highlights and shadows provide more precise control. Lowering highlights can recover details in bright areas such as skies, windows, and white clothing. Increasing shadows can make dark portions more visible.
After correcting exposure, adjust contrast carefully. Moderate contrast can give an image more depth, while excessive contrast can remove details from both bright and dark areas.
Correct the White Balance
White balance determines how warm or cool an image appears. Incorrect white balance can make a photograph look unusually yellow, blue, or green.
Temperature adjustments can create either warmer or cooler tones. Tint controls unwanted green or magenta shades. When editing portraits, accurate white balance is particularly important because skin tones can quickly become unnatural.
Whenever possible, use neutral objects in the photograph as references. White walls, gray surfaces, or other neutral areas can help determine whether the colors are balanced.
Enhance Colors Naturally
Color correction can give photographs more life. Vibrance and saturation can increase color intensity, but they should be used carefully. Excessive saturation can make skies look unnaturally blue and skin look overly orange or red.
Selective color adjustments are often more useful because they allow you to modify individual colors. For example, you can improve the appearance of a blue sky without significantly changing the colors of people or buildings.
A good rule is to make the image look better without immediately making it obvious that strong editing has been applied.
Improve Portraits With Subtle Retouching
Portrait editing requires a delicate approach. Temporary blemishes and small distractions can be removed using healing tools. However, natural skin texture should remain visible.
Face-smoothing tools can be useful when applied lightly. Excessive smoothing can make the face look artificial. Eyes can be enhanced with small adjustments to brightness and clarity, while teeth can be whitened subtly.
Facial reshaping should also be approached carefully. Minor corrections may improve composition, but dramatic changes can make the photograph look unrealistic.
Remove Distracting Objects
Background distractions can reduce the impact of a photograph. Unwanted wires, signs, stains, people, or objects can often be removed using object-removal, healing, or cloning tools.
After removing something, zoom in and inspect the surrounding area. Automatic editing can sometimes create repeated textures or distorted patterns. Manual corrections may be necessary to make the background appear natural.
Improve Composition Through Cropping
Cropping can change the entire visual balance of a photograph. Removing unnecessary empty space can make the main subject more noticeable. Straightening a tilted horizon is another simple improvement.
Consider the intended destination before cropping. A photograph for a website may need different dimensions from a social media post or profile picture. Maintaining enough space around important subjects can also prevent awkward framing.
Add Creative Effects Carefully
Once basic corrections are complete, creative effects can be added. Vignettes can draw attention toward the subject, while subtle color grading can establish a particular mood.
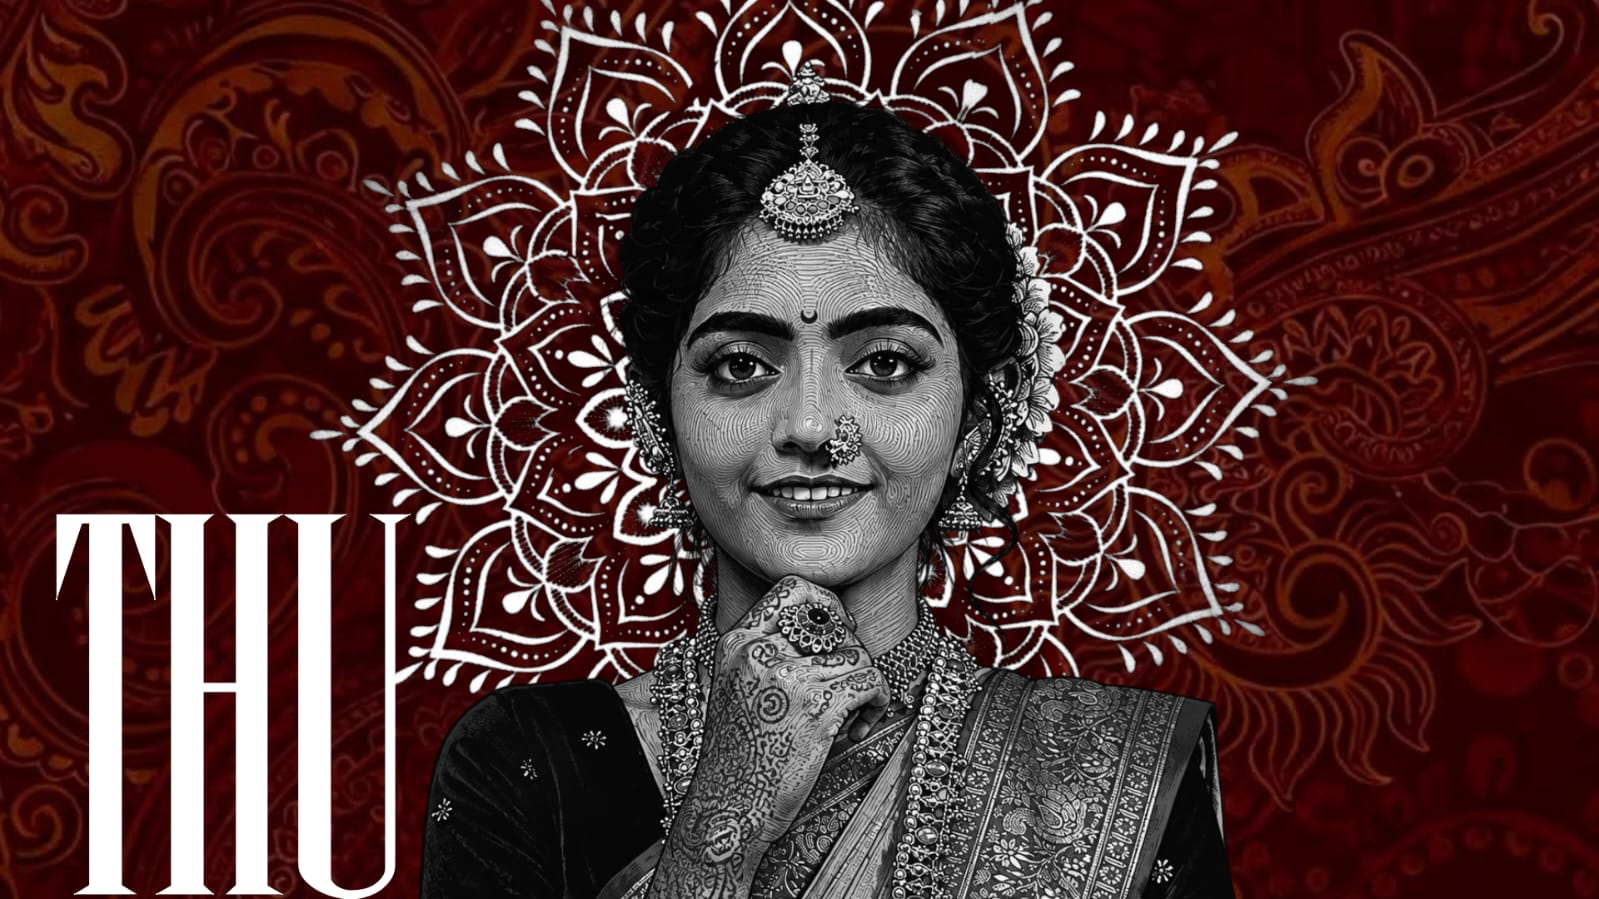
Black-and-white editing can work well for portraits, architecture, street photography, and emotional moments. However, creative effects should support the photograph rather than hide its important details.
Sharpen and Export Properly
Sharpening can improve the appearance of fine details, particularly after resizing. Too much sharpening can create unwanted outlines and make the image appear harsh.
Noise reduction can improve photographs captured in low light. Use it carefully because excessive noise reduction can remove important details.
Before exporting, inspect the final photograph at full resolution. Check colors, edges, skin texture, shadows, highlights, and retouched areas. Save a high-quality master copy and create a smaller version when necessary for online use.
Conclusion
Professional photo editing is mainly about making thoughtful improvements. Correct exposure, balanced colors, natural retouching, clean composition, careful object removal, and appropriate sharpening can make photographs significantly more attractive.
The most important skill is knowing when to stop editing. Strong effects may look impressive initially, but subtle improvements often create more professional results. With regular practice and experimentation, anyone can develop an editing workflow that produces consistent, high-quality photographs.
Full Project
XML file
Song link