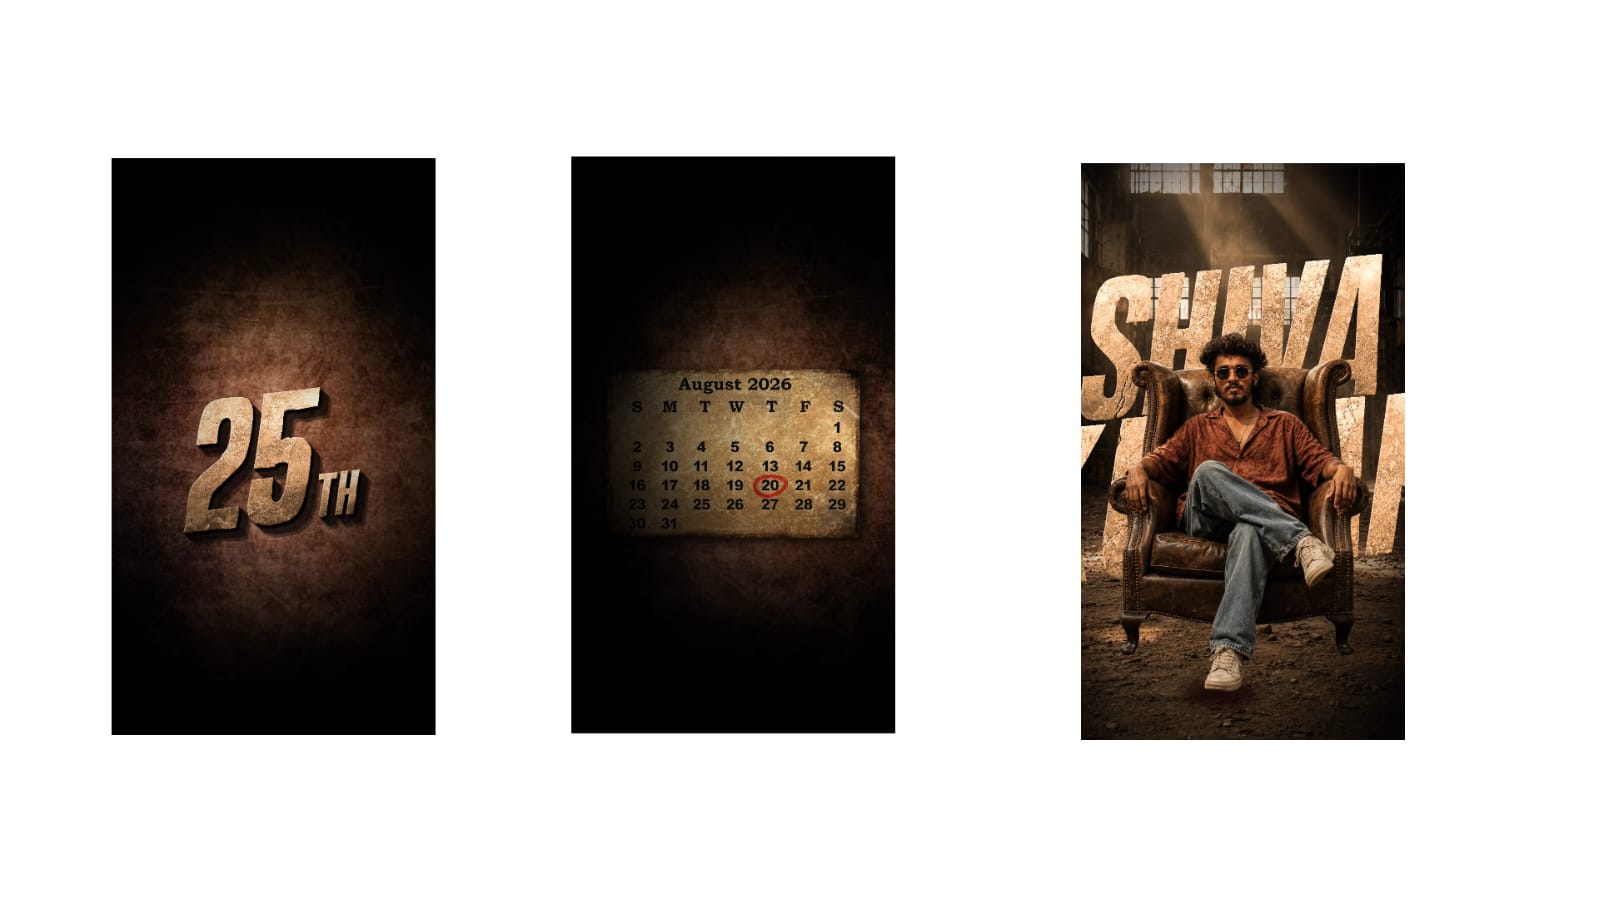
Photo editing has changed the way people create and share visual content. A photograph no longer has to remain exactly as it was captured by a camera. With modern editing applications, users can improve lighting, correct colors, remove distractions, enhance details, and create unique visual styles. From smartphone photography to professional digital artwork, editing plays an important role in producing attractive images.
Choose the Right Editing Application
The first step toward better results is choosing an editing application that matches your requirements. Beginners may prefer simple mobile editors with automatic adjustments and easy-to-use controls. More experienced users can choose applications that provide detailed control over layers, masks, curves, color grading, and retouching.
The application itself is less important than understanding how its tools work. Learning a smaller number of features properly is often more useful than using dozens of effects without understanding them.
Begin With Basic Corrections
Before applying creative effects, correct the basic problems in the photograph. Check exposure, brightness, contrast, highlights, shadows, and white balance. These adjustments establish a strong foundation for the rest of the editing process.
If the photograph is too dark, increase brightness or exposure carefully. If bright areas are losing detail, reduce the highlights. Shadows can be increased to reveal information in darker areas. Contrast can then be adjusted to create better separation between different tones.
Small adjustments usually produce better results than extreme changes.
Improve Color Carefully
Color can completely change the mood of a photograph. Warm tones can make an image feel energetic and comfortable, while cooler tones can create a calm or dramatic appearance.
Instead of increasing saturation significantly, consider making subtle adjustments to individual colors. Skin tones, skies, plants, clothing, and backgrounds may all require different treatment.
A good color edit should make the photograph more attractive without making it look unnatural. Always compare the edited image with the original to ensure that the colors have not become excessive.
Enhance Portrait Photography
Portrait editing requires special attention because viewers naturally focus on the face. Minor blemishes and temporary marks can be removed using healing or retouching tools. However, natural skin texture should remain visible.
Eyes can be enhanced slightly by improving brightness and sharpness. Teeth can also be whitened subtly when necessary. Excessive smoothing or reshaping can make a portrait look artificial, so adjustments should be kept controlled.
Good portrait editing improves the subject’s appearance while preserving their natural identity.
Remove Background Distractions
A photograph can sometimes contain unwanted objects that distract attention from the main subject. Wires, signs, people, stains, or random objects can often be removed using cloning, healing, or object-removal tools.
Background replacement can also create a completely different visual style. When replacing a background, pay attention to lighting, shadows, perspective, and color. If these elements do not match, the subject may appear pasted into the scene.
A realistic background edit requires consistency between the subject and the new environment.
Experiment With Creative Effects
Once the basic corrections are complete, creative effects can be introduced. Vignettes can direct attention toward the center of an image. Light effects can add atmosphere, while selective color adjustments can create a distinctive style.
Black-and-white editing is another effective technique. Removing color emphasizes contrast, shapes, textures, and expressions. It can work particularly well for portraits, architecture, street photography, and emotional moments.
Creative effects should support the purpose of the photograph rather than hide its important details.
Use Cropping and Composition
Cropping can significantly improve an image. Removing unnecessary space can make the main subject more noticeable. Straightening the horizon can also make a photograph appear more professional.
Different platforms use different image dimensions, so cropping is often necessary before publishing. While cropping, avoid cutting important parts of the subject unless it is an intentional creative choice.
Sharpen and Reduce Noise
Sharpening can improve clarity, especially after resizing an image. However, excessive sharpening can create unwanted outlines and make photographs look harsh.
Noise reduction is useful for photographs captured in low-light conditions. It can reduce grain and improve smoothness, but excessive noise reduction can remove fine details. A balanced combination of noise reduction and sharpening usually produces the best result.
Save and Export Properly
Always keep the original image before beginning major edits. If possible, save an editable version so that adjustments can be changed later.
Before exporting, inspect the photograph at full size. Check for unnatural colors, visible retouching, unwanted marks, and compression problems. Choose an appropriate image quality depending on whether the photograph is intended for social media, a website, or printing.
Conclusion
Creative photo editing is a combination of technical knowledge and personal style. Basic corrections provide a strong foundation, while color adjustments, retouching, background editing, cropping, and creative effects can transform an ordinary photograph into an impressive visual.
The most important skill is knowing when to stop. Professional editing does not always require dramatic changes. Subtle improvements that preserve natural details often create the most convincing results. With regular practice and experimentation, photographers and content creators can develop their own editing style and consistently produce attractive digital images.
Full Project
Photo link
XML file
Song link