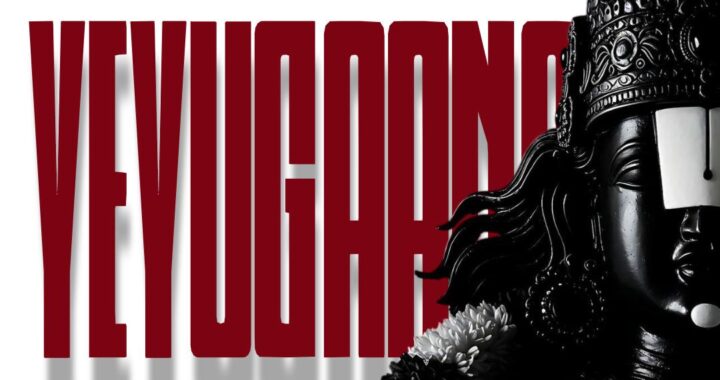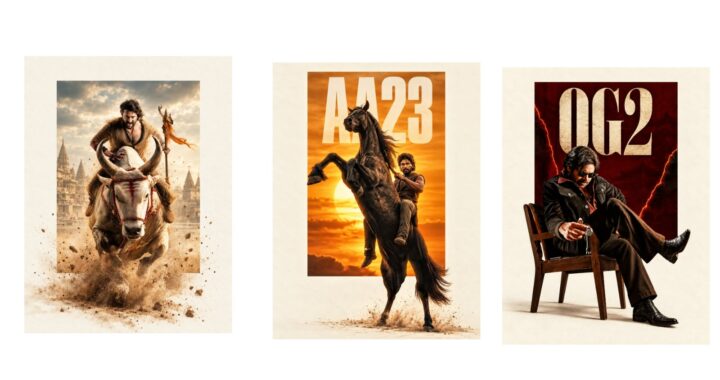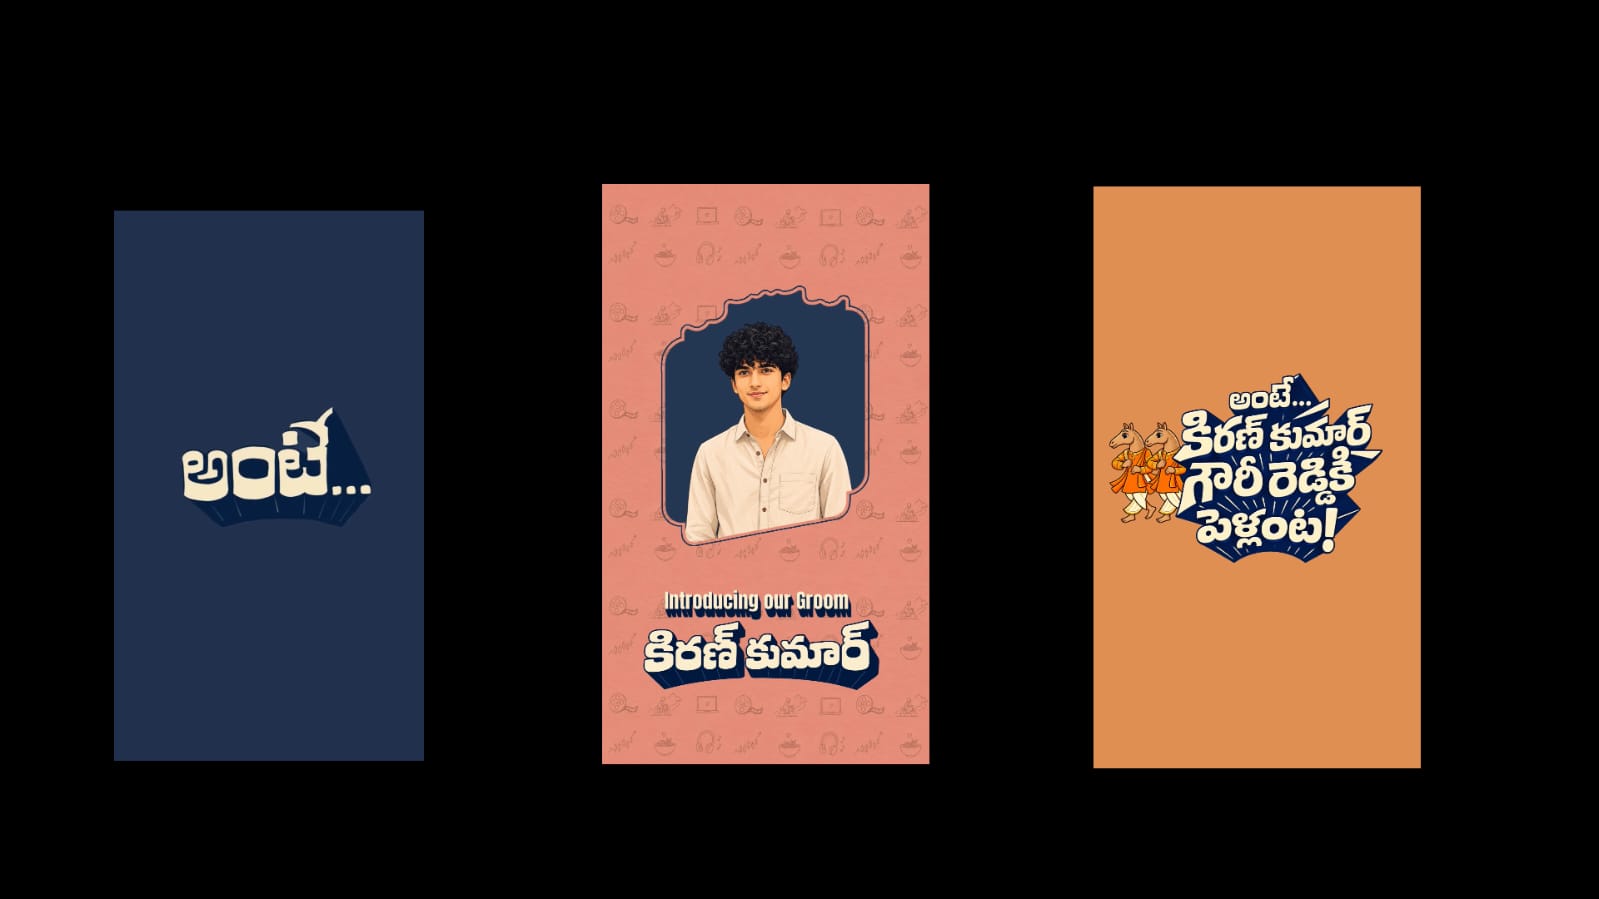
Take a look at this editing style that has been trending recently. It looks amazing and features a remix style. The song is something like “Choopu Choopu”. If I show you the demo, you will get a better idea. It looks incredible and takes it to the next level. Let me show you a quick demo.
Please make sure to like the video. The lyrics go: “Choopu choopukoka chitikela melam vasi pettana chittamma… oopu oopukoka thakadimi aadam vesi pettana…” As you can see, it looks truly amazing. I actually made two or three other videos using my own photos as well. However, I had to stop because I ran out of good pictures of myself. But the editing itself turns out beautifully. If you are interested, definitely give it a try. It is really worth it.
If you watch this video until the very end, you will get a clear understanding of the process. Please show some support. I will try my best to explain the entire editing process right from the beginning to the end. I will give you an idea of how to go from a basic setup to a pro-level edit, and you can build upon that concept.
First, I have opened the Alight Motion app. Since we need that specific song, I am taking the lyrical audio from the song “Kannepettaro” from Nagarjuna Sir’s movie. You can use any other song you like instead; that is absolutely fine. The main word we need from here is “Choopu Choopu,” so this part is more than enough. If you do not have the patience to build everything from scratch, I will provide the project file link so you can easily try it out. Still, please watch the whole video because it will clear up a lot of your doubts. If you do not have the Alight Motion app, check my Telegram link below. Search for “Alight Motion” on Telegram to download it.
For the resolution, you can choose 4K or 2K based on your preference. I find 1080p is sufficient. Set the frame rate to 30, or 60 if possible. A higher frame rate makes the video quality look smoother and much better, but keep in mind that exporting will take a lot longer.
Now, let’s add the song. I am going into the audio section to add the track. If you have a video clip, you can extract the audio directly from it. For example, after adding a video, click on the three dots and select “Extract Audio”. Now, listen to the song closely. Marking the beats while listening will make your editing process much simpler.
Let me show you a small demo of how to do this. Notice where the words “Choopu Choopu” hit. You can place a beat mark right in the middle wherever the heavy sound effects kick in. Looking closely at the audio waveform will give you a clear idea. I usually listen to the audio carefully and look at the whole layout to perfectly place the beat marks.
Now that I have placed the marks, let’s start with the first part. Since the word means “glance” or “eyes,” we want to highlight close-up eye shots. I have downloaded a few eye photos of Prabhas. Whether you are using an eye video clip or a photo, just follow the steps I am about to explain. I am going to build this using photos.
Taking the first photo of Prabhas, I like how it looks but I need to adjust its size. You can use the scale option to bring it closer, or go into “Edit Shape” and reduce the Y-axis. We need a specific panoramic crop shape, so I will crop it like this and position it here. Next, I’ll bring in a second eye photo of Prabhas. If both eye shots face the exact same direction, it won’t look as dynamic. To fix this, click on the three dots and select “Flip Horizontal” so the eyes point toward the other side. Both photos look great now.
If you want to add text over this, let’s start with the phrase “Choopu Choopu”. For the font, I am using one called “Big Brother” or something similar. I will change the text color to a deep, dark red. Go to “Effects,” select “Add Effect,” and search for “Long Shadow” to give the text a clean look. Increase its opacity to the maximum, set the shadow color to white, and reduce the shadow size slightly. Now, extend this text layer up to the beat mark. Duplicate this text layer for the second “Choopu”. It looks amazing.
The word “Chitikelu” comes up around this next beat mark, so I will stretch the layout here and add a close-up portrait photo. This gives a much better visual flow. You can add more text on top if you want. To add a simple animation, go to “Move and Transform,” place a keyframe at the start and another at the end, and pull the layer downward to create a fast sliding animation. To add a border effect to this, go to “Drawing & Edge,” select “Lines,” reduce the size, and set the color to white. This creates a clean outline that looks really good if you like that style. You can place text right over it.
Now the first set of layers is complete. For the second set of layers, I will select a full background photo of Prabhas. I will zoom into the photo, go to “Edit Shape,” and reduce the Y-axis value. Next, you need a transparent PNG version of this exact same photo. You can use the PhotoRoom app to do this easily; just upload your normal photo and it will cleanly remove the background for you. I already have the PNG version saved, so I will add it and align it with the background layer.
To make it look dynamic instead of completely flat, I will zoom in slightly on the foreground PNG layer. The reason we use a background-free PNG layer is so we can sandwich the text behind the subject for a 3D depth effect. Copy the text layer from earlier, paste it here, and change it to the next set of lyrics. Long-press the text layer and drag it underneath the PNG photo layer so the lyrics appear behind the subject. Duplicate the lyrics to fill out the scene. You can also keep some text layers in the very front to create depth.
You should continue this pattern throughout the video. You can decide the exact flow based on your own creative ideas and planning. Showing you this breakdown makes the whole process much easier to visualize. Now, if you turn on the 3D camera tool in the app, you can see how the photos stack up. It keeps the setup very simple. You can add smooth camera movements and custom panning transitions over these layers to make the edit feel professional and highly engaging. At the very end of the video, add a final text layer that reads “Rebel Star” to finish it perfectly.
If you have any questions or doubts, leave a comment below. If you enjoyed this tutorial, please leave a like and share your support. Jai Hind!
Full Project (template)
Download
XML file
Download
Song link
Download
Photo link