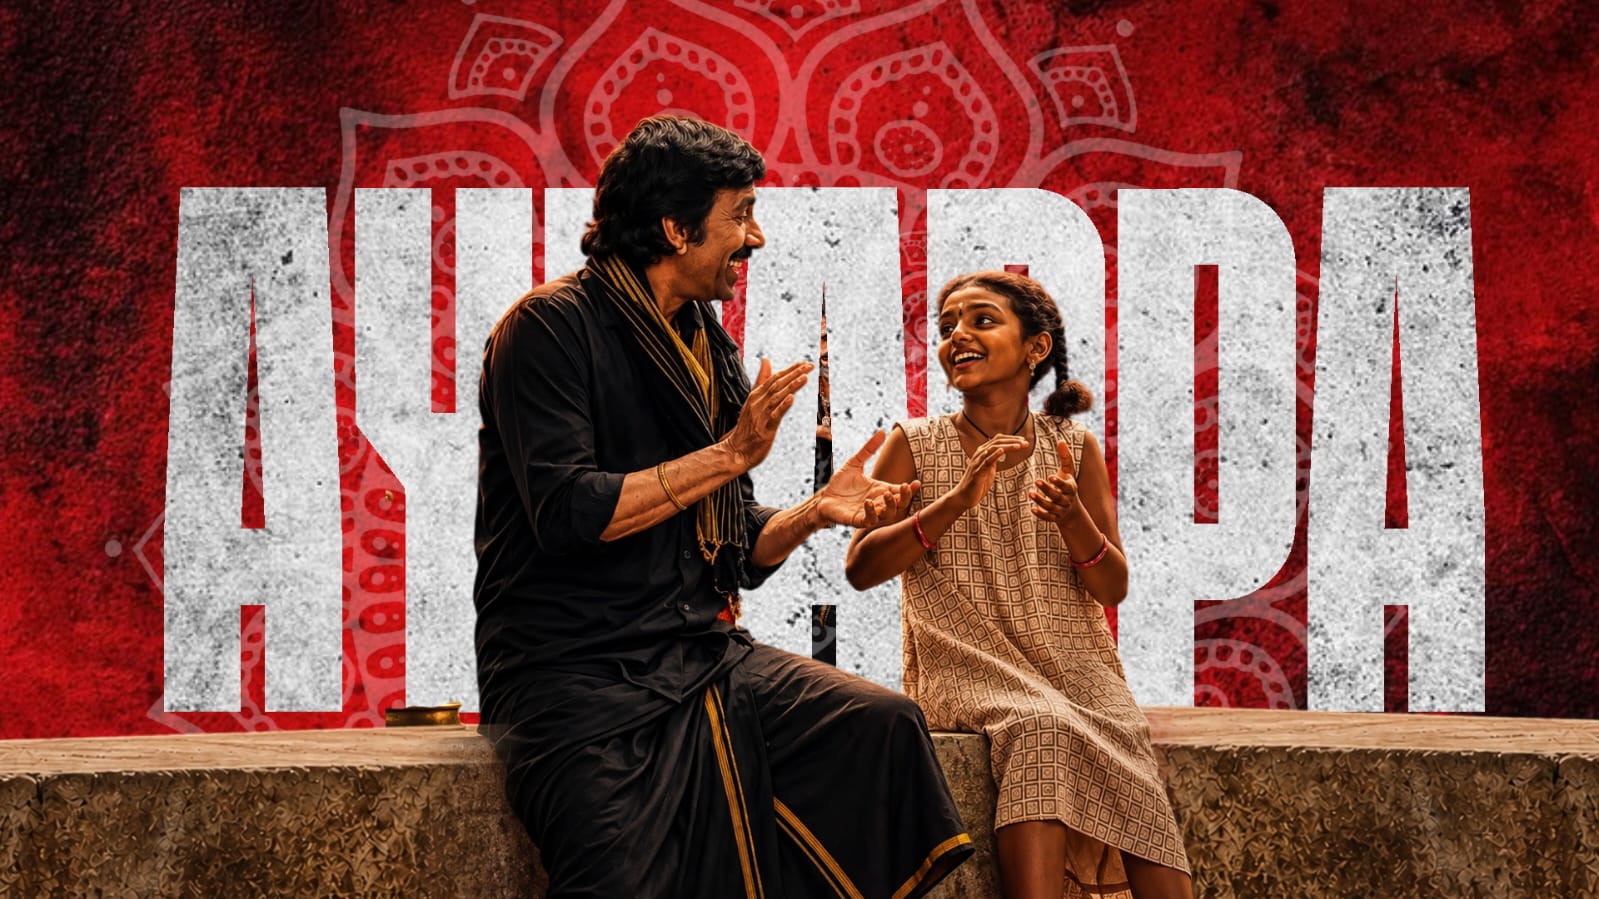
Photo editing is an important part of creating high-quality digital images. Even when a photograph is captured with a modern smartphone or professional camera, the original image may need adjustments before it is ready for publishing. Editing can improve lighting, correct colors, remove distractions, strengthen composition, and create a consistent visual style. With a proper workflow, beginners can achieve impressive results without making photographs look unnatural.
Start With a Clear Editing Goal
Before changing anything, decide what you want to improve. A portrait may need better skin tones and softer lighting, while a landscape may require stronger details and balanced colors. Product photographs usually need accurate colors and clean backgrounds.
Having a clear goal prevents unnecessary editing. Instead of applying every available effect, concentrate on adjustments that improve the subject and support the purpose of the photograph.
Preserve the Original File
Always keep a copy of the original photograph before beginning the editing process. This is useful when experimenting with different styles because you can return to the untouched version at any time.
Whenever possible, use a high-resolution original. Higher-quality files provide more flexibility for cropping, resizing, sharpening, and detailed adjustments. Saving an editable version can also make future changes easier.
Adjust Exposure and Dynamic Range
Lighting is usually the first technical area to correct. Examine the photograph for dark shadows and overly bright highlights. Adjust the overall exposure gradually rather than making a dramatic change.
Highlights and shadows can then be adjusted separately. Lowering highlights can recover details from bright skies, windows, or reflective surfaces. Raising shadows can reveal information in darker areas.
After balancing these elements, adjust contrast. A moderate amount can give the photograph depth and make the subject stand out. Excessive contrast can create harsh shadows and remove useful details.
Correct White Balance
White balance determines how warm or cool the photograph appears. Different light sources can introduce unwanted yellow, blue, green, or magenta tones.
Temperature adjustments can make an image warmer or cooler, while tint can correct unwanted green or purple casts. When working with portraits, accurate white balance is particularly important because skin tones should remain natural.
Do not judge colors only by how they look on one screen. If possible, check the image on another display before finalizing important work.
Improve Colors With Precision
After correcting white balance, refine the colors. Vibrance and saturation can make an image more colorful, but excessive adjustment can make photographs look artificial.
Selective color controls are useful when only certain colors need improvement. A landscape may benefit from slightly stronger blues and greens, while a portrait may require subtle adjustments to clothing and background colors.
Try to maintain a balanced color palette. Natural-looking colors usually remain attractive across different screens and platforms.
Retouch Portraits Carefully
Portrait editing should improve the photograph while preserving the person’s natural appearance. Small blemishes, temporary marks, and distracting spots can be removed with healing tools.
Skin smoothing should be applied carefully because natural texture is important for realism. Eyes can receive subtle brightness and sharpness adjustments, while teeth can be whitened gently.
Facial reshaping should be limited unless a dramatic artistic effect is specifically intended. Small corrections can improve the composition, but excessive changes can make the portrait look artificial.
Clean the Background
A distracting background can reduce the impact of the main subject. Unwanted wires, signs, stains, objects, and people can often be removed with cloning, healing, or object-removal tools.
After removing an element, zoom into the area and check the surrounding texture. Automatic tools can sometimes produce repeated patterns or strange shapes. Manual corrections may be necessary to make the background appear realistic.
Strengthen Composition With Cropping
Cropping can significantly improve the visual balance of a photograph. Removing unnecessary empty space can draw attention toward the subject.
Straightening tilted horizons is another simple improvement. When selecting a crop, consider the final destination. A website banner, social media post, profile image, and printed photograph may require different dimensions.
Avoid cutting important parts of the subject unless it is an intentional creative decision.
Add a Personal Visual Style
Once technical corrections are finished, creative adjustments can establish a recognizable style. Warm tones can create a comfortable atmosphere, while cooler colors can produce a more dramatic appearance.
Subtle vignettes, muted colors, cinematic tones, or black-and-white treatments can also change the mood. Presets can speed up repetitive editing, but each photograph should still be adjusted individually because lighting conditions vary.
Final Review and Export
Before exporting, compare the edited image with the original. Look for excessive colors, unnatural skin, halos caused by sharpening, visible background mistakes, or overly strong effects.
Save a high-quality master copy and create a separate version for online publishing when necessary. Resize and compress images appropriately so that they maintain good quality without creating unnecessarily large files.
Conclusion
A professional photo editing workflow combines technical corrections with creative judgment. Exposure, white balance, color, retouching, background cleanup, cropping, and styling all contribute to the final appearance of an image.
The most important principle is moderation. Editing should enhance the photograph rather than completely change its natural character. By working systematically and reviewing every adjustment carefully, beginners can develop better editing skills and create polished images suitable for websites, social media, portfolios, and professional projects.
Full Project
XML file
Song link