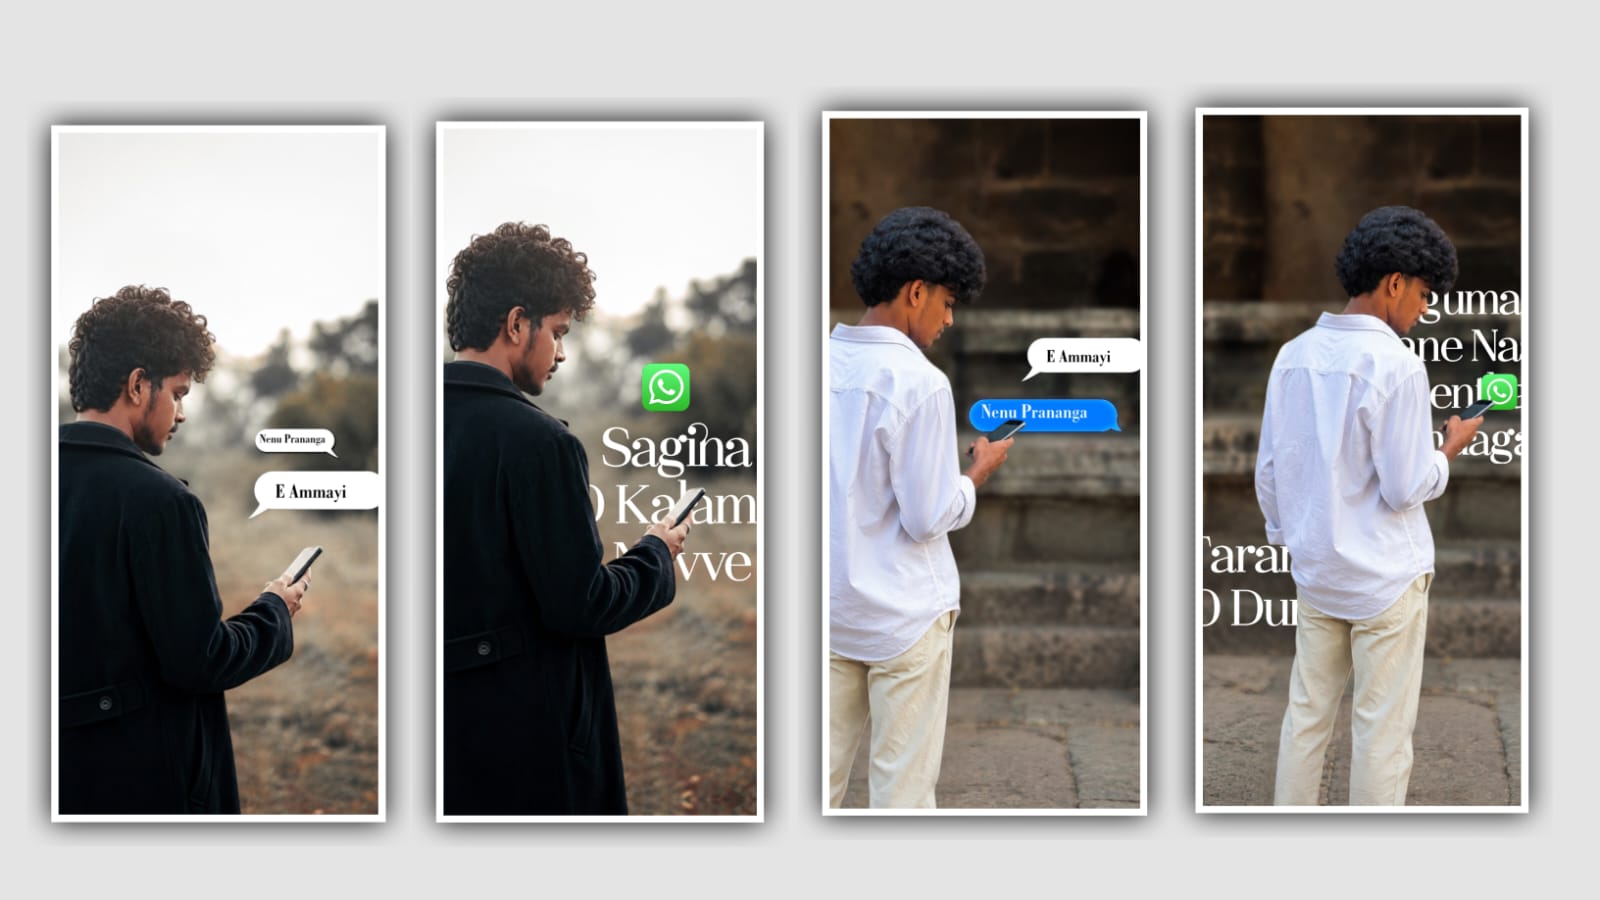
Photo editing has become an important part of everyday digital life. Whether you are creating Instagram posts, YouTube thumbnails, business advertisements, wedding albums, or personal memories, good editing can make an ordinary photograph look much more attractive. The best part is that professional-looking results do not always require expensive software or advanced technical knowledge. With the right editing techniques and a little practice, beginners can improve their photographs significantly.
Start With a High-Quality Photo
The quality of the original photograph plays an important role in the final result. Editing cannot completely fix a photo that is extremely blurry, poorly exposed, or heavily compressed. Whenever possible, start with a clear image captured in good lighting. Avoid applying too many filters immediately after opening the image. Instead, first examine the photograph and decide what needs improvement.
Cropping is one of the simplest ways to improve composition. Remove unnecessary objects from the edges and position the main subject properly within the frame. A good crop can make a photograph look cleaner without changing its original character.
Adjust Brightness and Exposure
Lighting is usually the first thing beginners should correct. If a photograph is too dark, increasing exposure or brightness can reveal important details. If the image is already bright, increasing brightness further may cause highlights to lose detail.
Most modern editing applications provide separate controls for exposure, highlights, shadows, contrast, and brightness. These controls should be adjusted gradually. Instead of making dramatic changes, use small adjustments and compare the edited image with the original.
Reducing highlights can help recover details in bright areas such as skies, windows, and white clothing. Increasing shadows can reveal details in darker parts of the photograph. Maintaining a balance between bright and dark areas generally produces a more natural result.
Improve Colors Carefully
Color correction can completely change the appearance of a photograph. However, excessive saturation is one of the most common editing mistakes. Very strong colors may initially look impressive on a phone screen but can make the photograph appear unnatural.
Start by making small adjustments to saturation and vibrance. Vibrance usually increases weaker colors while preserving skin tones better than simply increasing saturation. White balance is another important setting. If a photograph looks too yellow or too blue, adjusting temperature can make the colors appear more realistic.
For portraits, pay particular attention to skin tones. Natural-looking skin should generally remain the priority, even when creating a stylish color grade.
Use Contrast to Add Depth
Contrast helps separate different parts of an image and can give photographs more depth. Increasing contrast slightly can make a flat photograph look more powerful. However, excessive contrast may remove details from shadows and highlights.
A useful approach is to increase contrast gradually and then adjust shadows and highlights separately. This allows you to create a stronger image while maintaining important details.
For cinematic or dramatic photographs, editors can experiment with deeper shadows and controlled highlights. For portraits and family photographs, softer contrast often creates a more pleasant appearance.
Remove Unwanted Objects
Removing distractions can make a major difference. Objects such as wires, dust spots, unwanted people, signs, or small background distractions can draw attention away from the main subject.
Many modern photo-editing applications include healing, clone, object-removal, or AI-assisted cleanup tools. These tools are useful, but they should be used carefully. Removing a large object from a complicated background may create visible patterns or distortions.
Zoom into the image while making corrections and then view the complete photograph afterward. This makes it easier to notice mistakes that may not be visible when working at a high zoom level.
Enhance Portraits Without Overediting
Portrait editing requires a careful balance. Basic skin cleanup can remove temporary blemishes and distractions, but excessive smoothing can make the face look artificial.
Instead of completely removing skin texture, use moderate adjustments. Brighten the eyes slightly, improve overall exposure, and make small color corrections. Teeth whitening should also be subtle because excessive whitening can make a portrait look unrealistic.
Face-shaping tools should be used carefully as well. Natural facial proportions generally produce a more professional result than extreme transformations.
Add Creative Effects
Once the basic corrections are complete, creative effects can be added. Background blur, light effects, gradients, black-and-white conversion, film-style colors, and selective adjustments can give a photograph a unique appearance.
Presets can also speed up the editing process. However, presets should not be applied blindly. Every photograph has different lighting and colors, so a preset usually requires additional adjustments.
A good editor uses effects to support the photograph rather than allowing effects to become the main focus.
Save the Final Image Correctly
After completing the edit, export the photograph using an appropriate file format and resolution. JPEG is convenient for social media and general sharing, while formats such as PNG can be useful when transparency or specific image quality requirements are involved.
Always keep an original copy of important photographs before editing. Saving an editable project file can also be useful if you expect to make changes later.
Final Thoughts
Professional photo editing is less about using hundreds of effects and more about making the right adjustments. Start with composition, exposure, color, and contrast before moving toward creative effects. Keep portraits natural, remove distracting elements carefully, and always compare the edited photograph with the original.
With regular practice, beginners can develop a consistent editing style and learn how different adjustments affect an image. Whether you edit photographs for social media, personal projects, business content, or creative work, understanding these basic techniques provides a strong foundation for producing clean and professional-looking images.
Full Project (template)
XML file
Song link