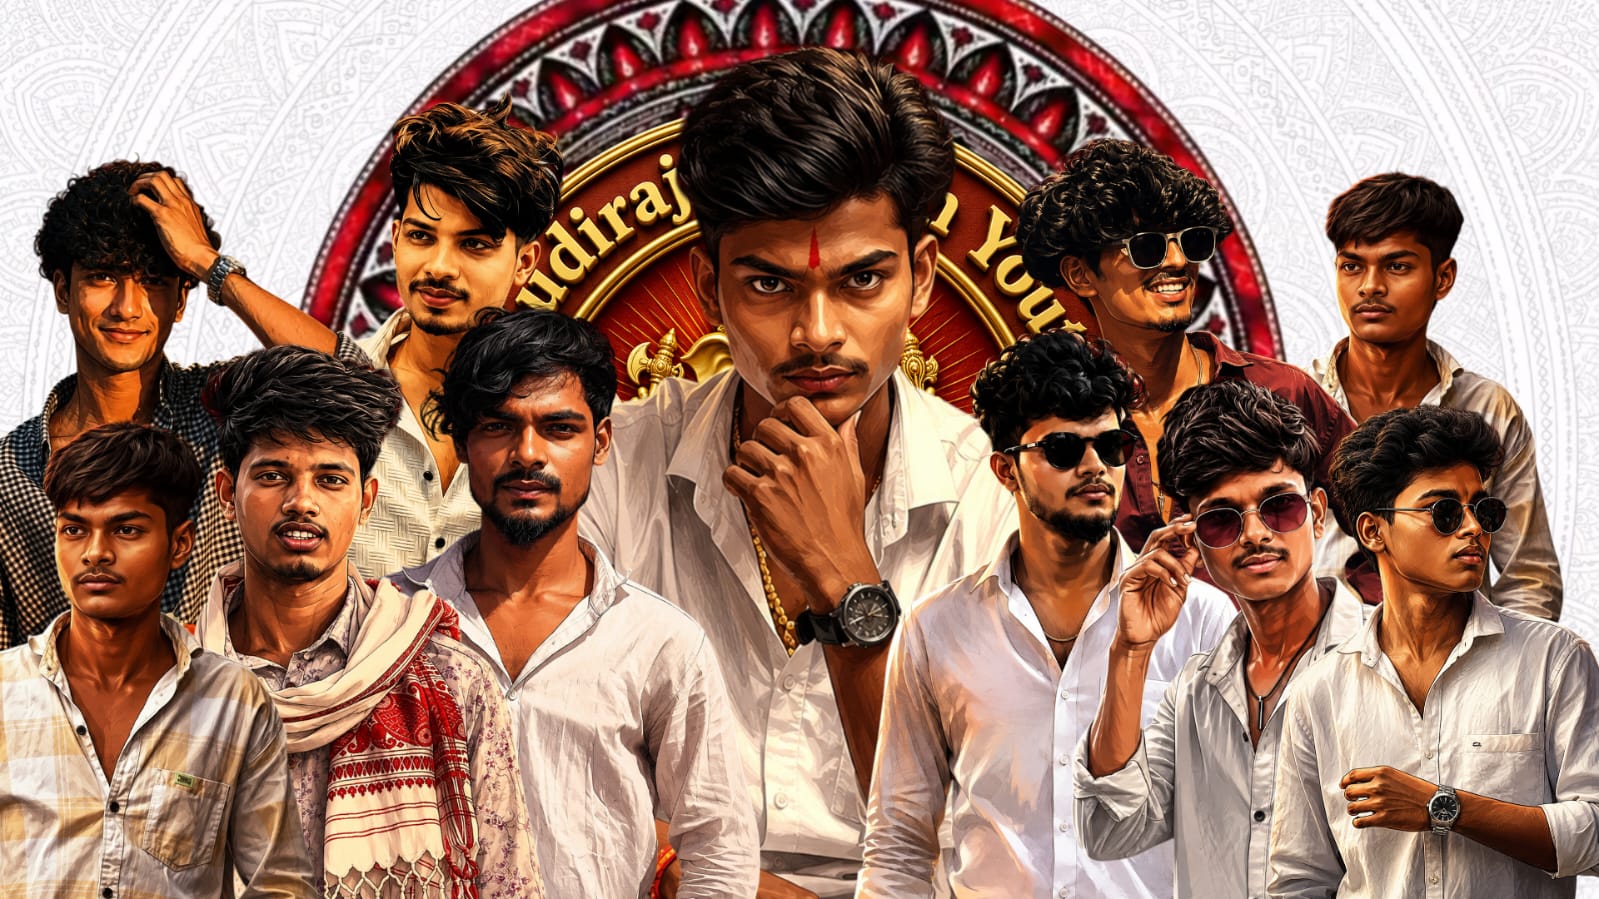
Photo editing is an important skill for photographers, content creators, bloggers, business owners, and anyone who regularly shares images online. A photograph may look good when it is captured, but editing can improve its lighting, colors, composition, and overall presentation. Modern editing applications have made professional techniques easier to learn, even for beginners using smartphones. The key is to understand what each adjustment does and use it with purpose instead of applying too many effects.
Select the Right Photograph
The editing process begins with choosing a suitable image. Look for a photograph that is sharp, properly focused, and contains enough detail. If you have several similar photographs, compare them and select the one with the best composition, expression, lighting, and background.
Always preserve the original file before editing. Keeping a backup allows you to experiment freely and return to the untouched photograph whenever necessary. Working with a high-quality original also gives you more flexibility when cropping, resizing, or making detailed adjustments.
Correct Exposure and Brightness
Lighting should be one of the first things you examine. A photograph that is too dark may hide important details, while an overexposed photograph can lose information in bright areas.
Start with exposure and make small adjustments. Then use highlights and shadows for more precise control. Reducing highlights can restore detail in bright skies, white clothing, and reflective surfaces. Increasing shadows can reveal information in darker portions of the image.
Contrast can be adjusted after the lighting is balanced. A moderate amount of contrast can add depth, but excessive contrast may make shadows too dark and highlights too harsh.
Adjust White Balance
White balance controls the overall color temperature of a photograph. Different lighting conditions can produce unwanted yellow, blue, green, or purple color casts.
Temperature adjustments can make an image warmer or cooler. Tint can correct unwanted green or magenta tones. When editing portraits, accurate white balance is particularly important because unrealistic skin tones can immediately make an image look poorly edited.
If the photograph contains a neutral white or gray object, use it as a visual reference when adjusting color temperature.
Enhance Colors Carefully
Color adjustments can make photographs more vibrant and attractive. However, excessive saturation can quickly make an image look artificial.
Use vibrance or saturation in small amounts and compare the result with the original. Selective color controls can provide more precise results because they allow you to modify individual colors.
For example, you can enhance the blue tones in a sky or improve the appearance of green plants without significantly changing skin tones. A balanced color palette generally creates a more professional result than extremely bright colors.
Retouch Portraits Naturally
Portrait editing requires a careful balance between enhancement and realism. Small blemishes, temporary marks, and distracting spots can be corrected with healing and retouching tools.
Avoid excessive skin smoothing because natural texture helps a portrait look realistic. Eyes can be enhanced slightly through brightness and clarity adjustments. Teeth can also be whitened subtly when necessary.
Facial reshaping tools should be used with restraint. Minor corrections can improve composition, but dramatic changes may make the person look unnatural or significantly different from the original photograph.
Remove Unwanted Distractions
Background distractions can reduce the visual impact of an image. Modern editing tools can remove unwanted wires, signs, stains, objects, or people.
Healing, cloning, and object-removal features are useful for these tasks. After removing an object, zoom into the area and inspect the surrounding texture. Automatic tools sometimes create repeated patterns or distorted backgrounds, so additional manual corrections may be required.
Improve Composition With Cropping
Cropping can dramatically improve an image without changing its colors or lighting. Remove unnecessary empty space and position the main subject in a visually pleasing way.
Straightening tilted horizons is another simple but valuable correction. Before cropping, consider where the photograph will be published. Social media posts, profile pictures, websites, and printed images may require different dimensions.
Add Creative Effects Carefully
Once the basic corrections are complete, creative effects can be added. A subtle vignette can guide attention toward the subject, while color grading can establish a particular mood.
Black-and-white conversion can work especially well for portraits, architecture, street photography, and emotional scenes. Vintage effects, cinematic tones, and selective color can also create distinctive results.
The most important rule is moderation. Creative effects should support the photograph rather than overpower the subject.
Sharpen and Reduce Noise
Sharpening can make an image appear clearer and restore some detail after resizing. Excessive sharpening, however, can create visible outlines around objects.
Noise reduction is helpful for photographs captured in low-light environments. Use it carefully because excessive noise reduction can remove fine details and make the photograph look soft.
Export the Final Photograph
Before exporting, inspect the image at full size. Look for unnatural colors, visible retouching, unwanted marks, and excessive sharpening.
Keep a high-quality master copy and create separate versions when needed for websites or social media. Proper resizing and compression can reduce file size while maintaining acceptable visual quality.
Conclusion
Modern photo editing provides countless possibilities, but professional results depend more on careful decisions than on the number of effects used. Exposure correction, white balance, color enhancement, natural retouching, background cleanup, cropping, and detail enhancement can significantly improve an image.
The best editors learn to recognize what a photograph actually needs. By making controlled adjustments and regularly comparing the edited image with the original, beginners can develop a reliable workflow and gradually create their own editing style. With practice, even simple photographs can become polished, attractive, and ready for digital publishing.
Full Project
XML file
Song link