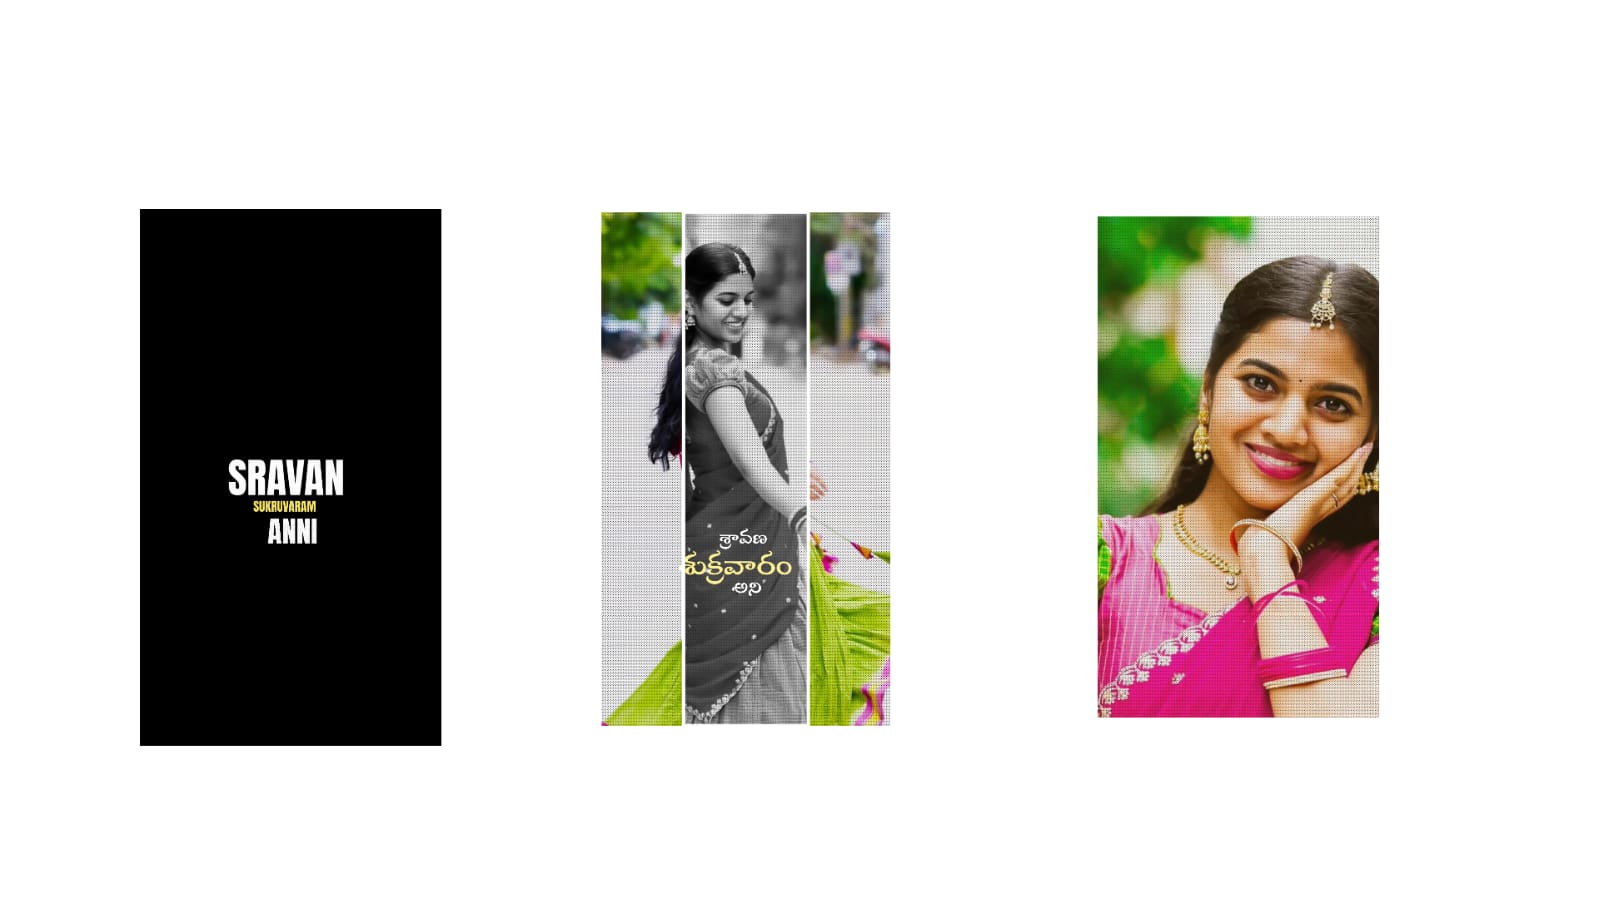
Photo editing gives creators the ability to transform ordinary photographs into attractive and memorable images. A photograph captured with a smartphone or camera may contain good composition and interesting details, but careful editing can make those qualities stand out more clearly. Modern editing applications provide tools for correcting lighting, enhancing colors, removing distractions, improving portraits, and creating artistic effects. Learning how to combine these tools properly can help beginners develop a professional editing workflow.
Understand the Purpose of the Photograph
Before editing an image, first decide what you want the final photograph to communicate. A portrait may require natural skin tones and soft lighting, while a landscape can benefit from stronger colors and enhanced details. Product photographs usually need accurate colors and a clean background.
Understanding the purpose prevents unnecessary adjustments. Instead of applying every available effect, concentrate on the changes that support the subject and overall mood.
Begin With Lighting Corrections
Lighting has a major influence on how an image appears. Start by checking exposure and overall brightness. If the photograph is too dark, increase exposure carefully. If bright areas are losing detail, reduce the highlights.
Shadows can be increased to reveal details hidden in darker areas. After balancing these areas, adjust contrast to create better separation between different tones. Avoid excessive contrast because it can make an image look harsh and remove important information.
Good lighting correction should make the photograph easier to view without making it appear artificial.
Create Better Colors
Color is one of the easiest ways to change the mood of a photograph. Warm tones can create a comfortable and energetic feeling, while cooler tones can produce a calm or dramatic atmosphere.
Start by correcting white balance before making creative color adjustments. Temperature can control warm and cool tones, while tint can correct unwanted green or magenta shades.
After that, adjust vibrance or saturation carefully. Strong colors may look impressive at first, but excessive saturation can quickly make an image unrealistic. Selective color controls are useful when you want to enhance particular colors without affecting the entire photograph.
Improve Portraits Naturally
Portrait editing requires attention to detail because the human face is usually the main focus. Small blemishes, temporary marks, and distracting spots can be removed using healing tools.
Skin smoothing should be applied lightly. Natural texture helps maintain realism, and excessive smoothing can make a face look artificial. Eyes can receive a subtle brightness or sharpness adjustment, while teeth can be whitened gently.
Avoid making dramatic facial changes unless the purpose is clearly artistic. Natural-looking improvements generally create more convincing portraits.
Clean Up the Background
A busy background can reduce the impact of the main subject. Unwanted wires, signs, objects, stains, or people can often be removed using healing, cloning, or object-removal features.
When removing an object, inspect the surrounding area afterward. Automatic tools may create repeated textures or strange shapes. Correct these areas manually when necessary.
Background cleanup should make the photograph look cleaner while preserving the original environment whenever possible.
Experiment With Cropping
Cropping can completely change the composition of a photograph. Removing unnecessary space can make the subject more prominent and improve visual balance.
Try different aspect ratios to determine which composition works best. A vertical crop may be ideal for a portrait, while a wider crop can work well for landscapes or website banners.
Straightening tilted horizons is another simple improvement. Small alignment problems can make an otherwise excellent photograph look unfinished.
Add Creative Effects
Creative effects can give photographs a distinctive identity. A subtle vignette can direct attention toward the subject. Color grading can create cinematic, warm, cool, vintage, or dramatic moods.
Black-and-white editing is another powerful option. Without color, viewers often pay greater attention to expressions, shapes, textures, and contrast.
Use creative effects with moderation. An effect should strengthen the photograph rather than become the main subject.
Enhance Details Carefully
Sharpening can make important details appear clearer, particularly after resizing an image. However, excessive sharpening may create visible halos around edges.
Texture and clarity adjustments can be useful for buildings, products, landscapes, and clothing. Portraits usually require a softer approach because excessive detail can emphasize unwanted skin texture.
For low-light photographs, noise reduction can help create a cleaner appearance. Balance it with sharpening so that the final image does not become overly soft.
Develop a Personal Style
Regular editors can benefit from developing a recognizable visual style. This might involve specific color tones, contrast levels, brightness, or shadow treatment.
Presets can make repetitive editing faster, but they should be treated as starting points. Every photograph has different lighting conditions, so individual corrections are often necessary.
A consistent style can make photography portfolios, websites, and social media pages appear more organized and professional.
Export the Final Image
After finishing the edit, inspect the image at full size. Check colors, edges, skin tones, shadows, highlights, and areas where objects were removed.
Keep a high-quality master copy and create separate versions for different purposes. Online platforms may require smaller dimensions and compressed files, while printing generally requires higher-quality output.
Conclusion
Creative photo editing is a combination of technical control and artistic judgment. Lighting correction, color enhancement, portrait retouching, background cleanup, cropping, creative effects, and detail enhancement can transform ordinary photographs into polished digital images.
The best results usually come from subtle and purposeful adjustments. By understanding the purpose of each photograph and avoiding excessive effects, editors can preserve natural details while creating a distinctive visual style. With regular practice, even beginners can build an efficient workflow and produce professional-looking photographs for personal and digital projects.
Full Project
XML file
Song link