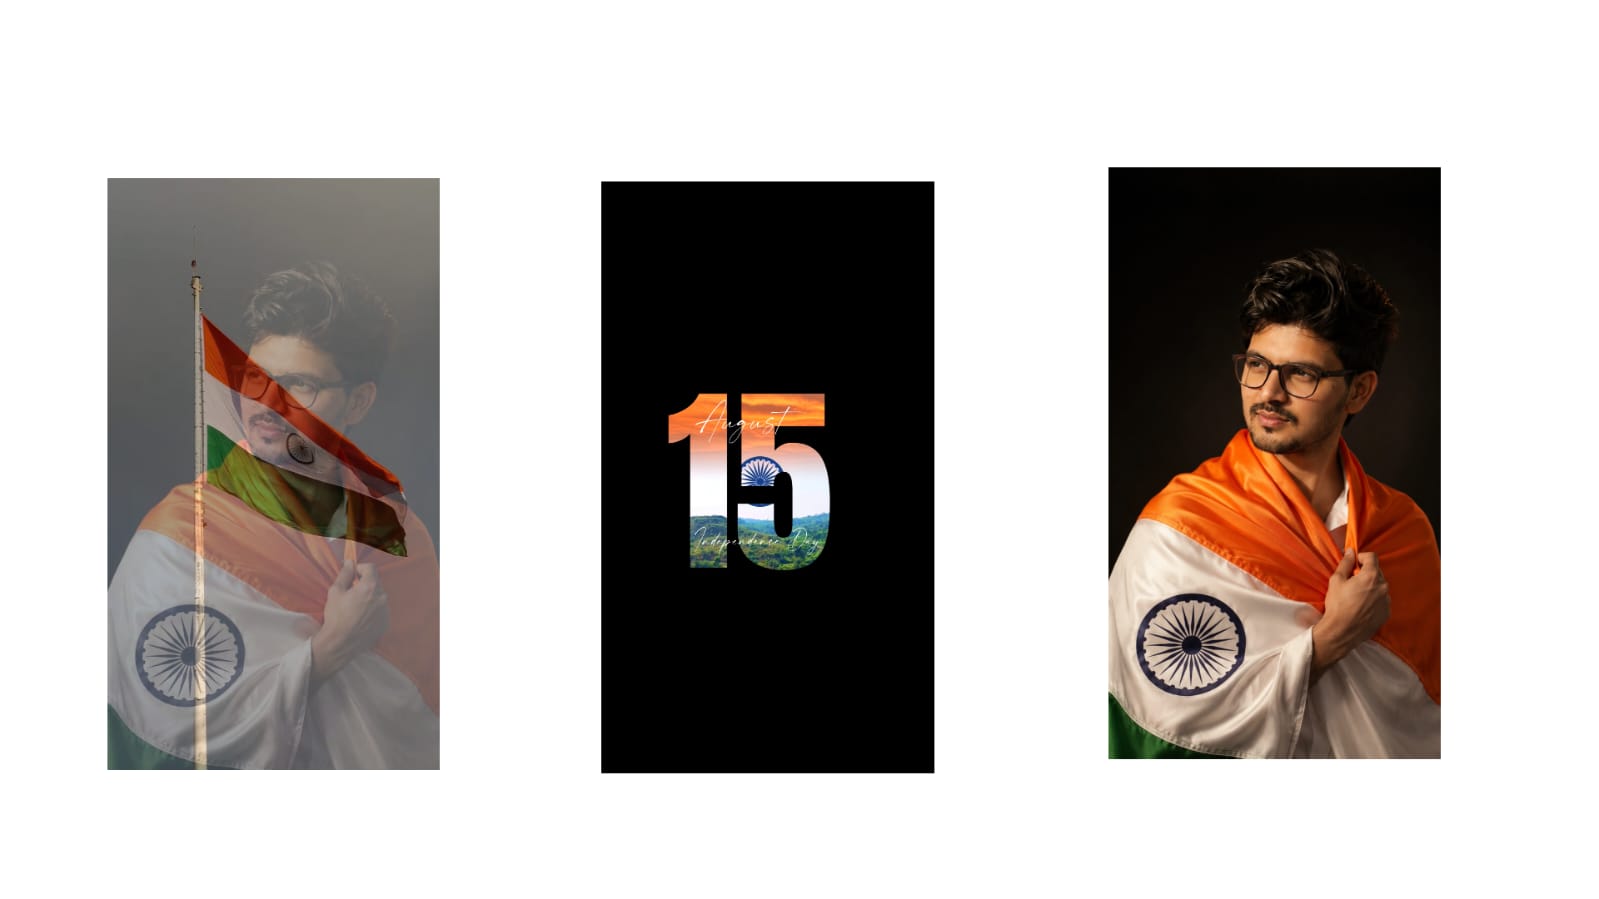
Photo editing has become an essential part of digital content creation. Whether you are a professional photographer, social media creator, blogger, business owner, or simply someone who enjoys taking pictures, good editing can make an ordinary photograph look much more polished and attractive. Modern editing tools provide many features that allow users to correct colors, improve lighting, remove unwanted objects, enhance details, and create completely different visual styles. However, professional-looking editing is not simply about adding filters. The best results usually come from making careful adjustments while keeping the photograph natural and balanced.
Understanding the Importance of a Good Original Photo
The editing process starts before any editing software is opened. A well-composed original photograph provides much more flexibility during post-processing. Good lighting, proper focus, suitable framing, and a clean background can significantly reduce the amount of correction required later. When taking a photograph, try to avoid extremely dark areas, excessive highlights, and unnecessary objects around the main subject. Shooting at the highest practical quality also helps preserve details when making adjustments.
A good original image does not need to be perfect. Editing software can correct many common problems, but it works best when the basic photograph already contains sufficient detail and balanced exposure.
Correcting Brightness and Exposure
One of the first steps in photo editing is adjusting brightness and exposure. A photograph may look too dark because of poor lighting or too bright because the camera captured excessive light. Exposure adjustments can help bring the overall image closer to the desired appearance.
Highlights and shadows are equally important. Reducing highlights can recover details from bright skies, white clothing, or reflective surfaces. Increasing shadows can reveal information hidden in darker parts of the image. The goal should be to create a balanced photograph rather than making every area equally bright.
Contrast can also improve the appearance of an image. A small increase in contrast can make the subject stand out, while excessive contrast can remove important details and make the photograph look harsh.
Improving Colors Naturally
Color correction can dramatically change the mood of a photograph. Temperature adjustments control whether an image appears warmer or cooler. Warm tones can create a comfortable and energetic feeling, while cooler tones can produce a calm or cinematic appearance.
Saturation should be used carefully. Increasing saturation too much can make skin tones look unnatural and turn ordinary colors into extremely bright shades. Instead, editors can use vibrance or selective color adjustments when available. These tools often provide more controlled enhancement.
For portraits, maintaining natural skin tones is particularly important. Skin should generally look realistic rather than excessively orange, red, or pale. Small color adjustments can produce a much more professional result than applying a strong filter.
Removing Unwanted Objects
Object removal is one of the most useful features available in modern photo-editing applications. Unwanted people, wires, marks, signs, dust spots, or other distractions can sometimes be removed using healing, cloning, or object-removal tools.
When removing an object, the surrounding background should be considered carefully. A simple removal may create repeated patterns or visible distortions if the software does not understand the background correctly. After removing an object, zoom into the area and inspect it before exporting the final photograph.
Object removal is most effective when used selectively. Removing a small distraction can improve composition, but removing too many elements can make an image appear artificial.
Enhancing Portraits
Portrait editing requires a careful balance between improvement and realism. Basic skin corrections can reduce temporary marks, blemishes, and distractions while preserving natural facial texture. Excessive smoothing can make the skin look plastic and unrealistic.
Eyes can be enhanced slightly by improving brightness and sharpness, while teeth can be whitened subtly when necessary. Facial reshaping tools should also be used carefully. Small adjustments may improve composition, but significant changes can alter a person’s natural appearance.
Professional portrait editing generally focuses on improving lighting, color, clarity, and small distractions instead of completely changing the subject.
Sharpening and Detail Enhancement
Sharpening can make an image appear clearer, especially after resizing or compressing a photograph. However, too much sharpening can introduce halos and unwanted noise around edges.
Clarity and texture adjustments can also enhance details in clothing, architecture, landscapes, and other subjects. These controls should be applied according to the type of photograph. A landscape may benefit from stronger texture, while a portrait usually requires a softer approach.
Noise reduction can help photographs captured in low-light conditions. Increasing noise reduction too much, however, can remove fine details. The best approach is to balance noise reduction with sharpening.
Creating a Consistent Editing Style
For people who regularly publish photographs online, developing a consistent editing style can make their content easier to recognize. This does not necessarily mean applying the same filter to every image. Instead, consistency can come from similar color tones, contrast levels, brightness, and overall mood.
For example, a creator may prefer warm highlights and slightly muted colors, while another may prefer high contrast with cooler tones. Once a preferred style is developed, editing presets can save time while still allowing individual adjustments for each photograph.
Consistency is particularly useful for social media pages, photography portfolios, websites, and professional branding.
Using Cropping and Composition
Cropping is often overlooked, but it can completely change how an image communicates its subject. Removing unnecessary empty space can draw attention toward the main object. Different platforms may also require different aspect ratios, making cropping an important part of preparing images for publication.
When cropping, consider the position of the subject and the direction in which they are looking or moving. Leaving appropriate space around the subject can make the photograph feel more natural. Straightening tilted horizons is another simple correction that can make an image appear significantly more professional.
Applying Filters Carefully
Filters can quickly change the mood of a photograph, but strong filters can also hide the original details and create an artificial appearance. Instead of applying a filter at full strength, reduce its intensity and then make individual adjustments to exposure, contrast, color, and highlights.
Filters are most effective when they support the photograph rather than dominate it. A subtle effect can provide a recognizable style while preserving the natural characteristics of the image.
Exporting the Final Image
The final editing stage is not complete until the image is exported correctly. Different platforms require different dimensions and compression levels. A photograph intended for a website may need a smaller file size, while an image intended for printing requires much higher quality.
Before exporting, inspect the photograph at full size. Look for unwanted marks, excessive sharpening, strange skin tones, compression artifacts, or accidental edits. Keeping an original copy is also recommended so that future changes can be made without losing the source image.
Conclusion
Professional photo editing is less about using the maximum number of effects and more about making intelligent improvements. Exposure correction, color adjustment, object removal, portrait enhancement, sharpening, cropping, and consistent styling can transform an ordinary photograph into a polished visual. The most effective editing usually remains subtle enough that viewers notice the quality of the photograph rather than the editing itself.
As editing technology continues to improve, creators have access to increasingly powerful tools on both computers and smartphones. Learning how each adjustment affects an image and developing a consistent editing workflow can save time while producing better results. With practice, even simple photographs can be transformed into clean, attractive, and professional-looking images without losing their natural character.
Full Project
XML file
Song link