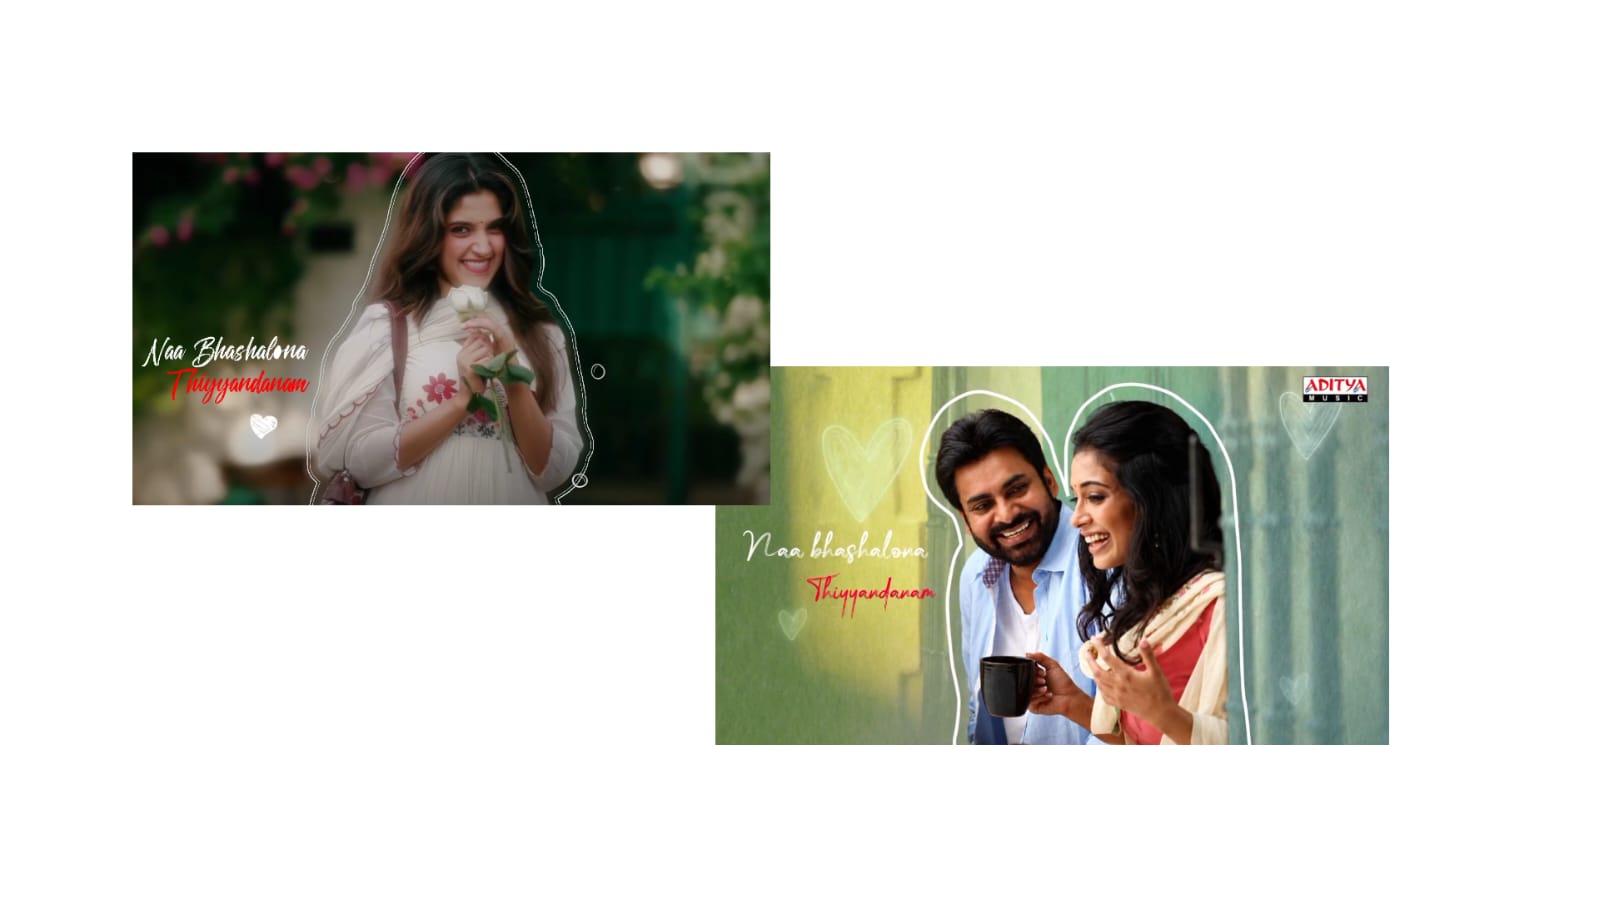
Many people have asked me to make an editing video for this trending “Radhimaa” song. Especially for this video, many requested it because the animation looks really great. This whole editing is completely based on null animation. Let’s look at a demo first, and please like the video to support the channel. I only showed you a small part, but the editing looks great until the very end. I need to mention one important thing—many of our Instagram followers specifically asked for this, which is why I tried making it. Making this is very simple, but it does take some time. If you watch the video until the end, you will learn a few things and get some useful ideas.
I will explain the basic things to make the editing simple for you. First, we are going to do this in the Alight Motion app. If you don’t have the app, please drop a comment, or you can directly go to my Telegram link to try it out. First, let me show you the project I created, and then I will give you an idea of how to do it basics-wise. Let me click on this box to turn on the camera. I have provided two projects in the description—one is in 1:1 ratio, and the other is full screen. The full-screen one looks really good, so I suggest most of you try that one. Look here, this is how it looks. As I said, I’ll give you an idea of how to do this, which will be very useful.
First of all, creating this depends entirely on your own thoughts and creativity. Whether I or anyone else explains it, we can only give you an idea of how null animation works. This entire project runs completely on a null base, which I will show you. The reason I used the camera here is that it was originally in 1:1, and I wanted to change it to full screen. If I remove the camera height, it looks like this and creates a bit of a problem, but it sets perfectly if we change it back to 1:1. For example, look here—first it zooms out, then comes the leaf animation, followed by movement. I will try to explain as much as possible, but if you don’t have that much patience, you can just use the project files. If you don’t like this particular project, you can use the 1:1 project, which is also a very good option.
Let me give you an idea of how to build it from scratch. I am planning to do this in 1:1 or 4:5 ratio. Click the plus icon below, go to audio, select the song, and add it. You can add any song you like. Once added, the very first thing you should always do is place the beats. Placing beats makes the editing and animating process incredibly easy. Let me play a small part of the audio for you. Based on how the song flows and how the movement progresses, animating becomes very simple.
Now, click the plus icon below. First, add the photo that you want to use. For this example, I won’t extend it too much; I’ll keep it up to 3 seconds. Then, click the plus icon, go to object element, add a null, and extend the null layer to match the duration of the photo. Now select the photo, click the option next to delete at the top, and connect it to the null. After connecting, go to Move and Transform, select the plus icon to add a keyframe, move a little forward, and add another keyframe. Listen to the audio once—the word “Radhimaa” comes in right here. Since this portion needs to zoom out, I am zooming it like this. Keeping it centered looks a bit better, and I will cover up the edges using the Tiles effect. Now look, it zoomed out smoothly.
After zooming out, you need to follow a process. Right where it zooms out, we need to add the text we want to write, which is “Radhimaa”. I am setting the font for it, and just like before, click the option next to delete at the top to connect this text to the null. Once connected to the null, go to Move and Transform and increase its Z-value a little bit, and let me change its color to this. Now look, it appears like this. To give it a nice animation, go to Effects, click Add Effect, go to Text Transform, and select the “Fade by Letter” animation. Decrease the offset slightly and reset the Z-value to zero. Now look, it looks good, let’s zoom it in a bit.
Now we need to add a zoom-out type animation to this. Once the “Radhimaa” text appears, it should zoom in slightly like this, and then we can add a nice frame. I will explain how to add a frame too. First, zoom it in a bit, click the plus icon, connect this to the null as well, and increase its Z-value. I am setting the color to white, duplicating it, going to Color and Fill, clicking this option, and replacing the shape with a photo. After adding it, I will reduce its size slightly, and the frame is created. See, the frame is created nicely.
Now, I will tell you a very simple process to animate this. We have already connected these layers, so there’s no problem. I will simply add a leaf PNG to it and scale it up a bit so the photo is visible, and we will connect this to the null as well. Connect it and position it at the top like this. It looked a bit too fast, so let me zoom it in a little. Now look, it turned out beautifully.
To create a side movement from here, I will slide the null layer to the side. Or you can zoom in a bit, place it here, and simply add another photo just like before. Add another photo and connect it to the null. You can also use a new null layer if you want, but I am using the same one. Go to Effects—sorry, go to Border and Shadow—and add a white border to make it look like a frame. I am rotating it slightly here. It should zoom in and rotate like this.
What I am trying to say is that whenever you animate, it all depends on your vision and how you want to guide the flow. Now that it has reached this point, I will zoom in further and move it to this side, and from here, I will connect another photo. I will add another null layer and connect the new photo to it. Make sure to connect it only to the second null layer for it to work properly. Let’s zoom it in a bit. Now, once it reaches this point, I will duplicate this same photo and reduce its size a little. Reduce the size, go to Color and Fill, and I will add an additional, different photo. After adding it, I will add a border to it as well. Once it zooms in, it will automatically rotate like this, and we can change the angle of the photo. On top of this, you can add flowers or anything else. Add a flower asset and connect it to the second null layer.
See, our ideas shape up based on how we execute the animation. After that, zoom in a bit more and add another photo. You can duplicate it again and add a different photo in its place. It all comes down to your personal taste and how you want to move the photos or objects. I will move it to the left or right side, and from there, you can connect yet another photo.
Let me show you a quick preview of how it looks so far. You might not fully get the vibe yet because I haven’t added the Tiles effect to this layer, so let’s add it now. If you want to connect flowers, leaf animations, or anything else, you just continue the process the same way—keep moving the layers forward. I have made a dedicated video explaining this null feature. If you want to learn it in depth, you can watch that full tutorial video, though it might be a bit complicated. It completely depends on your workflow and how you plan to link the layers together. If you want to try it yourself, watch the video, or you can simply use the ready-made project file. If you have any doubts, leave a comment. Use the project file and check it out. That’s all, Jai Hind!
Full Project
XML file
Song link