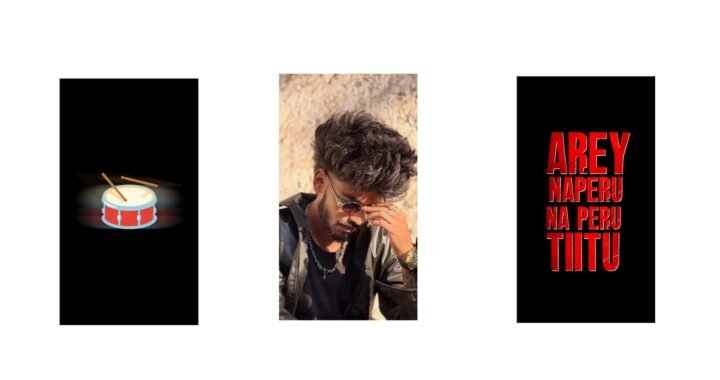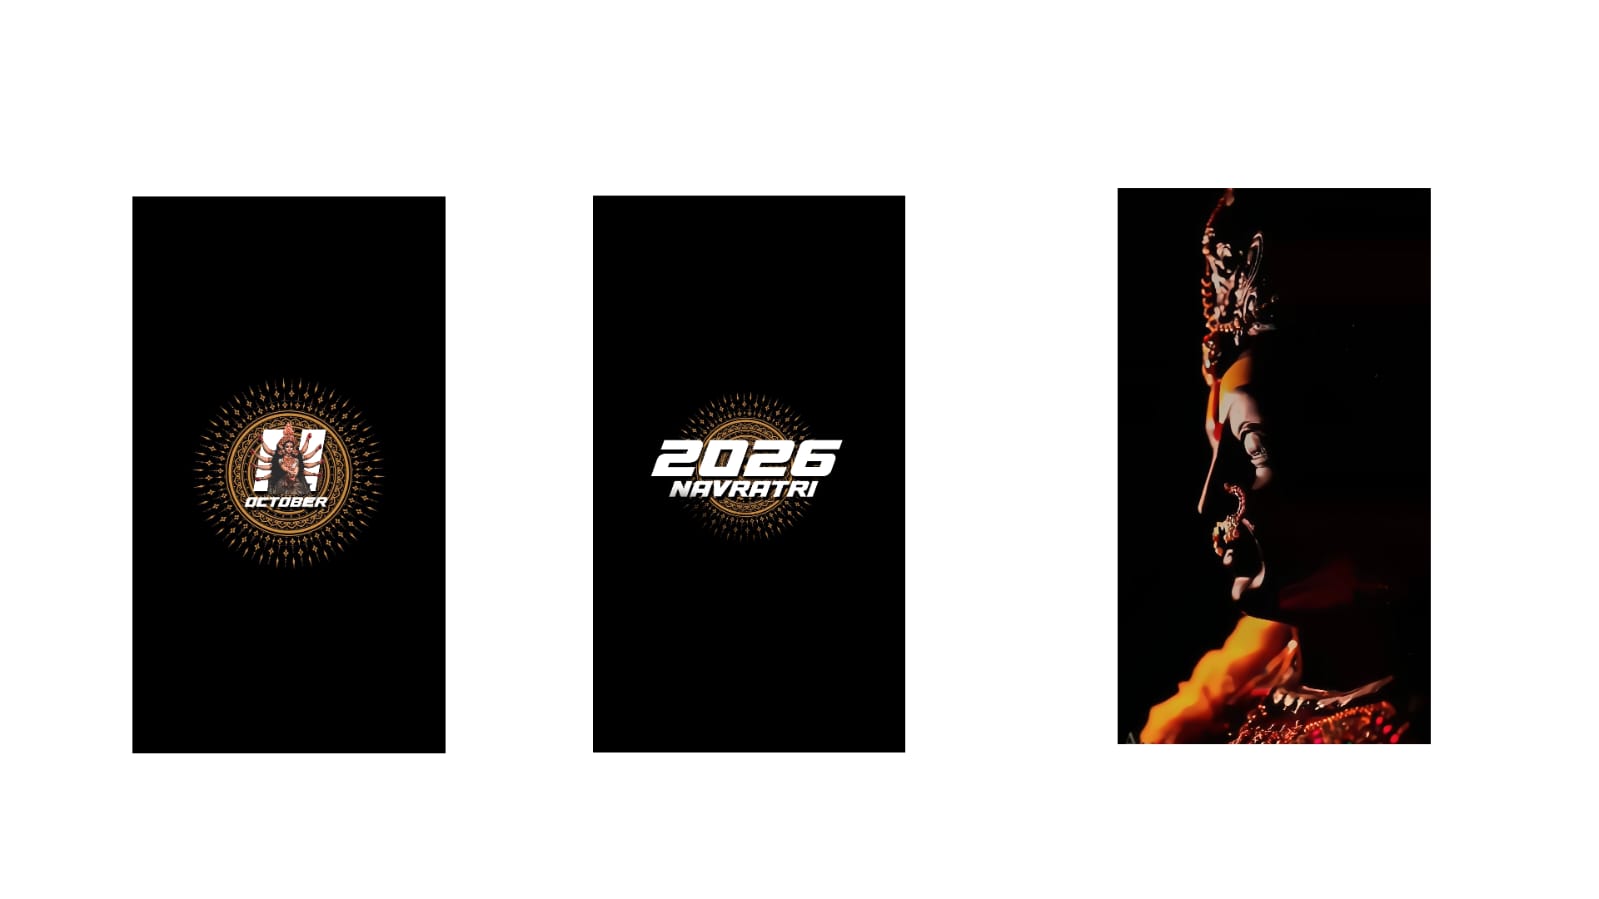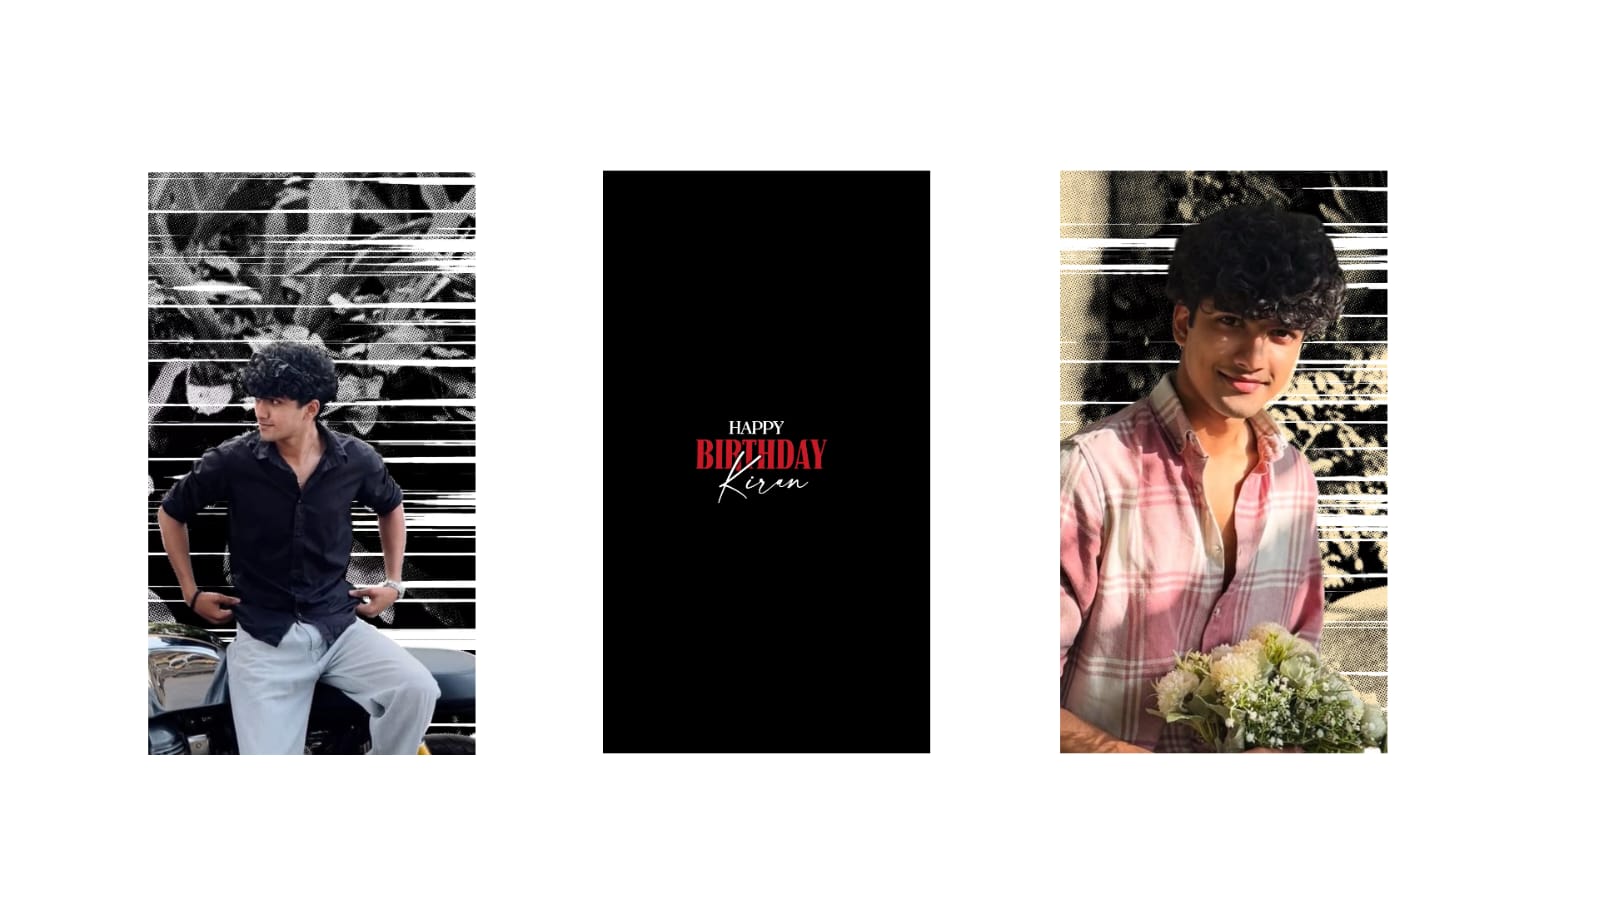
I really liked this editing, and maybe you will like it too. Let’s watch it once and try it out, as it looks good.
Since it uses a single photo, go ahead and give it a try. “God bless you my enemies, if you ever cross my path, it’s a done deal…” As you can see, the video turns out very amazing.
I will explain it in a simple way. Try it with a single photo, and I will try to explain it right from the beginning, okay? First, if you do not have the Alight Motion app, I will provide the Telegram and WhatsApp links below. You can join either Telegram or WhatsApp and install it from there. I keep posting them, so I won’t say too much about the Alight Motion app to avoid any issues. Just try it out. Mainly, there are two versions available there, so check them out and give it a try, okay?
Now, I will also give you the project link in the description, so no problem. First, let me show you how the project I am sharing looks. Okay, I will definitely remove these two photos before sharing it with you. Okay, this is how it will look for you. And if you want to try it as a beginner, editing this kind of video is very simple. First, we need to take whatever photo we have and remove its background. As you know, removing a background directly in Alight Motion can be problematic, so take any photo of yours and remove its background beforehand. After doing that, we will open Alight Motion. Even if you are completely new to this, it is not a problem.
First, the song used here seems to be from the movie ‘Bhai’. It is a song from Nagarjuna Sir’s movie, so first, I am selecting the 9:16 aspect ratio, okay? Now, let’s add our first photo from here. Before adding this photo, we need to add the audio. Go to the audio section; if you have the song, that’s good, or if you have the video, that works too. I have selected the video and I am extracting it. Click on the three dots and select extract. If you use a video, the audio will separate. Now, bring it down and stretch the photo until the end, okay?
The video editing is very simple, just watch. First, click on the three dots for this photo and select ‘Fill Composition Area’ so that it fits the screen perfectly. Now go to ‘Effects’, click on ‘Add Effect’, and search for ‘Tiles’. After adding ‘Tiles’, apply the standard settings and duplicate this photo. After duplicating, select the top photo, go to ‘Color & Fill’, and add any photo where you have removed the background. It looks best if it is the same photo, so add the same one. If you want to add a different photo, select the bottom photo, go to ‘Blur’, look for ‘Gaussian Blur’, and add it. If you increase it to the maximum, it will look like this, but look closely while adding it. The photo needs to match, so add it carefully.
Now both the song and the photos are added. Press the plus icon at the bottom to take a second shape. Let’s zoom this shape exactly like this—cover about 75% from the bottom, okay? Leave about 25% or even 20% at the bottom, that’s not a problem. Go to ‘Color & Fill’ and choose the dual color option, which is the gradient color. Select it, and you will see these lines; place these lines right in the center. Place this line in the center, okay? It’s not a problem even if you bring it down a bit more. Now select the white color, click on this option, and change it from 100% to 0%, and it’s done. If you want to turn this black color into white, click on the black color and select white, and it’s done. Or even if you keep the black color, it’s not a problem. Press and drag it downwards, okay? Then we will get a nice, aesthetic-type look.
There is no rule that you must add only this color; you can also set a matching color if you want. Select ‘Color’, then select this pencil icon, and if you want to apply a matching color, select the matching color from here, click on the plus icon, and select it at the bottom. The matching color will be added. Look at this, this looks even better. Set any color that you like. Now, we can place the text on its backside. This is a very simple way, okay? First, we need the text, right? So you can go to Google and use lyrics from whatever song you like. As an example, I am typing ‘King’ here. Go to ‘Text’, zoom in on this text, and set its color to pure white. You can set it to anything. Zoom it in like this and bring the text under the image.
First, listen to that song. Mark the beat where the song lyric ends. Listen to the song and place beat marks in between like this. Now, place the lyrics either on this side or that side of these beat marks, duplicate it, select it from here, zoom it, and adjust the size. You can listen to the song, see where the lyrics fit, and animate it accordingly. I will add two or three lyrics and show you, okay? That’s it. Now, I will go to the plus icon, then ‘Object/Element’, and add a camera. Turn the camera on as well. Now, zoom in at the starting point, and you can animate it based on keyframes and key animation from the beginning. It will look even better that way. Also, add a curve, okay? That’s all, it’s very simple. Try it based on that.
If you prefer to use the project file itself, let’s open the project file. The file you get will look exactly like this, so you don’t have to do much. Just add your original photo, stretch it to the end, click on the three dots, and select ‘Fill Composition Area’. Long-press it and drag it down. Then again, press the plus icon at the bottom, select the same photo in PNG format, stretch it to the end, click on the three dots, select ‘Fill Composition Area’, and turn on the camera. It will be perfectly set like this. You can use it accordingly. After that, export it.
Full Project
XML file
Song link