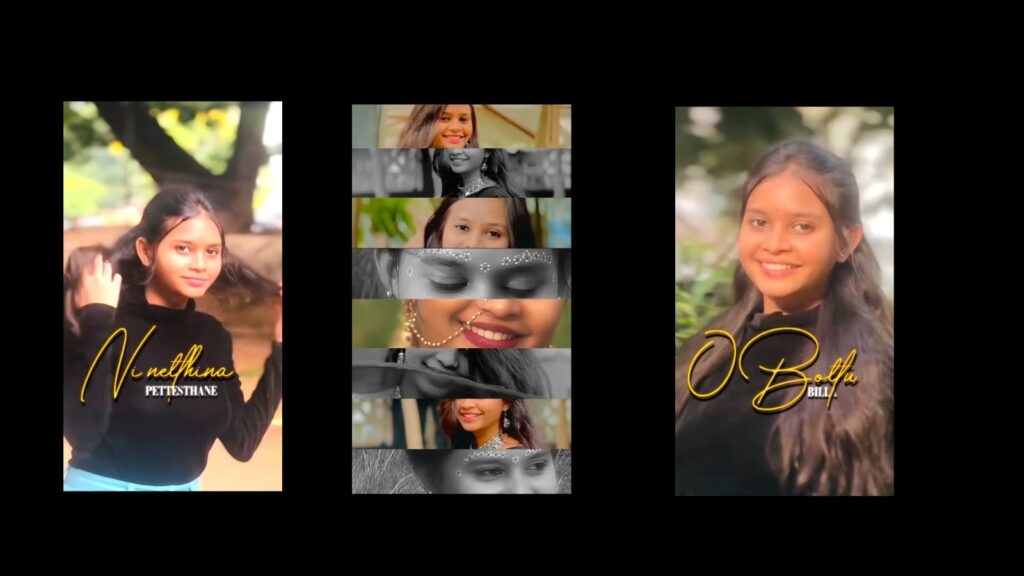
Finally, after a long time, I’ve made an Alight Motion tutorial, but wait, CapCut editors don’t just fade out from this video yet because in this video, I’m about to show you how you can master clean text animations using Alight Motion. Yes, this will be a complete beginner’s guide, so if you don’t want to keep using those unprofessional CapCut pre-made text animations—I mean of course you can use these templates to save time, but what about customization? That’s the real problem, you can’t really customize them properly in CapCut by yourself and that’s where it falls short, so stick around because this video is gonna make you a text animation king. Before we get started, I’ve got to drop an important message: my Telegram channel got hacked. I don’t know who did it, but yeah, I’ve lost access to it, so if you’re still in that channel make sure you leave it because I have no more control over it. To the guy who hacked it, if you’re watching this, just know you’re taking a big L. Anyway, I made a new Telegram, links are in the description, go check it out.
Now we are in our project. Congratulations CapCut editors, you made it this far. Okay, so we are mainly focusing on how to make a text animation using Alight Motion. To do this, first click on this icon and write your text. Now, how to animate it? Tap on the text timeline, click on effect, and add effect. Here you can see “text”, click on it, and now you see “text transform”. Add this to your timeline. Much like CapCut effect adjustments, here we have text adjustments, but in a more advanced way. First, you see “range”, which is how long the animation will be. Second is “transform”, which is our main sauce here. Third is “visual attributes”, which we’re going to be talking about later, and then interpolation and easing. So first, tap on range and you will see three options: start, end, phase. Click on start and add a keyframe. Move on a little further, add another keyframe, and make it 100%. Now you see nothing happens because this is just a command, bro—you just gave it a command like where to start and where to end. Now open the transform option and you will see options like this. To give it an animation, select alpha and drag it down to minus 1%. Now you see using this we just made a fade-in animation. This animation is currently happening in letters, but you can change it into words, lines, or contours; just go to transform and select what you want. For example, if I choose “word”, it happens with words. If I choose “line”, the animation will happen with the whole line, so this is just a basic fade-in animation.
Moving forward to more animations you can do using the transform tool, let me show you. Next is anchor point, it depends on you, I choose component. Next is offset, which is for positions. If I increase the x-axis value, it will animate to the right, and if I decrease it and make it minus, it will animate to the left side. Same with the y-axis, if I increase it, the text will animate downward, and if I decrease it, it will move upward. Next is angle, aka rotation, if you rotate it you can make this kind of animation. Next is scale, aka zoom in and out, if you increase it, it will come up like this. Lastly is stretch, it will make the text stretch like this. This is how you can use the transform tool to make an animation. Moving to the next setting, visual attributes, by enabling this you can add color to your animation
That’s what visual attributes do, nothing more than that. Now let’s move on to the next tool: interpolation and easing. This is a very important feature for smooth animations. Here’s how it works: when you use easing, it controls the speed of your animation at the start and end. Set both ease-in and ease-out values to 100%. If you feel 100% is too much, you can adjust both values to around 50% for a softer effect. Right after easing, you’ll see the “overlap” option. By increasing its value, you can make your animations happen more seamlessly. For example, before using overlap, one animation ends and then the next one starts like a step-by-step motion. But after applying overlap, the next animation will start while the last one is still finishing, making your animation flow naturally without looking stiff.
So now, increase the overlap value according to your text. The last option is random order; by enabling this, your text will appear randomly, nothing else. So this is how you can use the text transform tool in Alight Motion. What I showed today is just the basics and a few simple steps to help you understand how it works. You can actually create hundreds of text animations using the text transform tool, all you need to do is play around with it. You can also use graphs to make your animations even smoother and better. If you want to learn how to use graphs on text animations, hit 2.5K likes on this video and I’ll drop a detailed explanation video on it right after. That’s it for this video, the next one’s coming in a few days. Till then, peace.