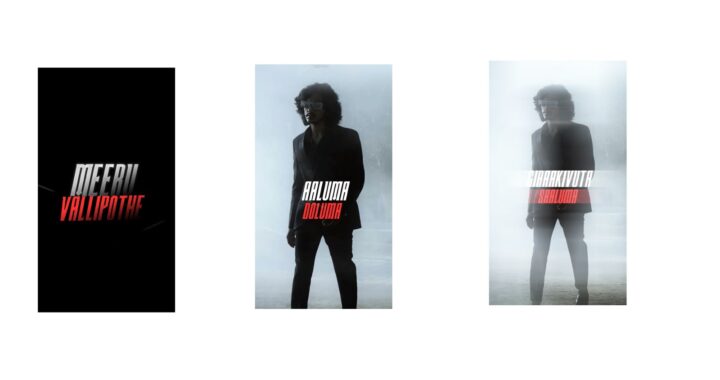
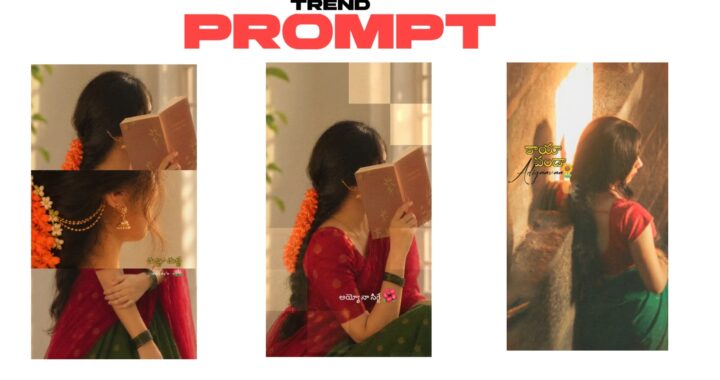
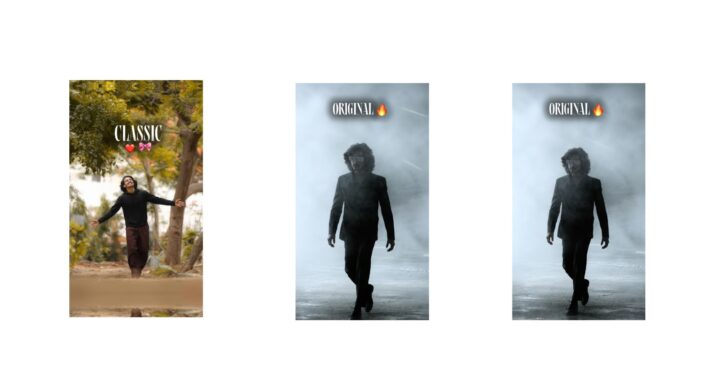
Keyframes are an editing tool that can make your videos smooth and engaging. In this video, I am going to unlock the ultimate keyframe mastery guide for Alight Motion. If you are a beginner at editing, don’t worry—by the end of the video, you will be doing keyframing like a pro. Let’s dive right in.
Keyframes are basically points where an object’s properties change, such as its position, size, rotation, or opacity. With their help, you can smoothly animate an object from start to end. Let’s see how this works. First, we will create a zoom-in effect. There are two versions of the zoom-in effect: slow zoom-in and epic zoom-in. To create a slow zoom-in, select your clip and go to the “Move & Transform” option where all the keyframing takes place. Select the third scale option and click on the diamond-shaped icon meant for scaling. Go to the end of the clip and increase its scale; a keyframe will automatically be added. When you play it, the clip will smoothly and slowly zoom in. When it comes to an epic zoom effect, it all depends on the distance between the keyframes. If the keyframes are far apart, the motion looks slow; if they are close together, the motion is fast. Keep the keyframes close to create an impactful and fast epic zoom effect. You can easily adjust the distance by dragging the keyframes.
The next and most important part is keyframe animation, which controls how the motion flows between the keyframes. There are three main categories: Ease In, Ease Out, and Ease. Ease In starts slow and ends fast, smoothly speeding up the motion. Ease Out is the reverse of Ease In—it starts fast and ends slow, smoothly stopping the motion. Finally, the Ease animation creates the smoothest flow by combining both effects; it starts slow, picks up speed in the middle, and slows down again at the end. These graphs are all provided directly within Alight Motion.
Let’s see these animations in action. Drop a car clip down, select it, go to Move & Transform, resize it slightly, and place it on the left side. To animate it, add a keyframe at the start of the clip, move forward, and move the car to the right side. Playing it back shows a linear motion. To make it cooler, click on the graph icon to open the graph editor. The same Ease In, Ease Out, and Ease options apply here. Choosing a preset automatically adjusts the graph handles, and you can also adjust the Bezier handles to get full control over creating a custom animation curve. In the graph editor, the top and bottom parts represent the slow motion areas, while the right and left parts represent the fast motion areas. For example, if you move both handles towards the top-left, the motion will be super fast at the start and slow at the end. Applying the Ease preset and pulling the handles outward means it starts slow, speeds up in the center, and ends slow. Additionally, clicking the three dots to enable “Overshoot” allows you to animate beyond the keyframes, creating rebound-in and rebound-out effects that add extra impact and bounce, though they aren’t necessary for basic animations. This applies to rotation, scale, and skew adjustments as well.
Our last effect is character shifting animation. Add a character, position it on the left, move forward, and apply keyframes to position and rotation. Go back to the start of the character clip, rotate it by 15 degrees, slide it downward, and apply an Ease keyframe graph to both position and rotation so it smoothly enters the view. Move ahead to make minor adjustments to rotation, and repeat this again further ahead to keep it dynamic. Next, go ahead of your last keyframe and move the character to the right side. The keyframe adds automatically. Adjust the rotation slightly, and go ahead once more to tweak it. To ensure a proper flow while it slides, select a quadratic graph that is exceptionally fast in the center. Place your marker precisely where the graph peaks in speed and duplicate the layer. Go to the “Color & Fill” settings of the duplicated layer and swap it for your second character. Go back to the first character and trim away its remaining part from that position, then select the duplicated layer and trim off its preceding part. If the duplicate doesn’t line up perfectly, adjust the color and fill settings to fit, and adjust the scale to match the first character. Lastly, go to effects, add motion blur set to a value of 0.50, and apply it to both layers.
This gives you the final result. You have now unlocked the magic of keyframes, including smooth zooms, color shifting, and character shifting like a pro. If you want the pro version of Alight Motion, you can find it on the Telegram channel. If this video helped you, you know what to do. Check out the channel for more editing tips and tricks, click over to the next video to learn 3D editing, and I will see you there.