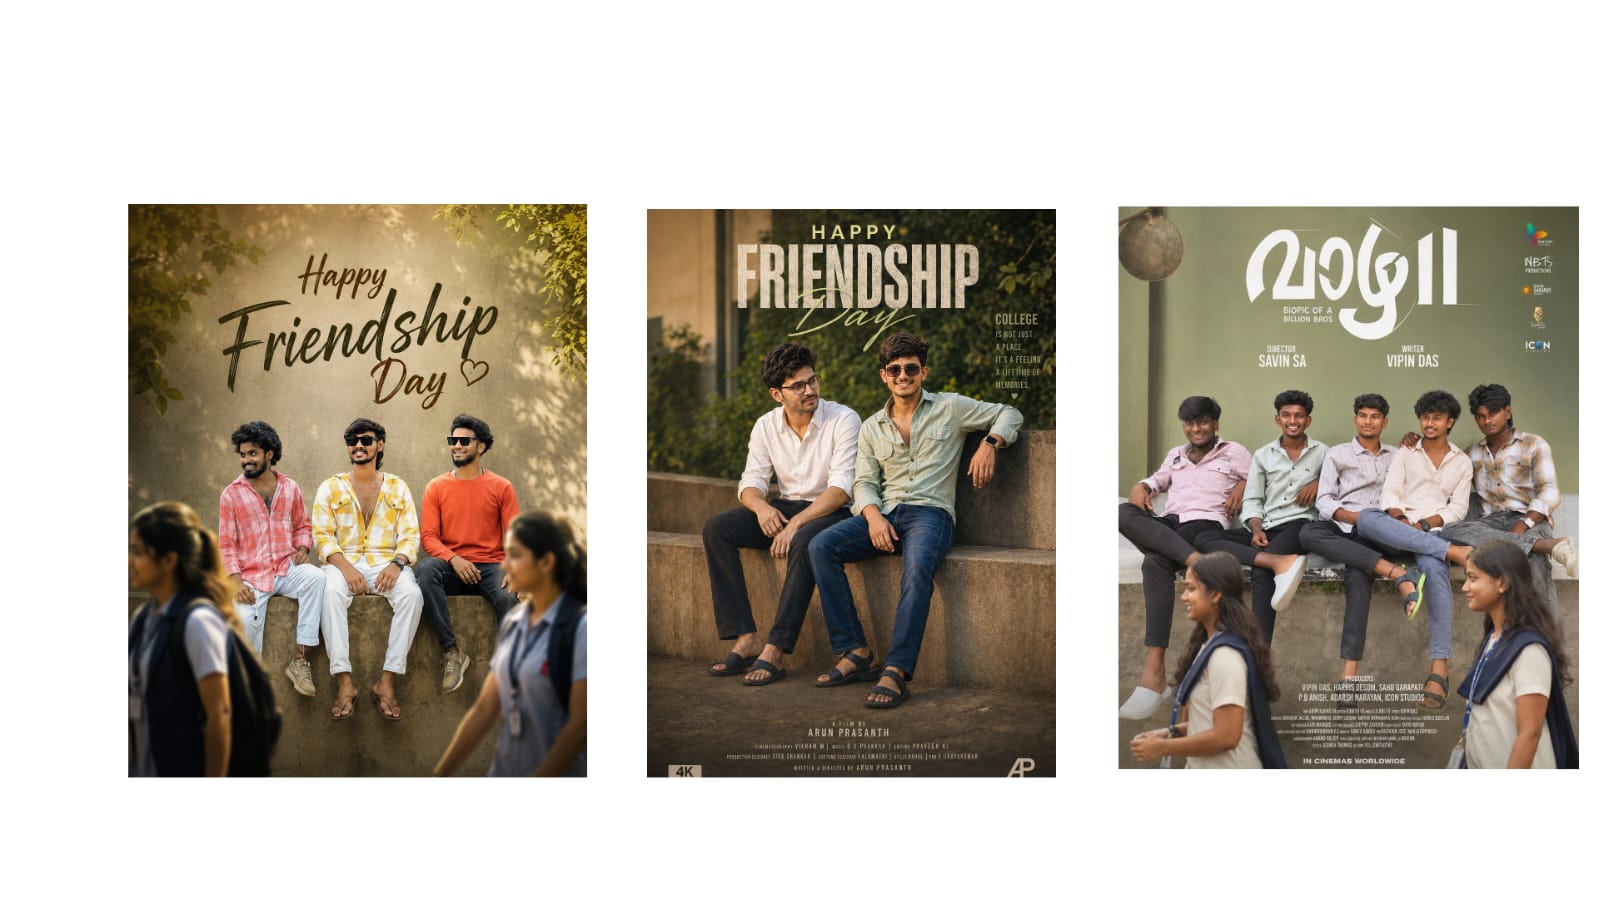
Outdoor photography offers beautiful natural light, colorful backgrounds, open landscapes, and countless opportunities for creative images. However, outdoor photos do not always look perfect straight from the camera. Strong sunlight can create harsh shadows, cloudy weather can make colors appear dull, and bright skies can sometimes lose important details. A thoughtful editing process can correct these issues while preserving the natural beauty of the scene.
The goal of outdoor photo editing is usually to create a balanced image where the subject, sky, background, and colors work together. A few careful adjustments can make a noticeable difference without giving the photograph an artificial appearance.
Correct Exposure Before Anything Else
Exposure is a good place to begin because outdoor lighting can vary significantly. A photograph taken in direct sunlight may contain very bright highlights and deep shadows at the same time.
Start by adjusting overall exposure until the main subject has suitable brightness. If the sky or other bright areas appear washed out, reduce the highlights. Increasing shadows can reveal details in darker areas such as trees, clothing, buildings, and faces.
Avoid trying to make every part of the image equally bright. Natural outdoor scenes usually contain a mixture of light and shadow, and preserving that variation helps maintain depth.
Bring Back Detail in the Sky
The sky can have a major impact on an outdoor photograph. When it appears too bright, the entire image may feel flat.
Highlight adjustments can sometimes recover cloud details and subtle color variations. Reducing exposure selectively in the sky can also help when the foreground already has appropriate brightness.
For blue skies, small adjustments to blue saturation or brightness may create a richer appearance. Avoid making the sky extremely dark or intensely blue unless the photograph is intentionally designed for a dramatic style.
A natural-looking sky should complement the main subject instead of competing with it.
Improve Greenery Naturally
Trees, grass, and plants often occupy large portions of outdoor photographs. Camera processing and lighting conditions can sometimes make greens appear too bright, yellow, or saturated.
Selective color adjustments allow green tones to be refined without affecting the rest of the photograph. Reducing saturation slightly can produce a softer look, while changing brightness can help control vegetation that attracts too much attention.
When editing portraits outdoors, background greens should generally support the subject rather than dominate the frame.
Maintain Accurate Skin Tones
Outdoor portraits can be affected by surrounding colors. Green trees may reflect subtle tones onto the skin, while sunset lighting can introduce strong orange or yellow colors.
Begin with white balance and then make smaller selective adjustments where necessary. Skin should remain natural even when the overall image uses a creative color style.
Be careful when increasing saturation across an entire outdoor portrait. A setting that improves the sky and vegetation may simultaneously make skin tones too strong.
Selective editing provides better control.
Handle Harsh Sunlight
Direct sunlight can create strong highlights on the face and deep shadows around the eyes, nose, or clothing. These conditions require careful editing.
Reducing highlights can soften overly bright areas, while increasing shadows slightly can reveal facial details. Local adjustments are especially useful because they allow specific areas to be corrected without changing the entire photograph.
Do not remove all shadows from the face. Natural shadows help define facial shape and indicate the direction of the original light.
The objective is to reduce distracting extremes while maintaining realistic lighting.
Add Warmth to Golden-Hour Photos
Photos captured shortly after sunrise or before sunset often contain warm, soft light. Editing can strengthen this atmosphere without making the image overly orange.
A slight increase in warmth can enhance golden tones, while controlled highlights can preserve bright areas around the sun. Shadows can remain slightly deeper to create visual depth.
If the photograph includes a person, monitor skin tones carefully. Warm lighting should create atmosphere without making the face look unnaturally saturated.
Golden-hour photos often need fewer adjustments because the natural lighting already provides a strong visual foundation.
Create Depth With Local Adjustments
Outdoor photographs can sometimes appear flat when the foreground, subject, and background have similar brightness.
Local adjustments can help create separation. The subject can be brightened slightly, while distracting background areas can be darkened or softened. A small increase in contrast around important elements can also guide attention.
These changes should blend gradually into surrounding areas. Visible editing boundaries can make the image feel artificial.
Subtle differences in light and contrast are often enough to create stronger depth.
Remove Small Distractions
Outdoor locations can contain objects that were difficult to avoid during photography. Signs, cables, litter, distant people, vehicles, or small objects near the edges can distract from the main subject.
Cropping may remove some of these elements immediately. Cleanup tools can be useful for smaller distractions.
Before removing anything, consider whether it contributes to the environment. Not every background object needs to disappear. The goal is to simplify the composition while preserving the character of the location.
Use Sharpness Carefully
Outdoor images often contain detailed textures such as leaves, rocks, buildings, clothing, and landscapes. A moderate amount of sharpening can make these details clearer.
Too much sharpening, however, may create rough edges or make vegetation look unnatural. It can also increase visible noise in darker areas.
Apply sharpening near the end of the editing process and review the image at normal viewing size before exporting.
Keep Outdoor Photos Realistic
Outdoor editing can easily become excessive because skies, vegetation, sunlight, and landscapes respond strongly to color adjustments.
Compare the edited image with the original throughout the process. Check whether the sky still looks believable, skin tones remain natural, and shadows match the direction of the light.
A polished photograph does not need maximum saturation, extreme contrast, or dramatic effects.
Outdoor photo editing is about enhancing the natural qualities already present in a scene. Balanced exposure, controlled highlights, realistic colors, accurate skin tones, and thoughtful local adjustments can transform an ordinary outdoor photograph into a polished image.
Work with the original lighting rather than against it. Preserve natural shadows, keep colors balanced, and use selective adjustments when only one part of the photograph needs improvement.
With careful editing, outdoor photos can look bright, detailed, and professional while still maintaining the authentic atmosphere of the original moment.