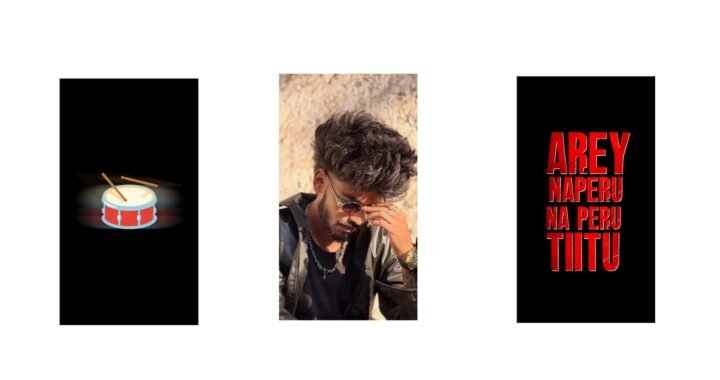
If you can, try this kind of editing because it looks incredibly amazing. First, let me play it once with the song so you can hear the lyrics and get an idea of the flow. Please support the channel by dropping a like. Let me know what you think about the preview in the comments section; your support helps me bring even better editing tutorials in the future. If you come across any trending videos that you like, send me a DM or share the link so I can make a direct tutorial on it. If you face issues with the Alight Motion app or if the project file is not importing, I have provided a troubleshooting video link below. You can find the Alight Motion app setup on my Telegram and WhatsApp channels via the links below. Today, I will skip a formal breakdown because I want to show you how I generated these custom photos first.
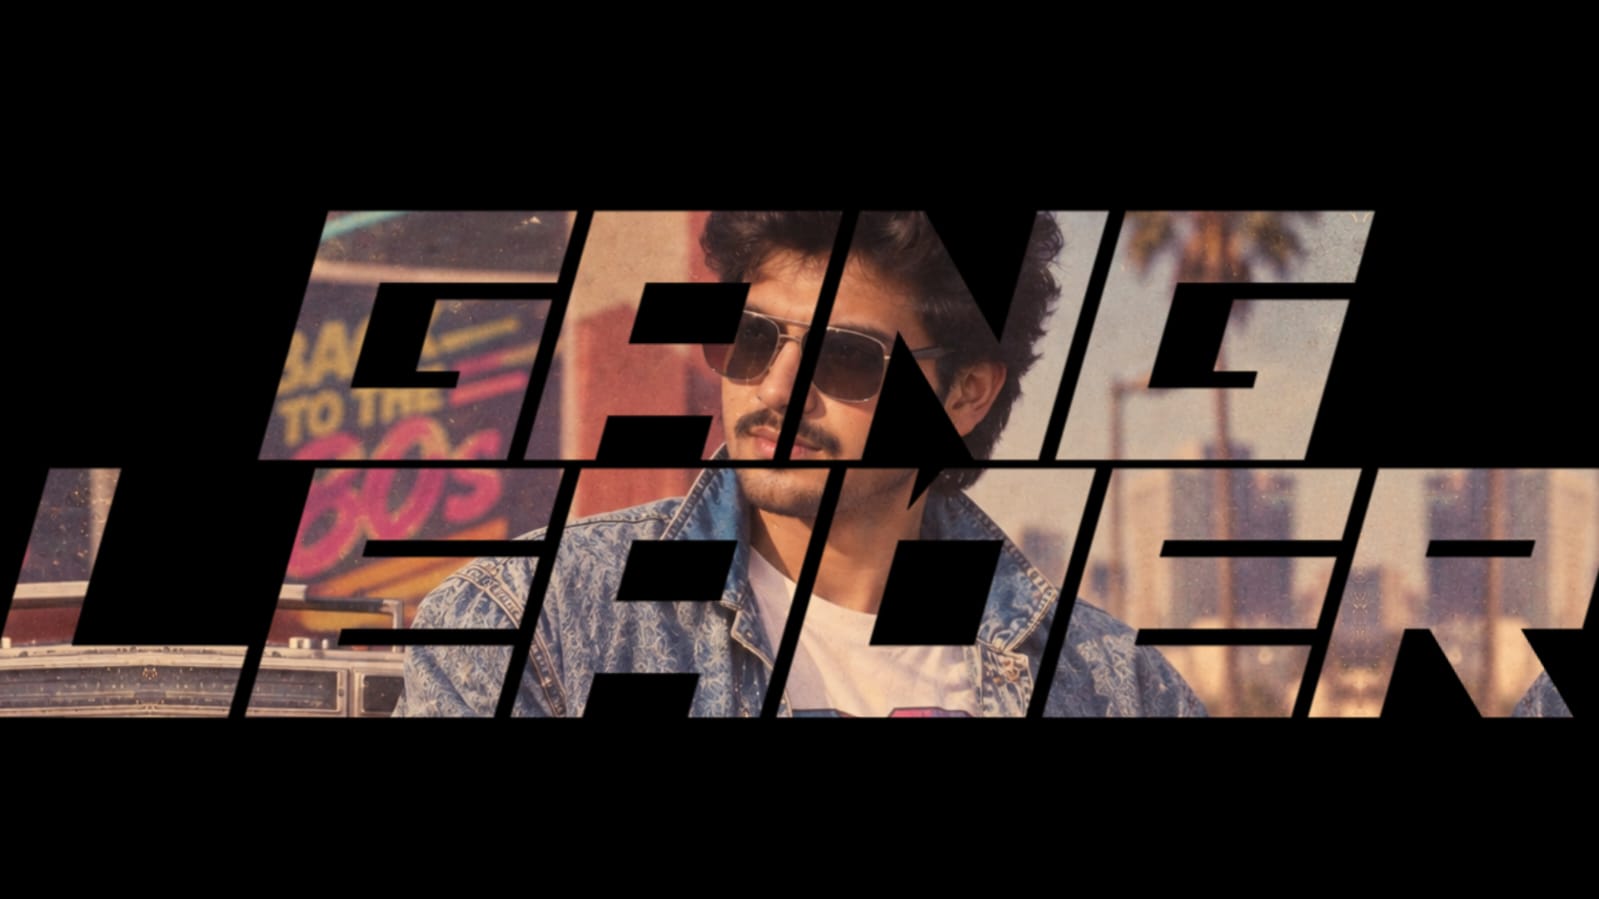
Being introverts, we rarely have many personal photos, so I used just one single photo to generate multiple creative variations. For example, look at this variation of a boy lying down casually inside an old vintage classroom—there are many diverse poses you can create depending on what suits your face best. I generated a lot of them, and I will share two of these generated image prompts in the video description below so you can use them easily. Take the prompt, upload your photo to ChatGPT, and it will generate an excellent photo for you. Having multiple photos with different poses looks much better because using just a single pose throughout the video gets boring. I created these assets last night, and they have a fantastic cinematic classroom vibe. If you want to bypass complex prompt styling, you can simply upload your photo and describe what you want in plain Telugu. For instance, you can type: “Create an alone photo of the uploaded photo boy lying down inside a classroom.” Keep the aspect ratio to whatever you prefer, but remember to mention key details like an “old vintage classroom” and “soft sunlight” to get a deep, highly premium, and dramatic look.
Now, moving on to our main editing process, let’s open a new project. If you lack the patience to build everything from scratch, you can import my pre-made project template link below. First, navigate to the audio section and add your soundtrack, or extract the audio directly if you are using a video file. Listen to the audio carefully and place beat marks along the timeline. Setting these red beat mark lines makes your editing workflow extremely fast because you know exactly where each photo needs to start and end. Next, tap the bottom plus icon, go to Media, and add your first image, aligning it with the marked beat. Scale and zoom the photo slightly to fit your frame, and then duplicate this exact layer. We need a clean PNG cutout of the subject for the top layer. Since Alight Motion isn’t ideal for automatic background removal, upload your photo to the PhotoRoom app instead, which is available on the Play Store and my community channels. If the automatic cut misses any details, use the Edit Cutout brush and zoom in to manually restore elements like the school bench to keep the framing clean. Save the PNG asset and head back to Alight Motion. Select your duplicated top photo layer, open Color & Fill, and replace it with your newly created PNG cutout. If it glitches and refuses to replace, add the PNG as a fresh layer, copy it, delete it, and then use the Paste Style arrow to apply only the color/fill properties onto your target layer.
Once the cutout layer is set up, select it, go to Effects, tap Add Effect, and choose the “Lines” option under the Drawing & Edge category using standard settings to create an initial line outline. Change the line color to pure white and adjust the spacing so it sits nicely around the subject. To create a sliced look, go back to Add Effect, open the Procedural category, and add the “Stripes” effect. Increase the stripe count significantly depending on your preference. Scroll down to the stripe color settings, set it to black, and toggle on the “Punch Out” option to generate a distinct round slicing pattern. To animate these lines, go to Phase or Angle, add a keyframe at the very beginning of the photo duration, add another keyframe at the end, and change the angle values slightly to introduce a smooth sweeping movement. Now duplicate this layer once more, clear all the line effects on this new duplicate, go to Add Effect, choose Saturation/Vibrance under Color & Light, and drop the saturation down to the negative maximum. This separates your animated subject layer in black and white while keeping the background in full color, which looks spectacular for emotional music edits.
Now you can overlay your text lyrics. Copy the lyrics text directly from a Google search, open the Text tool in Alight Motion, paste your first phrase, trim the layer to match the beat mark, and apply the custom font provided in my links. Set the color to pure white, position it elegantly on the screen, and add a “Fade In/Out” effect while keeping the Out duration at zero for a clean entry. Duplicate this text layer to type out the next line of your lyrics. To move to the next scene, long-press all these synchronized layers to multi-select them, copy the bundle, and paste them further down the timeline. Select the newly pasted layers, go back into Color & Fill, and swap out the background and PNG layers with your second set of photo poses. Reposition the text slightly for each scene to keep the visual flow dynamic. Repeat this loop for the rest of the song, or simply use my template project to save time. Add any custom light leaks or particle overlays if you like, and export your final masterpiece. If you have any questions, leave a comment below.
Font link
Full Project
XML file
Song link