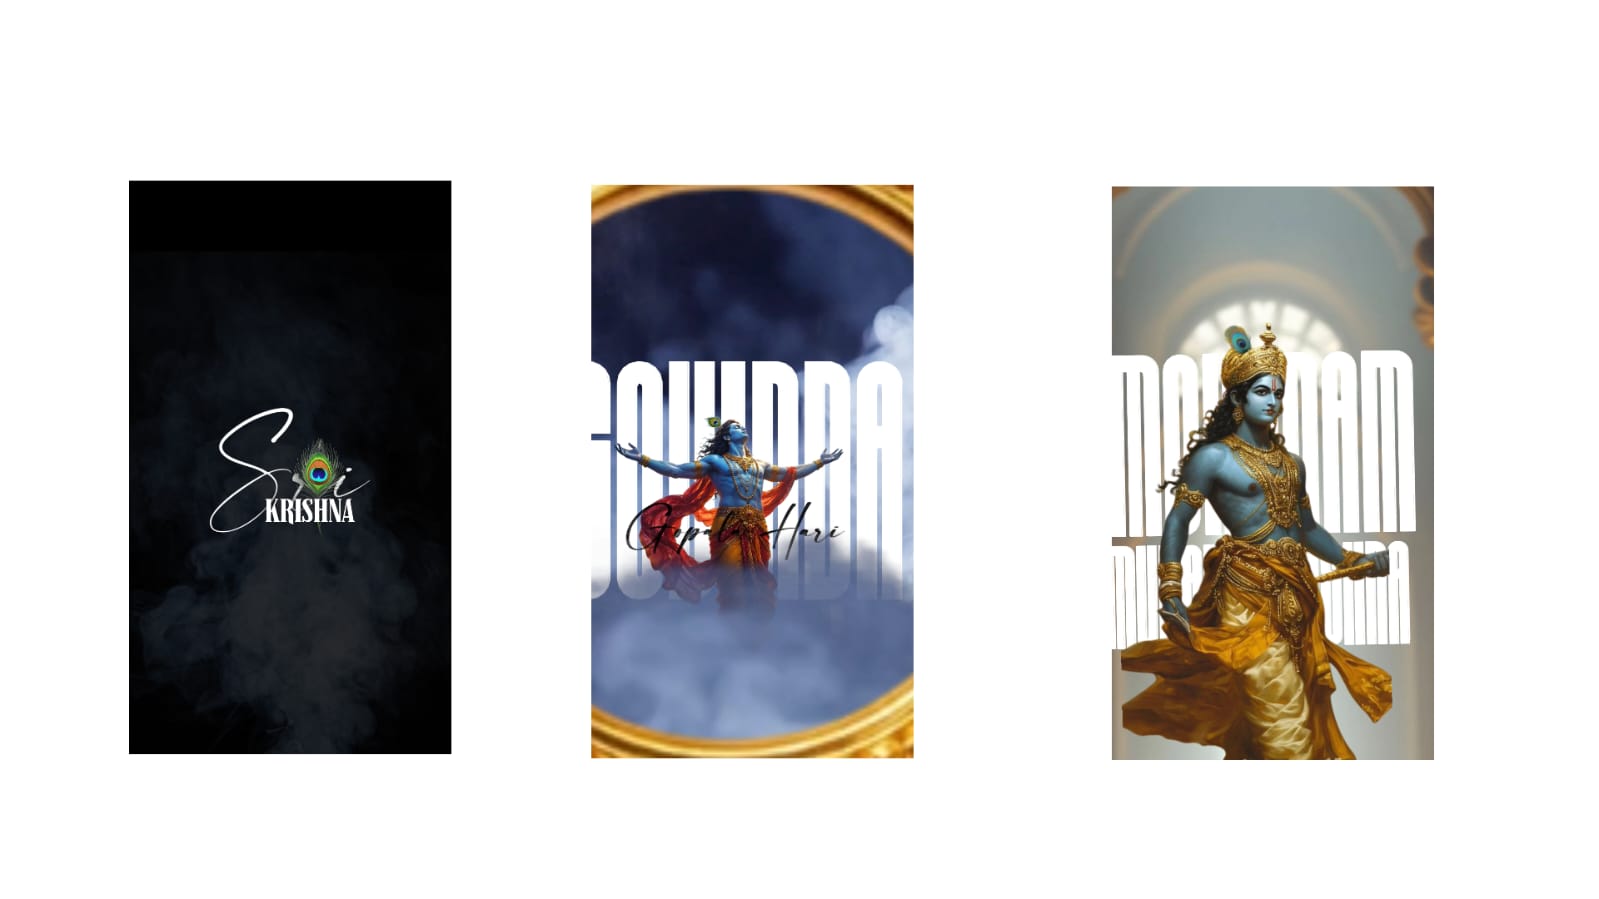
Many of our followers have been asking me to show how to make this carousel effect video, which has been trending. This can be easily done in Premiere Pro or even in After Effects. However, it can be done even more easily in Alight Motion, and that too right on your mobile phone.
Let’s try it out very simply. It is extremely simple, the animation looks perfect, and I have also posted a demo video on Instagram. Check it out if you can. The beat and the song match it really well. Explaining the tutorial once will clear up all your doubts. It will look great and you’ll be impressed. We will do it very simply. I will also show you the demo I made here, and you can try it if you’d like.
First, we need the Alight Motion app. If you don’t have the patience and just want the direct project file, I will leave it in the description so you can use it from there. It will make things very easy if you are planning to try this out. Otherwise, I am going to explain how to do it step-by-step in a very simple manner. First, I’ll give you a quick breakdown of the project file, or rather let’s just jump into making the video. To start, let’s select a 9:16 aspect ratio.
The first step you need to do is tap the plus icon at the bottom and select a shape. Take a shape and keep its center point exactly as it is. After that, take another shape instead of this round shape. Make sure the first one you take is a 100% round shape, and for the second one, choose a curved box shape. Zoom into it, go to “Edit Shape”, and increase the ‘X’ and ‘Y’ values like this. Increase it and keep the radius a bit high. This much is enough, it’s perfectly set. Now, go to “Color & Fill”, tap on the media icon, and you can easily add a nice photo here. Add any photo of your choice. Now that one photo is added, let’s hide that photo layer. Tap the plus icon at the bottom, go to “Object Element”, and add a “Null” layer.
Once you have added the Null layer, unhide the photo we added earlier and decrease its size slightly. Now select that photo, tap the option next to the delete icon at the top, and select “Null”. As soon as you touch Null, the photo will be easily linked to the Null layer. Now, we can attach and arrange our photos along that round shape we created earlier. Rotate it slightly. Now duplicate this exact same photo layer. To do that, select the photo, tap the plus icon at the top, and hit “Duplicate”. Now rotate this photo slightly and move it to the side using your finger. Rotate it a bit more like this. Duplicate it again.
The reason I had you place that round shape in the beginning is so you can use it as a guide to rotate your photos accurately. Now rotate this one again and place it here, adjusting the rotation angle slightly higher. Duplicate it again, increase the rotation, duplicate again, and increase the rotation further. Keep duplicating and adjusting the rotation to match the circle. I will quickly set up a few so you get the general idea. Doing this with just one repeated photo is very simple, but since I want to make it with multiple different photos, you can see how the rotation creates a circular layout. Now the circular layout of the photos is ready.
Sometimes you might face minor alignment issues, so just adjust them accordingly. Now that the photos form a complete circle, you can select each individual photo layer and replace it with any other photo you like. Choose whichever photos look best. There might be around 10 to 15, or maybe 12 to 13 photos in total. Replace all of them with your own distinct photos. Once all the photos are replaced, we can go ahead and delete that initial guiding round shape layer.
Now, select the Null layer and bring it downwards to adjust the position. The photos aren’t perfectly aligned here yet, so you will need to set them up neatly. Setting them up properly is what gives the video a high-quality look. I am explaining this to you a bit fast right now, but make sure to take your time with each photo. Don’t worry about how much time it takes, because we want the final video to look amazing, so take your time and rotate them carefully like this.
Alright, I have rotated it a bit. Now I will add a main photo on top of this, and that photo should be a PNG (cutout) format. I have placed it here. You can also add any photo you like as the background. For example, I have this photo here; I will zoom into it, go to “Move & Transform”, and increase the Z-value like this. I am going to blur this background photo. Go to “Effects”, select “Add Effect”, go to the “Blur” category, choose “Gaussian Blur”, and adjust the intensity to your liking.
Now, align the main photo perfectly in the center. Now comes the core part—we have already set up the rotation. From here, you can add your music or sound effects. Since the movement is like a scrolling or typing/writing effect, I am adding a scrolling-type sound effect first. Take a listen to it now. It sounds exactly like that style. After that, you can add your main music track from here.
If I want to set this project duration, for example, tap the plus icon at the top, select all layers, and click the arrow icon to extend them all the way to the end. Now, animating the rotation is not difficult at all. Select the Null layer, go to “Move & Transform”, open the “Rotation” settings, and add a keyframe at the start. Add another keyframe at the very end. Now, rotate it however you like. For instance, rotate it up to this point, go to the graph editor (“Curve”), and adjust the easing curve like this. Now look at the preview.
That’s it! It might not look completely obvious right now because I used the same photo repeatedly, so that premium look isn’t fully visible, but when you change it to multiple different photos, it will look amazing. I will show you the final version I made later anyway. This completes the main animation. Beyond this, if you want to add extra photos, extra animations, zoom effects, or shake effects, you can add them to create a dynamic, random animation style. It is very simple to do later on.
That is how you create this animation. If you don’t want to make it from scratch, I will provide the project file I created in the description. It is the exact same style, though the shapes might be slightly closer together, so keep an eye on your photo placement. It follows the exact same workflow with just a few minor extra animations added at the end. Go ahead and check out the project file. That’s all, Jai Hind! If you have any doubts, leave a comment.
Full Project
XML file
Song link