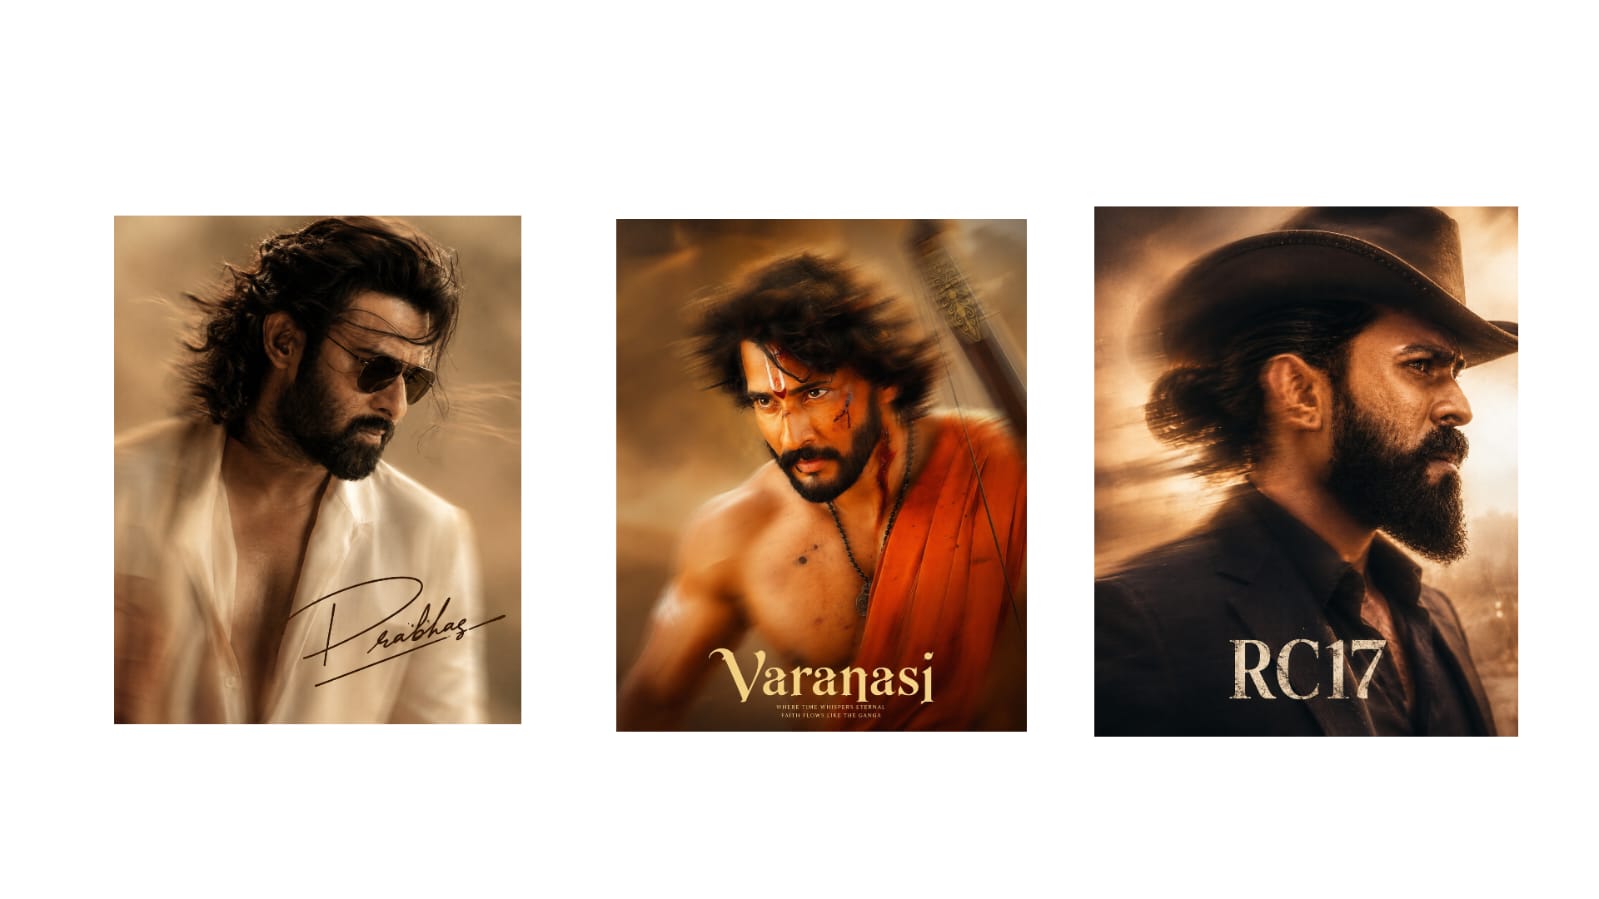
Photo editing is an important part of modern digital photography. A camera captures the scene, but editing allows photographers and creators to refine the final image. Even a simple photograph can become more attractive by correcting exposure, improving colors, cleaning distractions, and adjusting composition. The best results usually come from a structured workflow rather than randomly applying filters and effects. By following a few practical steps, beginners can develop a reliable editing process and create polished images for websites, social media, and personal projects.
1. Select the Right Photograph
The editing process should begin by selecting a strong original photograph. Look for images with good focus, sufficient detail, and a useful composition. If several photographs show the same subject, compare them carefully and choose the version with the best expression, lighting, and framing.
Always keep an untouched copy of the original. This gives you the freedom to experiment and return to the starting point whenever necessary. Working with the highest-quality available file also provides greater flexibility when cropping or making significant adjustments.
2. Correct the Overall Exposure
After selecting the photograph, examine its lighting. Determine whether the image is too dark, too bright, or reasonably balanced.
Adjust exposure gradually rather than making a dramatic change. Then work with highlights and shadows. Reducing highlights can recover details from bright skies, windows, or reflective surfaces. Increasing shadows can reveal information in darker portions of the image.
Once the brightness is balanced, adjust contrast carefully. A moderate increase can add depth, while excessive contrast can make shadows too dark and highlights too harsh.
3. Fix White Balance
White balance controls the overall temperature and color appearance of an image. Photographs captured under different lighting conditions can sometimes develop unwanted yellow, blue, green, or purple tones.
Temperature adjustments can make an image warmer or cooler, while tint can correct unwanted green or magenta casts. When editing portraits, accurate white balance is particularly important because skin tones should remain natural.
If the image contains a neutral white or gray object, use it as a reference when judging color accuracy.
4. Improve the Color Palette
Once the basic color balance is correct, refine the overall color palette. Vibrance and saturation can make an image more colorful, but they should be used carefully.
Instead of increasing saturation dramatically, make small adjustments and compare the result with the original. Selective color controls can be useful when only certain colors need improvement.
For example, a landscape may benefit from slightly stronger greens and blues, while a portrait may require more attention to natural skin tones and clothing colors.
5. Clean the Image
Small distractions can have a surprisingly large effect on a photograph. Examine the background for unwanted wires, stains, signs, random objects, or people.
Healing, cloning, and object-removal tools can help clean these areas. However, inspect the result carefully after making the change. Automatic tools can sometimes create repeated textures or unusual patterns.
The purpose of cleanup should be to remove distractions without making the photograph appear artificial.
6. Improve Portrait Details
Portrait editing requires a subtle approach. Temporary blemishes can be removed, but natural skin texture should remain visible.
Small improvements to eye brightness, facial clarity, and teeth color can make a portrait look polished. Avoid excessive smoothing because it can make the skin appear unnatural.
Facial reshaping tools should also be used carefully. Minor adjustments may improve composition, but dramatic changes can alter the person’s natural appearance.
7. Crop and Straighten
Cropping is an effective way to strengthen composition. Remove unnecessary empty areas and position the subject where it looks visually balanced.
If a horizon or architectural line is tilted, use a straightening tool to correct it. Consider the final destination before choosing the crop. Different websites and social platforms may require different aspect ratios.
Always make sure important parts of the subject remain inside the final frame.
8. Add Creative Adjustments
After completing basic corrections, creative adjustments can be introduced. A subtle vignette can guide attention toward the subject, while color grading can create a particular atmosphere.
Black-and-white conversion can work well for portraits, architecture, street photography, and emotional scenes. Creative effects should complement the photograph rather than dominate it.
If viewers notice the effect before they notice the subject, the effect may be too strong.
9. Sharpen and Reduce Noise
Sharpening can improve clarity, especially after resizing an image. However, excessive sharpening may produce unwanted outlines around edges.
Noise reduction is useful for photographs captured in low-light conditions. Apply it carefully because excessive noise reduction can remove fine details and make the image look soft.
The final balance should provide clean details without creating an overly processed appearance.
10. Review Before Exporting
Before saving the final image, compare it with the original. Check exposure, colors, skin tones, composition, background cleanup, and sharpness.
Zoom into important areas to identify mistakes that may not be visible at normal viewing size. Save a high-quality master copy and create a separate compressed version if the photograph is intended for online use.
Conclusion
A structured photo editing workflow can make the editing process faster, easier, and more consistent. Selecting a strong original, correcting exposure, balancing colors, cleaning distractions, improving portraits, cropping carefully, and applying subtle creative effects can produce professional-looking photographs.
The most important lesson is that editing should improve the photograph rather than completely hide its natural qualities. With regular practice and careful observation, creators can develop their own editing style and produce attractive images for digital platforms, professional work, and personal collections.