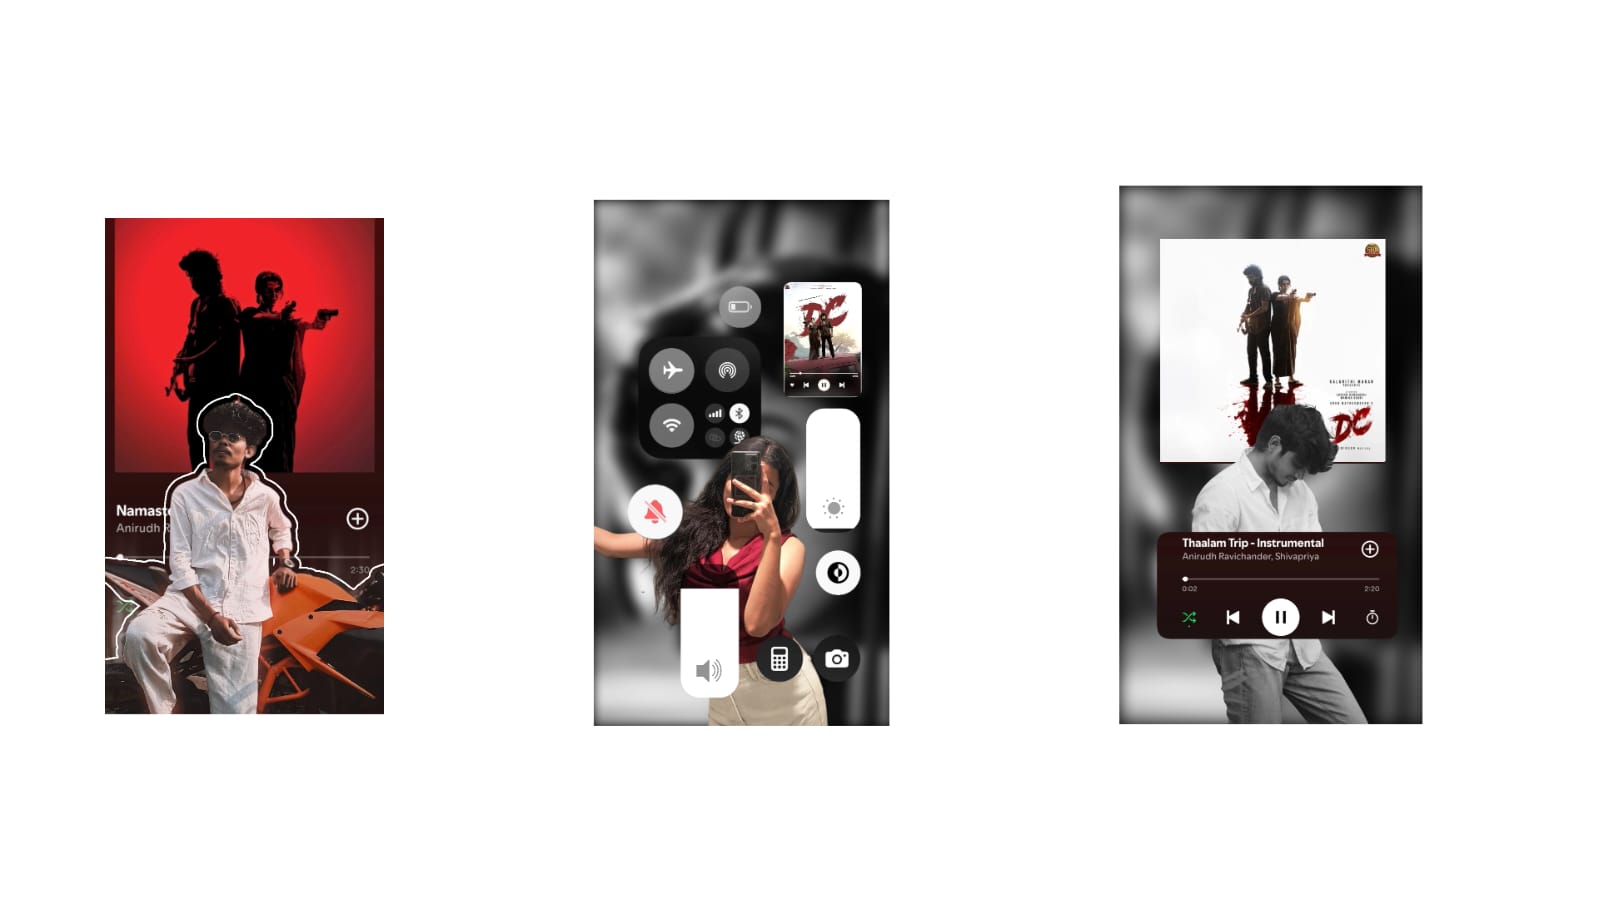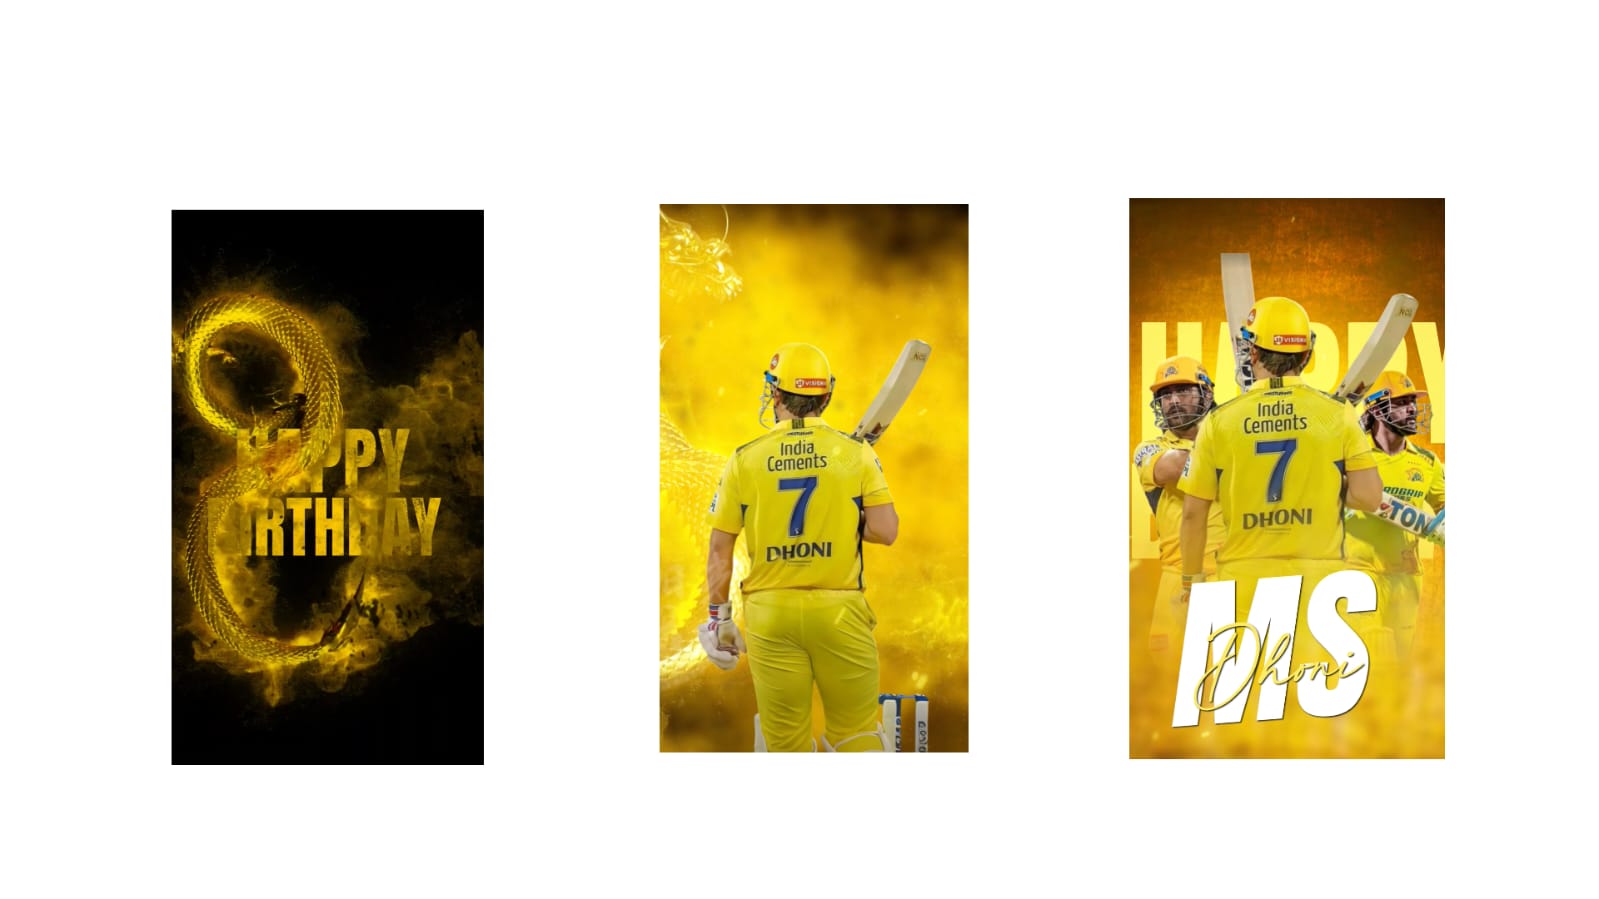
Creating high-quality videos is no longer limited to professional filmmakers. Today, anyone with a smartphone or camera can produce impressive content with the right editing techniques. However, the difference between an average video and a professional one often lies in the editing process. Advanced video editing is not about using dozens of effects but about making every scene smooth, engaging, and visually appealing. By mastering a few essential techniques, creators can improve storytelling, increase viewer retention, and build a stronger online presence.
The first tip is to organize all your media before you begin editing. Professional editors always sort video clips, audio files, music, images, and graphics into separate folders. Naming files correctly and arranging them by scene or shooting date makes the editing process much faster. A well-organized project also reduces the chances of missing important footage during editing.
The second tip is to create a rough cut before adding effects. Instead of immediately applying transitions, color grading, or animations, focus on arranging clips in the correct sequence. This allows you to build a strong story structure before spending time on visual improvements. Once the basic timeline is complete, you can refine each scene more efficiently.
Using J-cuts and L-cuts is another technique that gives videos a professional appearance. These editing methods allow audio from the next scene to begin before the video changes or continue after the visual transition. This creates smoother storytelling and helps maintain viewer attention during scene changes.
Another important technique is maintaining consistent pacing. Every clip should have a purpose. Long pauses, repeated information, or unnecessary scenes reduce engagement. Removing extra footage keeps the video moving naturally while making the content more enjoyable to watch. Fast-paced editing works well for tutorials and social media videos, while slower pacing may suit documentaries or cinematic projects.
Color correction should always come before creative color grading. Correcting exposure, white balance, contrast, and brightness ensures every clip matches visually. Once the footage looks balanced, creative color grading can establish the mood of the project. Consistent colors across all scenes make the final video appear polished and professionally produced.
Audio deserves as much attention as visuals. Clean dialogue, balanced background music, and subtle sound effects create a better viewing experience. Removing background noise and adjusting volume levels prevent distractions that could cause viewers to stop watching. Good audio editing often has a greater impact on audience satisfaction than visual effects.
Motion graphics should enhance the content rather than dominate it. Animated titles, lower-thirds, and simple icons help explain information without overwhelming the screen. Maintaining consistent fonts, colors, and animation styles strengthens your visual identity and makes every project look more professional.
Using B-roll footage is another effective editing technique. Instead of showing the speaker continuously, additional clips can illustrate the topic being discussed. For example, travel videos benefit from landscape shots, while technology reviews can include close-up product footage. B-roll adds visual variety and helps explain ideas more clearly.
Keyboard shortcuts are often overlooked but greatly improve editing speed. Learning commonly used shortcuts for cutting clips, zooming the timeline, switching tools, and undoing actions allows editors to work much more efficiently. Saving even a few seconds on repeated actions can significantly reduce the total editing time for large projects.
Modern AI-powered editing features can automate repetitive tasks such as generating captions, stabilizing shaky footage, improving voice clarity, and detecting scene changes. These tools save valuable time while allowing creators to focus on storytelling and creative decisions. Even experienced editors use AI to speed up production without sacrificing quality.
Export settings also play an important role in the final result. Selecting the appropriate resolution, frame rate, bitrate, and file format ensures videos remain sharp after uploading to various platforms. Exporting at unnecessarily low quality can reduce all the effort invested during editing.
Before publishing, always watch the entire video from beginning to end. This final review helps identify editing mistakes such as spelling errors, abrupt cuts, audio inconsistencies, or missing transitions. Viewing the project on different devices, including smartphones and computers, ensures it looks good across all screen sizes.
Finally, remember that professional editing is about supporting the story rather than showing off editing skills. Every cut, transition, color adjustment, and sound effect should improve the viewer’s understanding and enjoyment of the content. Consistent practice, careful attention to detail, and a willingness to learn new techniques will gradually improve your editing abilities. As technology continues to evolve, combining strong storytelling with thoughtful editing remains the most effective way to create professional videos that attract audiences, increase engagement, and stand out in the competitive world of digital content.
Full Project
Photo link
XML file
Song link