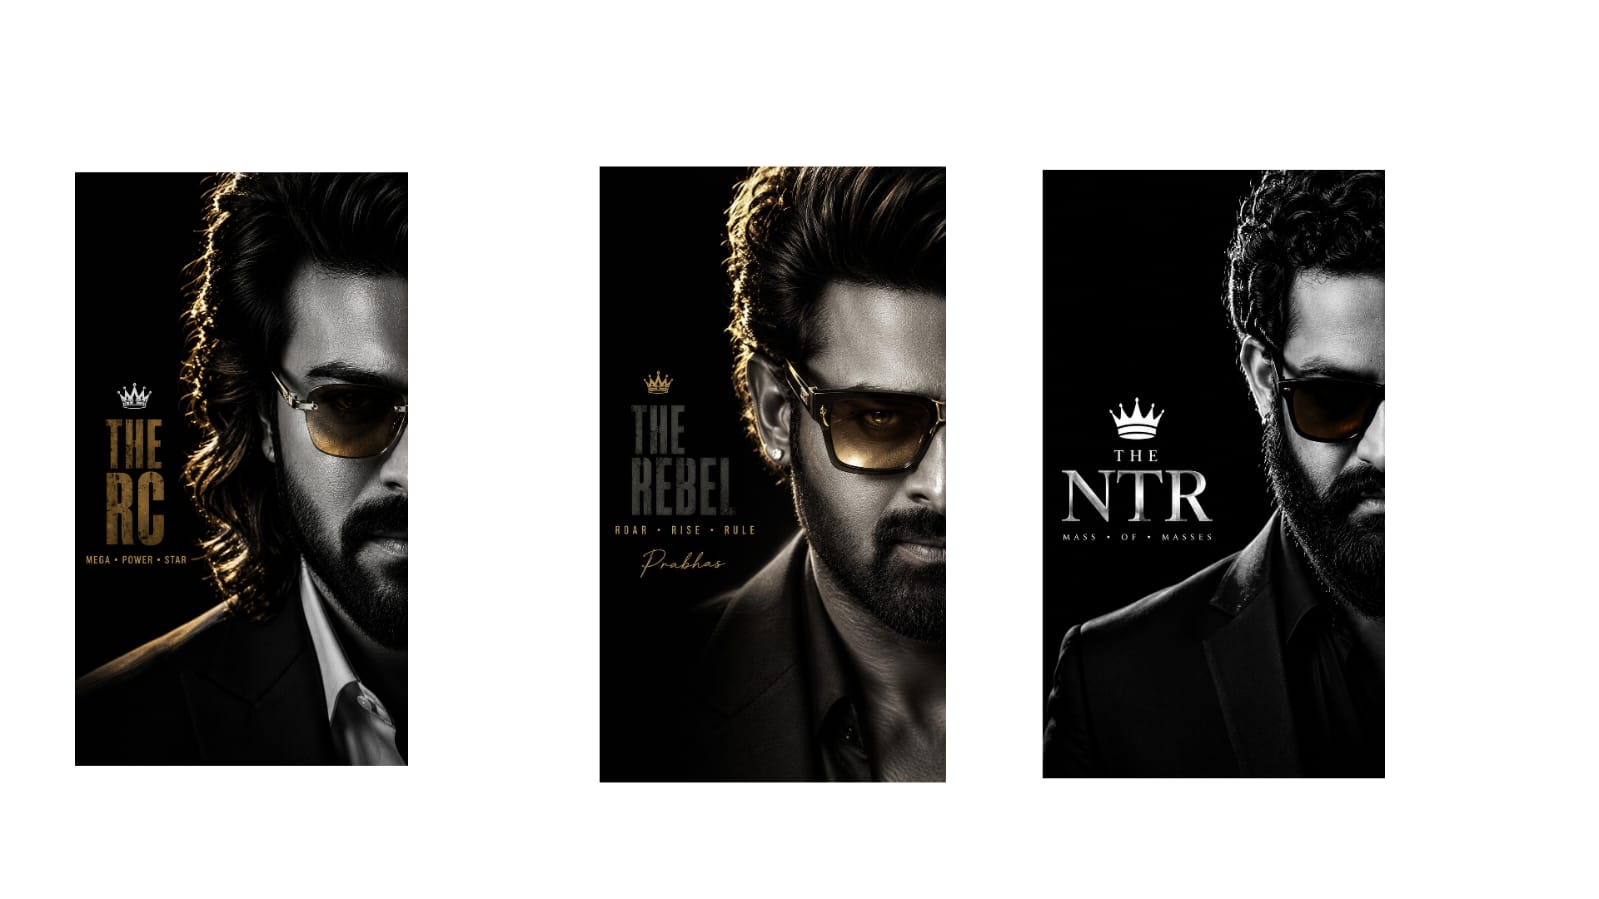
Smartphone photography has improved dramatically over the past few years, making it possible to capture stunning images without carrying expensive camera equipment. However, taking a great photo is only the first step. Professional-looking images are often the result of careful editing that enhances colors, lighting, sharpness, and composition. Learning how to edit photos properly using your smartphone can transform ordinary pictures into eye-catching visuals suitable for social media, business promotions, portfolios, or personal memories. Fortunately, modern editing applications provide powerful tools that are easy to use, even for beginners.
The first step in professional photo editing is selecting a high-quality image. Editing cannot completely fix an image that is extremely blurry or poorly exposed. Start with the best possible photo by ensuring proper lighting and focus while taking the picture. Natural daylight usually provides the most balanced lighting for portraits, landscapes, and product photography.
Once the image is selected, begin by adjusting the exposure. Exposure controls the overall brightness of the image. If a photo appears too dark, slightly increasing exposure can reveal hidden details. On the other hand, reducing exposure helps recover detail in overly bright images. Small adjustments usually create better results than dramatic changes.
Contrast is another important editing tool. Increasing contrast makes the difference between dark and bright areas more noticeable, giving photos a sharper appearance. However, excessive contrast can remove fine details, so moderate adjustments often produce the most natural results.
Highlights and shadows allow greater control over lighting. Lowering highlights can recover details in bright skies, white clothing, or reflective surfaces. Increasing shadows helps reveal hidden details in darker areas without affecting the entire image. Balancing these two settings creates a more professional-looking photograph.
White balance plays a significant role in achieving realistic colors. Indoor lighting often produces yellow or orange tones, while cloudy weather may create cooler blue colors. Adjusting the temperature slider helps correct these color shifts. Warm tones create a cozy feeling, while cooler tones provide a fresh and clean appearance.
Color saturation should be used carefully. Slightly increasing saturation makes colors appear more vibrant, but too much saturation creates unrealistic images. Many professional editors prefer using the vibrance adjustment because it enhances dull colors while protecting already saturated areas from becoming unnatural.
Cropping is one of the easiest ways to improve composition. Removing unnecessary distractions helps focus attention on the main subject. Many photographers use the rule of thirds by placing the subject slightly away from the center, creating a more balanced and visually appealing composition.
Sharpness improves the clarity of details within an image. A small increase in sharpness makes photos appear more detailed, especially landscapes and architecture. Over-sharpening, however, can create unwanted noise and unnatural edges, reducing image quality.
Noise reduction is useful when editing photos taken in low-light environments. High ISO settings often produce grainy images. Modern editing applications can reduce digital noise while preserving important details, resulting in cleaner photographs.
.
Portrait editing has become one of the most popular smartphone editing features. Skin smoothing should be applied gently to maintain natural texture. Removing temporary blemishes is acceptable, but preserving realistic facial details produces a more authentic appearance. Brightening the eyes slightly and improving facial lighting can also make portraits more attractive without looking artificial.
Background editing has become much easier with AI-powered tools. Users can blur distracting backgrounds to emphasize the subject or remove unwanted objects such as vehicles, power lines, or random people. These features help produce cleaner and more professional-looking images without requiring advanced editing skills.
Using filters can save time, but they should be chosen carefully. Instead of applying strong preset filters, many professionals use subtle adjustments and customize each setting manually. This approach maintains natural colors while creating a consistent editing style across multiple images.
For social media creators, maintaining a consistent editing style is essential. Using similar color tones, brightness levels, and contrast across all posts helps create a recognizable visual identity. This consistency makes profiles look more professional and attractive to followers.
Saving images in the highest available quality is equally important. Excessive compression reduces sharpness and image detail. Whenever possible, export photos at maximum resolution to preserve quality for future editing, printing, or online publishing.
Regular practice is the key to mastering smartphone photo editing. Experimenting with different lighting conditions, editing techniques, and creative styles helps develop a unique editing workflow over time. By understanding the purpose of each editing tool and making balanced adjustments, anyone can create professional-quality images using only a smartphone. With patience, creativity, and consistent practice, smartphone photo editing can produce stunning results that rival images edited on professional desktop software.