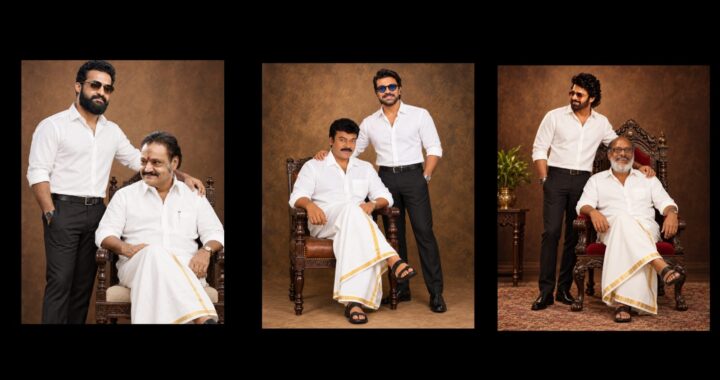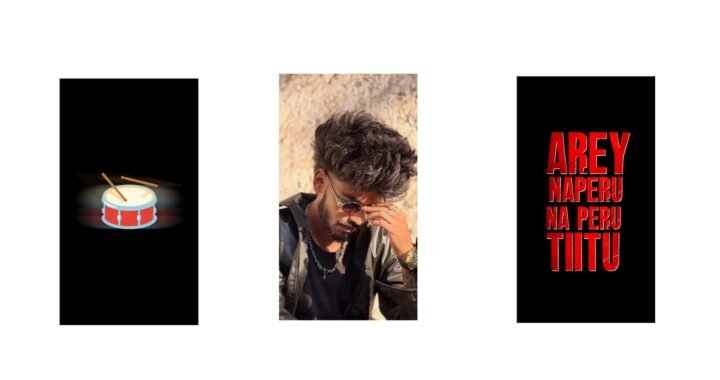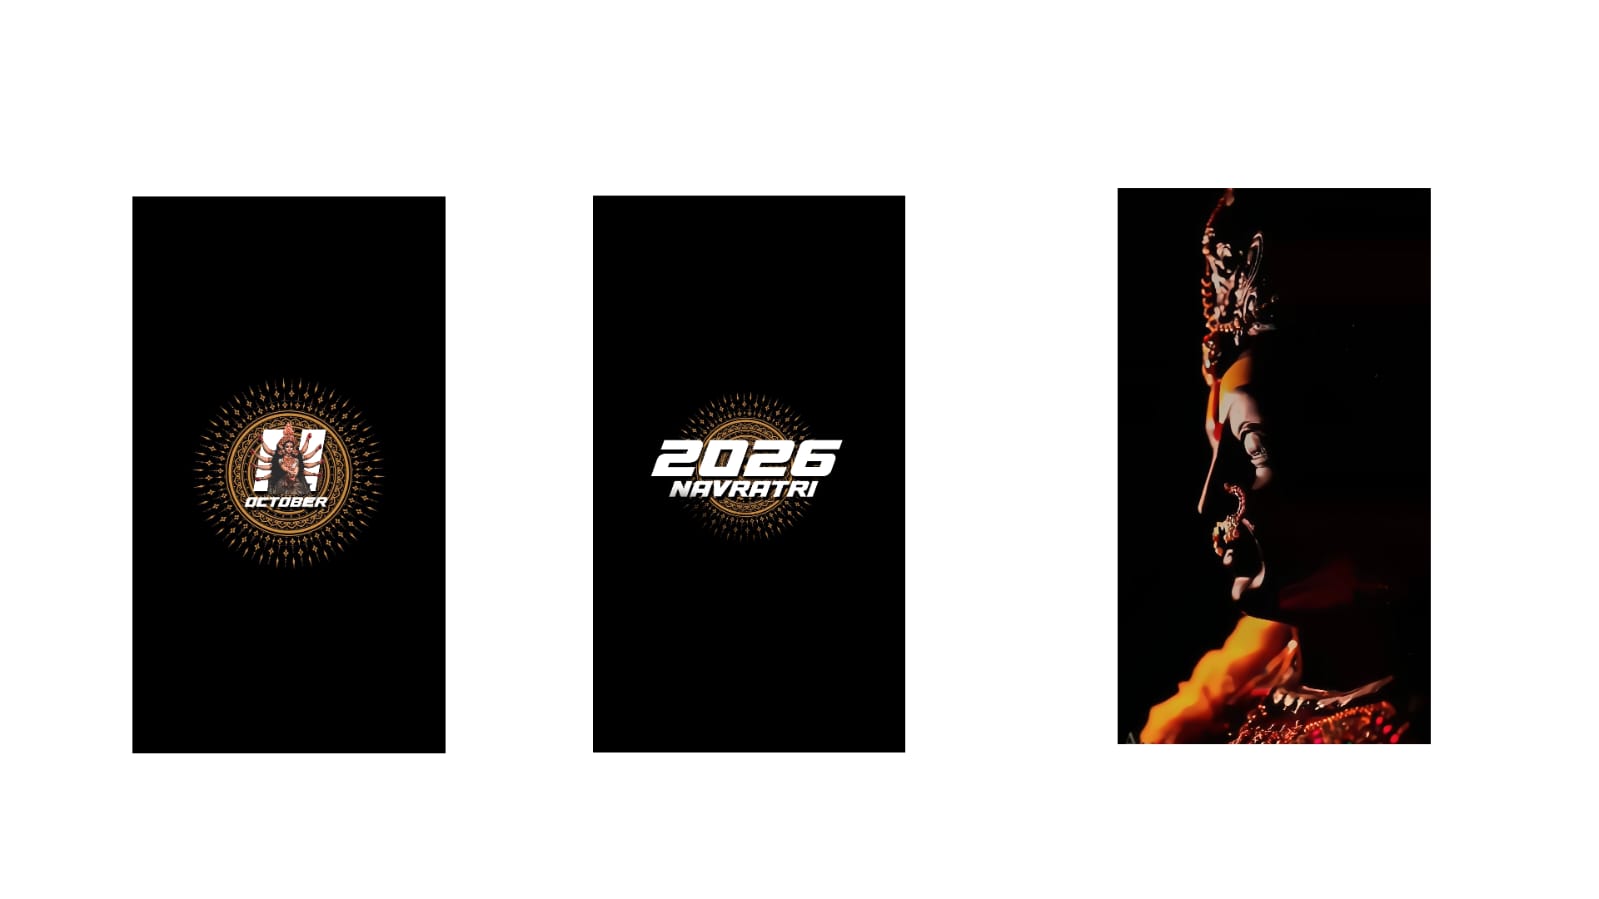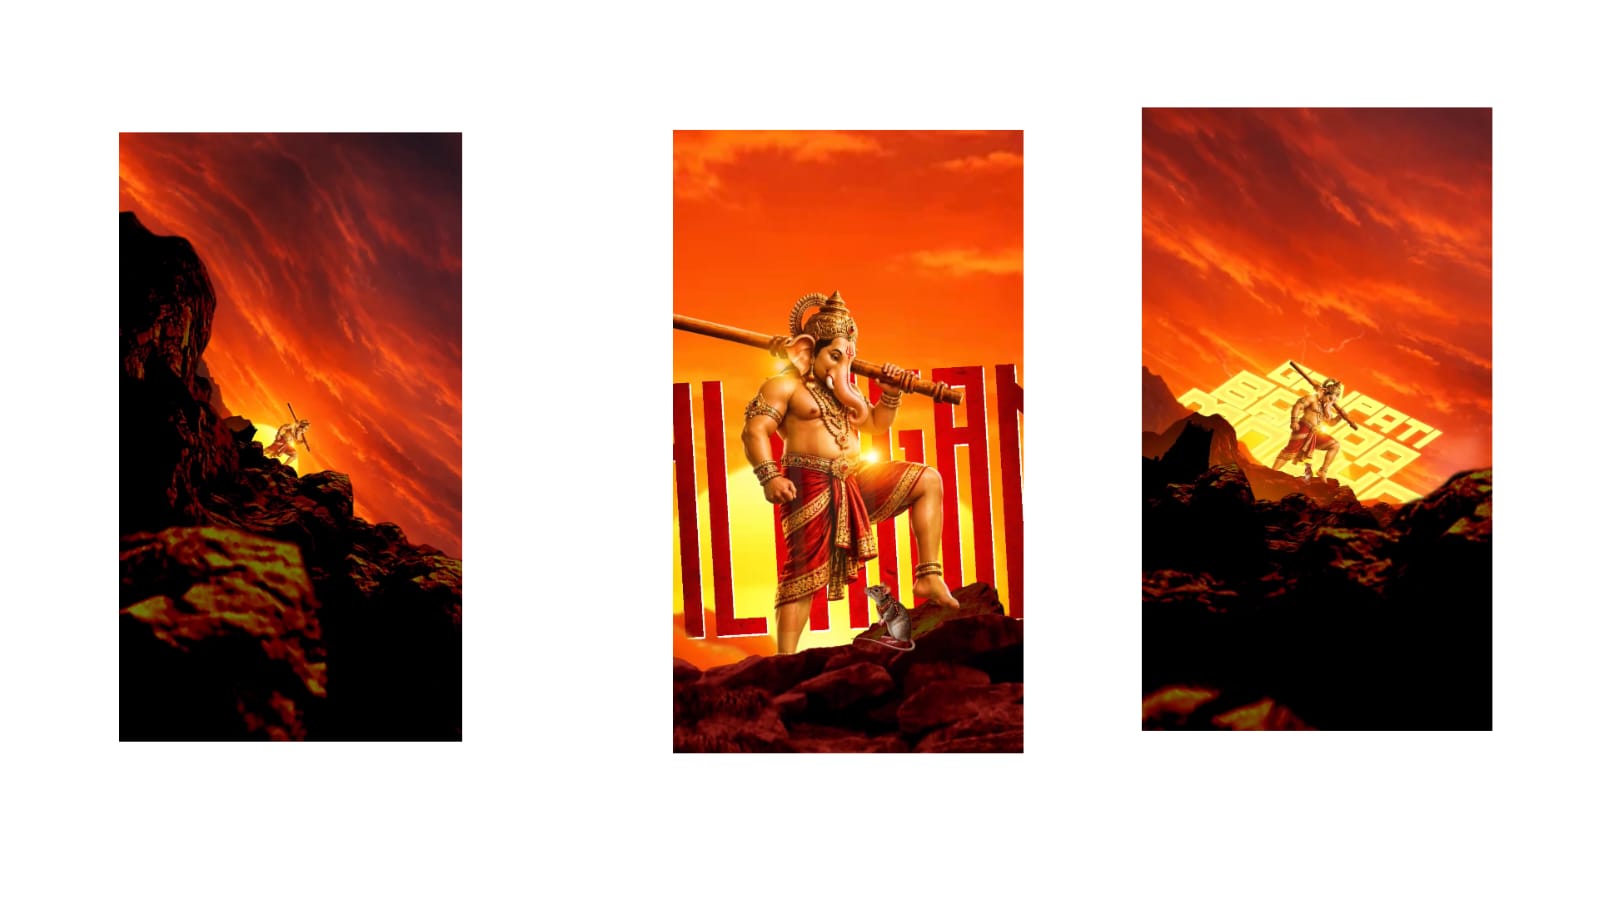
In today’s video, I will explain how to create this type of trending effect in Premiere Pro. You can take any photo you have, whether it is in a vertical or horizontal format. Upload that photo to Midjourney, and by using the prompt I provide, you can generate this type of image. Once this image is generated, you need to create a second image. For that, watch here—I asked the tool to generate an image with “closed eyes and lips,” and it created this second image for me. After creating these two images, take them into Photoshop to remove the watermarks. Once removed, you need to bring them into Premiere Pro. I have muted the audio here to avoid copyright issues. You can see the audio beats and waves clearly on the timeline.
You need to add markers according to these waves. I pressed ‘M’ on the keyboard to place my markers. Now, let’s take the first image and drop it onto the timeline. Note that these generate in crisp 4K quality. I placed the first image here, and then I brought the second image right next to it on the timeline. Next, we need to crop the visual. To do this, we need to add an Adjustment Layer. Go to ‘New Item’, select ‘Adjustment Layer’, and place it on the track directly above the video. Align the playhead with the ending of the starting audio beat on the timeline. Go to the effect settings for the adjustment layer. Crop the Bottom by 30% and the Top by 30%. Add keyframes for both Top and Bottom crop values at this position.
Then, move to the starting frame and change both Top and Bottom crop values to 50%. Doing this ensures the frame starts completely closed and opens up precisely when the beat hits. Once it opens up, it will look like this. We still need to adjust the image frame slightly. Select the image and go to Motion settings under Effect Controls. Under Motion, I will scale up the image slightly. Adjust it cleanly so it looks good visually. We need the exact same framing for the second image, so copy these Motion settings. Select the second image on the timeline and press Ctrl+V to paste the attributes. Let me play it once without the mute so you can see. See? It looks like a smile is opening up naturally. Take a look at it. Next, we need to mark the timeline at the next beat.
Press ‘M’ on the keyboard to add a marker and trim the image up to this point. Trim the Adjustment Layer to match that same point as well. Now, bring back the image with the closed eyes onto the timeline. Move to the end of the beat, hold the Alt key, and drag a duplicate of the adjustment layer over. After dragging it, I will look for the next audio beat and place a marker on the timeline. Trim the bottom image up to this new marker. After trimming, we need to scale this image. Before doing that, drag and drop the photo where the eyes open onto the timeline. Since we want the eyes to appear right after the smile, we will adjust the scale of this image. Adjust the scaling slider until it looks perfectly framed and visually appealing to you.
Copy its Motion attributes and paste them onto the second image using Ctrl+V. It will look like this. Since another beat lands right here, press ‘M’ to mark the spot. Drag the closed-eyes image and trim it to end exactly where that beat finishes. Let me play it to show you. Ah, we forgot to copy the motion settings to this image, which is why it looks misaligned. Copy the motion properties from the bottom track image and paste them onto this upper track image after selecting it on the timeline. Now look at it. Because of the double beat style, the eyes will open twice in quick succession. They blink open and close like this. Let me play it from the beginning so you can see the whole flow. This is how you need to create the sequence up to this point.
After this, I will give you another prompt. Go back to Midjourney and upload the image we just created. Once uploaded, paste the second prompt. After pasting the second prompt, it will generate a new image variant like this. The process here is exactly the same as the first image setup. You have to ask the AI to close the eyes and give a slight smile with closed lips.
When you type that description into Midjourney, it will generate another matching image variant for you. By generating your images this way, you can easily create this trending video effect. Now that you know the intro layout, you can take screenshots from your actual video footage for the remaining beats. Run those screenshots through the tool to generate your AI images and piece together an amazing trending effect. If you liked this video, please leave a like. If something was unclear and you want a deep-dive tutorial, comment “Full Tutorial” below. Based on your comments, I will make a complete, extended guide. I will see you soon with more new effects. Goodbye!