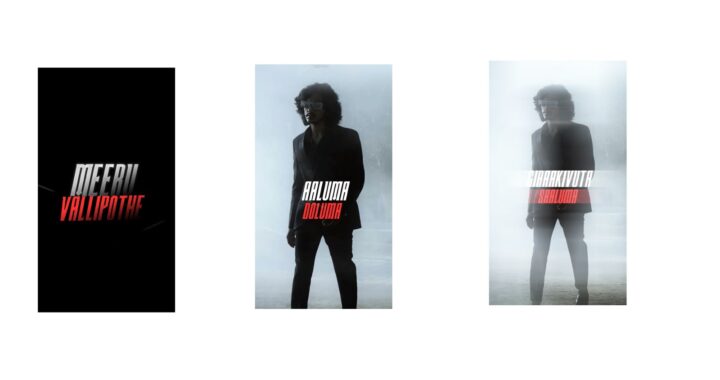
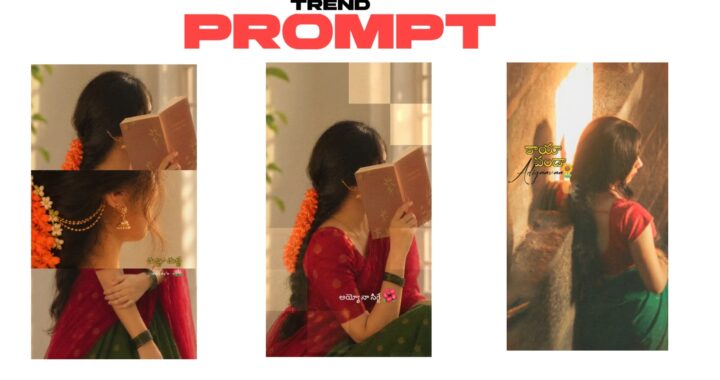
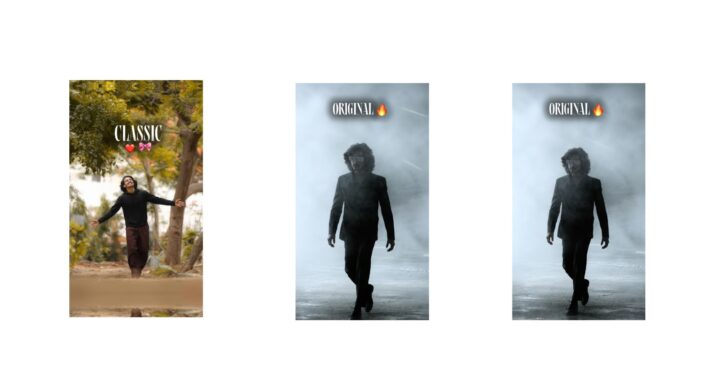
The journey is broken down into four weekly stages, starting with Week 1, which focuses entirely on building the “editor’s eye” rather than rushing into software. During this first week, you must observe professional videos to analyze why cuts happen, note impressive transitions, fonts, and sound design, and compile these references into an editing library using tools like Notion or Figma. Additionally, you should familiarize yourself with foundational video language—such as frame rates, resolutions, aspect ratios, bitrates, and codecs—while keeping tabs on popular AI tools like Descript, Runway, ElevenLabs, Midjourney, and ChatGPT.
Week 2 introduces technical execution, starting with choosing the right software: Premiere Pro, DaVinci Resolve, or Final Cut Pro for professional PC editing; CapCut or Filmora for casual desktop creators; and CapCut, VN, or Alight Motion for mobile users. Once selected, you learn the interface via YouTube tutorials, practice basic trimming, master zoom and transform properties, sync rough footage cuts to music beats, and apply foundational text styling to deliver your very first mini-project.
Week 3 tackles the most challenging premium layers: sound design (pitch, tempo, reverb, and audio layering), color theory and correction (exposure, contrast, skin tones, and color wheels), typography, basic motion graphics, and visual storytelling. He recommends using platforms like Coolors and Color Hunt for palette inspiration, and FontPair for text layouts.
Finally, Week 4 moves into real-world implementation, where you take a raw practice file, treat it like an actual client project, apply every skill you have learned, and publish it into a professional portfolio hosted on an Instagram page or a Canva website. Ultimately, while this roadmap is enough to understand and start practicing video editing, true mastery comes down to consistent, ongoing practice.