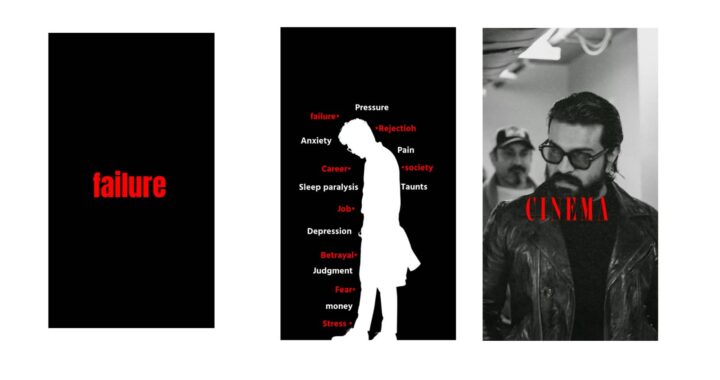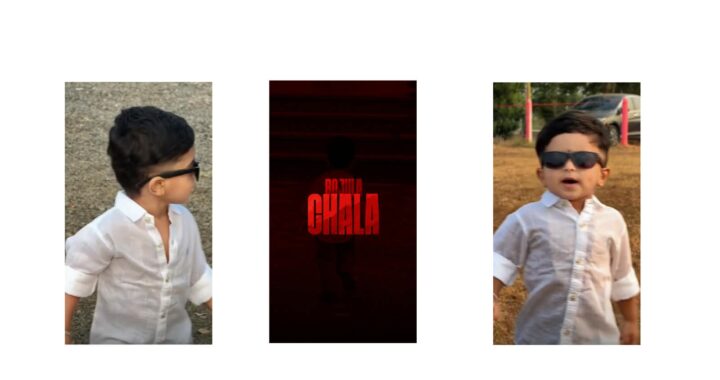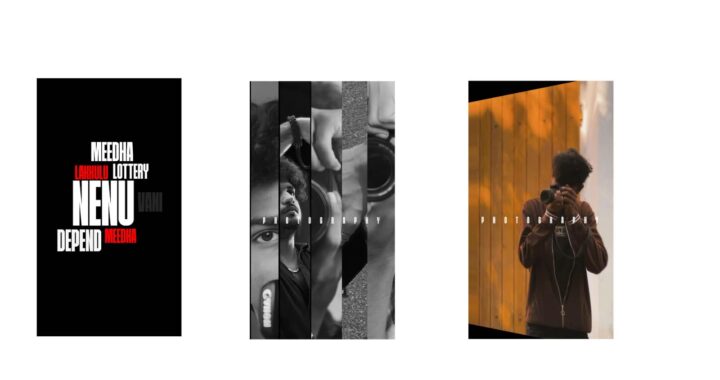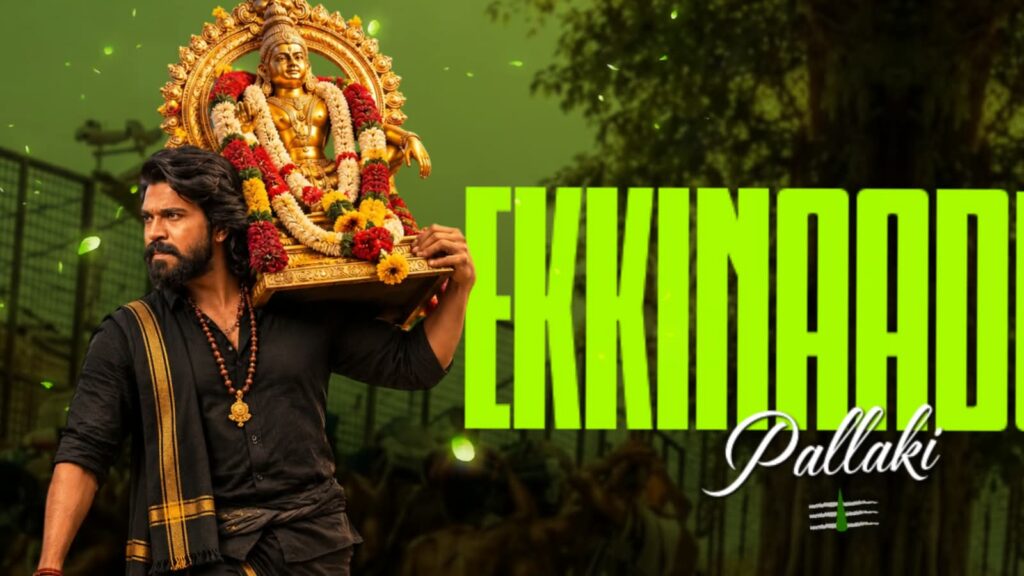
You can see the proof on your screen of the level of video AI can edit. Every single frame of the video currently playing was edited by Claude, including cutting out the subject, writing word-by-word captions, adding smooth motion graphics at 60fps, and adding sound effects alongside background music. Claude generated this entire result quickly using only a few prompts and some references that it read and understood to learn and edit at this level. In this video, I will explain step-by-step in a very easy way how to do all of this and how to set up the workspace, providing all the required prompts in the description so you just have to copy and paste them. Watch the video until the end because you can create your own personal AI editor in a completely non-technical way with just a few prompts and for free, and you can even do freelancing with it. Hello and welcome guys, my name is Saurabh, and on this channel, I make AI and design-related videos, so you can definitely subscribe and turn on notifications if you want more useful AI content.
Now let’s go straight to step number one of this setup. First of all, this setup will not work on the Claude browser version; you need the desktop version of Claude. To download it, simply search “Claude download” on Google, click the first link, click the download button for your system, and install it like any normal application. Open the application on your desktop; it will look just like the browser version, except here you can run Claude Code, which runs on your local system using your laptop’s storage and CPU. The faster your laptop is, the faster your rendering will be and the better Claude Code will work. Here you get two options, Chat and Code, and you need to switch to Code because whenever Claude edits a reel or creates motion graphics, it writes it in code—specifically SVG path code—and uses a framework called Remotion to visually show you the rendered frames.
Once you switch to Code, you don’t need to manually create any project. You can create a folder in your file manager if you want, or just copy the first prompt I’ve provided and paste it directly here. Select “This Computer” instead of Cloud, click “Choose” to pick a folder on your laptop—I already made a folder called “Claude Setup AI” in Documents—and click Open. Claude will save this entire project and all created files inside this folder. Simply click “Trust Workspace” and “Allow”. Under models, if you are on the free plan and don’t see Opus, don’t worry—I always work with Sonnet; select Sonnet, keep it on Medium so you get more token usage, set permissions to Auto, and hit Enter. This prompt will set up an “AI Video Editor” environment inside your folder, automatically creating all necessary folders like References, Raw for your raw footage, Inspiration, Brand Kit, fonts, and any skills Claude creates. You can see inside my “Claude Setup AI” folder that all folders, like References and Exports, have been created. If I want to use a reel or YouTube Short as a reference, I can download it, or even directly paste the link into Claude using a “watch” skill I’ve attached in the description. When you upload and call that skill and paste a video link, Claude analyzes every single frame of that video and saves those learnings into your own style so it can use them in your videos.
Now that the folders are created, copy and paste the second prompt. Claude needs multiple frameworks to work, such as Remotion to display the code visually on screen, Openverse for sound effects, and yt-dlp to analyze videos, and all of this is completely free with no API key required. Just enter the prompt, and Claude will automatically fetch and install everything from the internet into your folder. Once the installation finishes—which you can speed up by removing the line in the prompt that says “after installing run a quick test,” as simply installing them is enough—you will see that yt-dlp, Whisper, Remotion, HyperFrames, Openverse for SFX, and Node 26 are all installed and ready for Claude to use
Next, download the “watch” skill from the description, click the plus icon in Claude, and drag and drop the downloaded zip file directly into Claude without extracting it. Then type “save this skill into this folder” so it works locally within this specific folder, or you can add it globally under Customize to use it across any chat. Once you hit Enter, it extracts the skill, which is essentially just a collection of prompts containing trained workflows that anyone can save and reuse. Now that the skill is added, just press forward slash, type “watch,” and paste any video link; Claude will analyze every frame, learn from it, and save it to your style skill for future edits.
Your complete workflow is now set up. Put your reference videos inside the References folder, and organize your raw videos inside the Raw folder by creating subfolders by episode or video name, separating your A-rolls and B-rolls so Claude automatically picks and places B-rolls where needed while saving everything in your Brand Kit. Once done, ask Claude to pick the folder where you placed your raw video and any screen shares; Claude will automatically add cuts, write captions, add motion graphics, sound effects, and transitions, and give you a finished output. I always recommend asking for a short preview before editing the entire video so you get an idea of how it will look. If you dislike anything in the preview, you don’t need screenshots or timestamps—just tell Claude in plain, conversational English, like changing the color or font of specific text behind the subject. You can even upload fonts directly into the Claude chat, and it will use that exact font for your captions and edits, making specific adjustments quickly. I hope this video helps you; if it does, please like it so YouTube shows it to more people, and subscribe for upcoming videos. If you have any doubts or thoughts, comment below or reach out to me on Instagram where I regularly upload content. Also, if you’re interested in learning design, check out my complete Figma master course on this channel along with other design and AI videos. That’s it for this video, I will see you in the next one—until then, take care, have a good day, bye-bye guys.