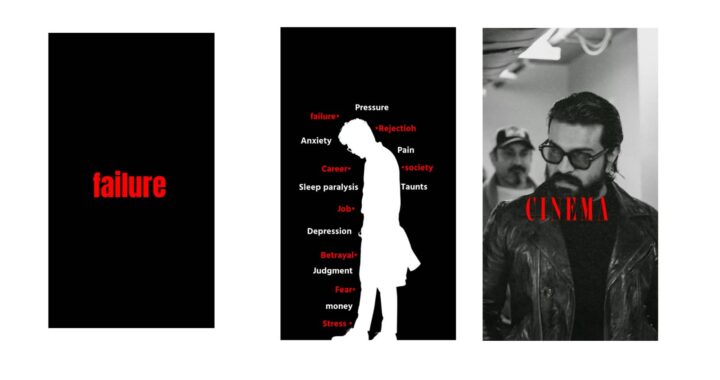
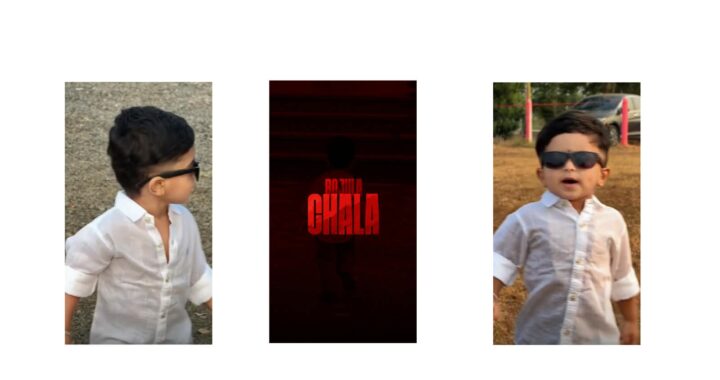
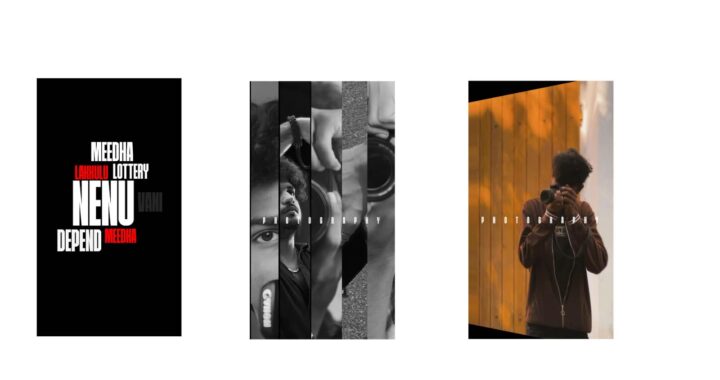
Before watching this demo video, please give it a like. It is going to be amazing, no doubt. First, I will show you the demo. I will show the original video and right next to it, the video that I edited. Look at the cinematic effect. Please leave a like.
(Lyrics playing)
As you can see, it looks highly impressive. This is made using the latest trending song from Dhanush Sir’s movie “Raayan” (“Veezha Veera”). I have edited it to that song. It looks very good and matches perfectly. There are many benefits to this project, which I will explain as we go along. The editing has turned out great. Try applying it to your favorite actor or your own photos, it will look superb. The song has been trending recently, and this specific lyrical bit is truly amazing. Check it out.
First, if possible, use the Alight Motion app or an Alight Motion clone app. It will help you a lot. I uploaded it to Telegram yesterday; you can check it out via the link below. Download it from there. Even I am using Alight Motion. I will show you here—I am using these two apps. The main benefit of using Alight Motion is that you can easily add a glow effect and a rain effect, which looks incredible. If you use standard apps, some of these specific effects and that exact look won’t come through. There will be slight differences compared to the demo because you won’t get the same glow or the active rain movement. In editing, these details matter, so keep that in mind. I am providing both project files so you can use them.
First, I am opening the project file. I am clicking on this box and turning on the camera. Initially, there were a lot more layers here, but I removed a few to keep it optimized. However, the final look remains exactly the same and looks perfect. I have also provided the font link below the video. The font is very important—I used the exact same font seen in the original lyrics without making any changes.
Now, if you want the specific AI image prompts for the character, I can provide a short prompt. But I will only send it if you comment down below. If you comment, I will reply directly with the prompt. I will share two or three different prompts, like a person wearing a formal suit or a black shirt. Right now, I don’t have them ready to display immediately, but if you comment, I will quickly generate them for you to match this video perfectly. For those who comment, I will 100% reply with the prompts, even if it takes a little bit of time.
Let’s look from the beginning. Every single movement is done manually and looks great. The animation is perfect. I will show you the project in Alight Motion because the output turned out incredibly well and I really liked it. Specifically, some shots in the middle feature bodyguards. You can remove those and replace them with your own photo. For instance, take this photo: go to ‘Color & Fill’ and replace it with another photo. Let’s place this photo here. Now, scroll down, go into ‘Edit Shape’, and adjust it properly. This particular photo is a bit low-resolution, which is why it looks like this, but you should adjust yours perfectly. Adjustment is a vital part of editing, so make sure to do it right.
I will share one last editing trick at the end that will help you significantly. Once you are completely done with the entire editing process, you need to add a final shake effect. First, export your edited video. After exporting, open a new project. In this new project, add the video you just exported. Let me show you. Add it here, and then apply a nice shake effect to it. This will give it an incredible final look, without a doubt.
Select the video layer, go to ‘Effects’, click on ‘Add Effect’, and search for Tiles at the top. Add the Tiles effect. Then, go back to ‘Effects’, go to ‘Move & Transform’, and select the Random Jitter effect. This adds too much movement by default, creating a heavy shaking look. We don’t want it to shake excessively, so open the effect settings and adjust the magnitude value somewhere between 5 and 10. For this example, I am setting it to 6. Let’s test it—it looks nice and stable now. If you want to make any better adjustments, go ahead and tweak it. After that, you can export your final video.
If you have any doubts, please leave a comment. I wanted to show you the Alight Motion project file, so let’s open that. This is the Alight Motion version. It is mostly the same, but it contains a few more layers. As I mentioned earlier, the rain effect layers are more detailed here. Both versions have rain, but in the standard version, the rain doesn’t move, whereas in this one, the rain has active movement. Keep an eye on that detail, and you’ll be fine.
All the project links and files are provided below in the description, so go check them out. If you liked this video, please leave a like and support the channel. Jai Hind!