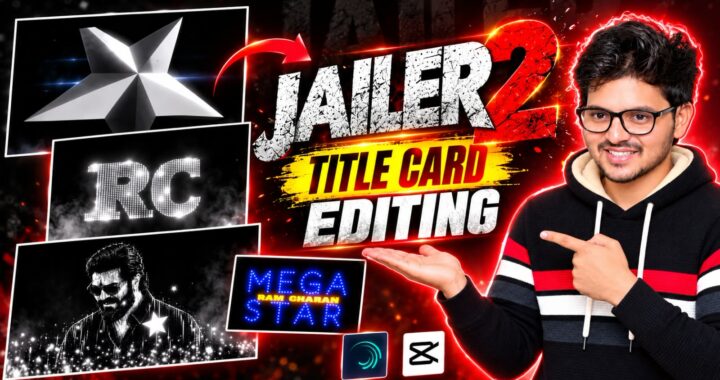
This video is at a next level, so everyone who watches it, please give it a like. I think this editing breakdown will be very helpful to you. If possible, I will show you how this was made. It is very simple, but the final editing looks great. Let’s watch the demo first; if you like it, please hit the like button. Okay, you’ve seen the video now. Comment below to share how you felt about it, and please show some support by giving a like because just one like is enough. Without talking too much, I have opened the Alight Motion app first. If you don’t have the Alight Motion app, it is available in the Telegram or WhatsApp channels, so check it out there. First, I will give you a brief breakdown of what I did. Then, we will wrap it up very quickly, keeping it short and sweet so you can also easily try this out yourselves. Okay, let’s open the project first. After opening, this is what it looks like. This entire project that I made consists of 53 layers in total.
Out of these 53 layers, about 4 to 5 layers contain the dragon video clip. The rest of it mostly consists of the background and the text layers you are familiar with. There might be around 18 to 20 text layers, followed by the PNG assets. First, let’s turn on the camera to give a short and sweet breakdown, and at the end, I will also give you an idea of how I made it because it will be useful for you. First, the song was added here. I need to delete this song; I haven’t done it yet, but I will delete it now. Okay, the song has been added, and it is from the movie “OG”. After turning on the camera here, the dragon video clip appears right at the start. The idea for this dragon video came to me at the very end. Initially, I had just left it as a black screen from one beat mark to another. From this point, the main parts start. First, let’s hide the dragon video. Look here, first I added a PNG, then a background, and then the text. For the text, I added a subtle left-to-right animation. On top of it, I added a photo and set its Z-value slightly to a negative depth. This was done because when animating with keyframes during zooming, one animation should transition as the previous one finishes. An outro should trigger as an intro finishes, or vice versa; only then will that 3D look turn out to be truly amazing.
Suddenly, this BGM shifts—if you listen to the song, you’ll get an idea—and another BGM comes in. For that specific part, I placed the dragon BGM here. Initially, I thought of covering it by putting a photo or a video clip. But then I thought, why use such photo images when we can create it manually for a better look? This dragon animation appears in gold. I will show it to you; it’s in gold. On top of it, I added a texture image and overlaid it. There is an option called ‘overlay highlight’ inside the overlay settings, and I selected that. After that, once you set up the same animation once or twice, you can automatically continue the rest yourself. It will be simple, and I will show you how as well. Okay, let’s leave this for now and start a new project in Alight Motion with a black background color, and then add the music first. Okay, since I am taking the music from that song itself, the music has been added. For about the first second, it will just be the music, and from that point onwards, our main topic begins. Now, what I did first was open the Twitter app, where Thaman Anna had posted a lyrical clip. I am copying those lyrics. Since I remembered those lyrics well, I saved them to use later. You can place the beat marks yourself. I remember very well where the beat marks start and end. Let’s try it for about 5 to 10 seconds; let’s not make it too long to avoid wasting time. I mentioned earlier to leave the starting part empty, as it can be added later as well. First, let’s add the photo. I am adding this photo just up to this point, or we can extend it to the second page and rotate it. Go to ‘Effects’, click on ‘Add Effect’, and under the ‘Color & Light’ section, you will find ‘Exposure/Gamma’. Add that effect. Reduce the Gamma value. As you can see, reducing it brings a dark tone. Now, let’s add the text on top of this. Add this text at the start. Regarding the font, I will include these fonts in the description, so check them out there. Let’s add a texture image to this text. Go to ‘Color & Light’ for the text, and there will be a media icon for textures. From there, you can add any texture image.
Alternatively, you can open Pinterest and search for ‘texture’. It could be a red texture or any other color, but red looks nice, so go with that. For the second line of lyrics, I just duplicated the same text layer from here. You don’t need to struggle to duplicate it; just select the text layer, click on the ‘+’ icon, and choose duplicate. I am trimming it from here, adding the other text, and placing it at this size over here. Now, you can add a subtle left-to-right animation to this. Place a keyframe at the start, and another one towards the end like this. Then, it will scroll like this. Look here. Now, I will add a photo on top of it. It can be any photo; I am using the same photo just to show you an example, and I have placed it up to this point. Everything looks fine, but it isn’t matching perfectly with the other elements. So, first I am extending the text up to here. Now, right on top of it, I added a texture image. Duplicate the background photo that is underneath, go to ‘Move & Transform’, pick any photo, and increase the Z-value. Then go to ‘Blending’, choose ‘Overlay’, and apply the overlay effect here. That’s enough. Next, go to ‘Effects’, click on ‘Add Effect’, find ‘Blur’, and add it. That is all; the effect is now ready.
If needed, you can also lower the opacity slightly. The effect has turned out very well. Now, go to ‘Object & Element’. Add a camera, zoom in a bit at the start, and then zoom out. Turn on the camera, zoom in like this, and make it look as though it is scrolling and animating slowly. Alternatively, set the animation at the start to make it look like it’s zooming in. After that, zoom in near this beat mark, because the next lyric needs to appear from here. So, just like I explained before, keep duplicating and positioning the layers. You need to continue this same process. Since the video length is getting long, please give it a try on your own and follow the steps I just mentioned.
I have trimmed the extra parts from here, copied that segment, and I am pasting it here. Now look, the first lyric is finished, and the second lyric starts here. From here, keep changing the photos and PNGs. If you want the animation on the left side or the right side, set it accordingly and use it. Keep doing this until the very end, and then save your video. If you have any doubts, leave a comment.