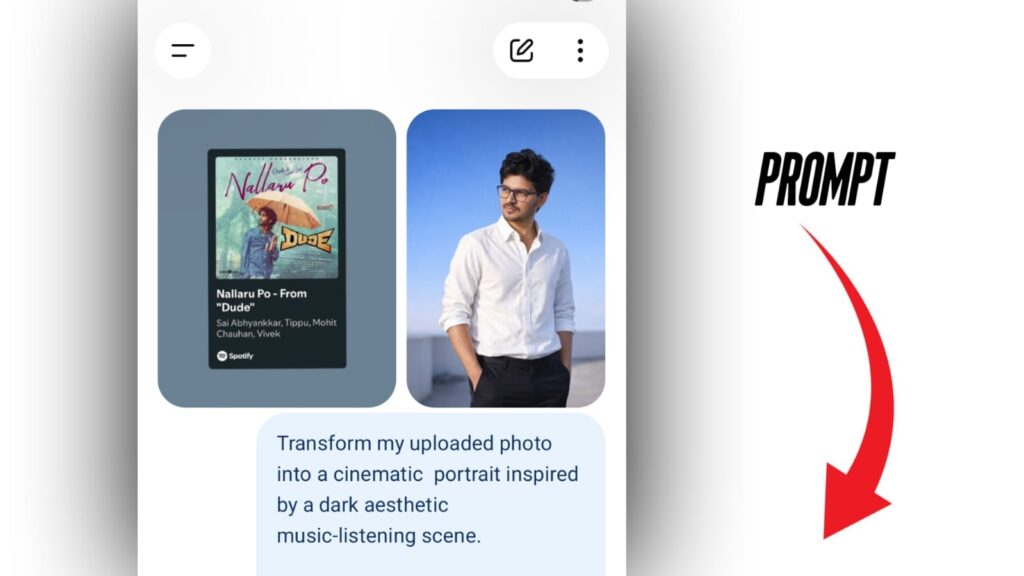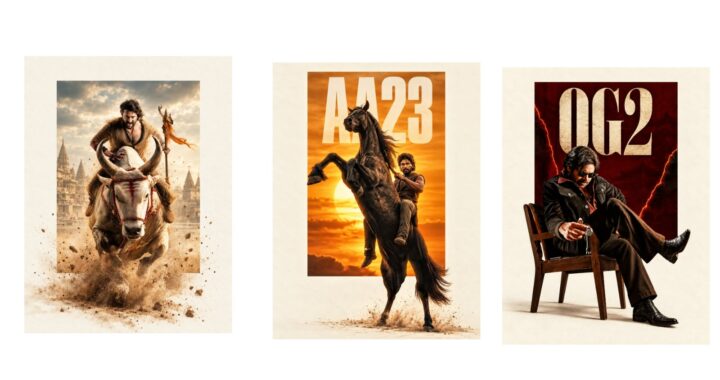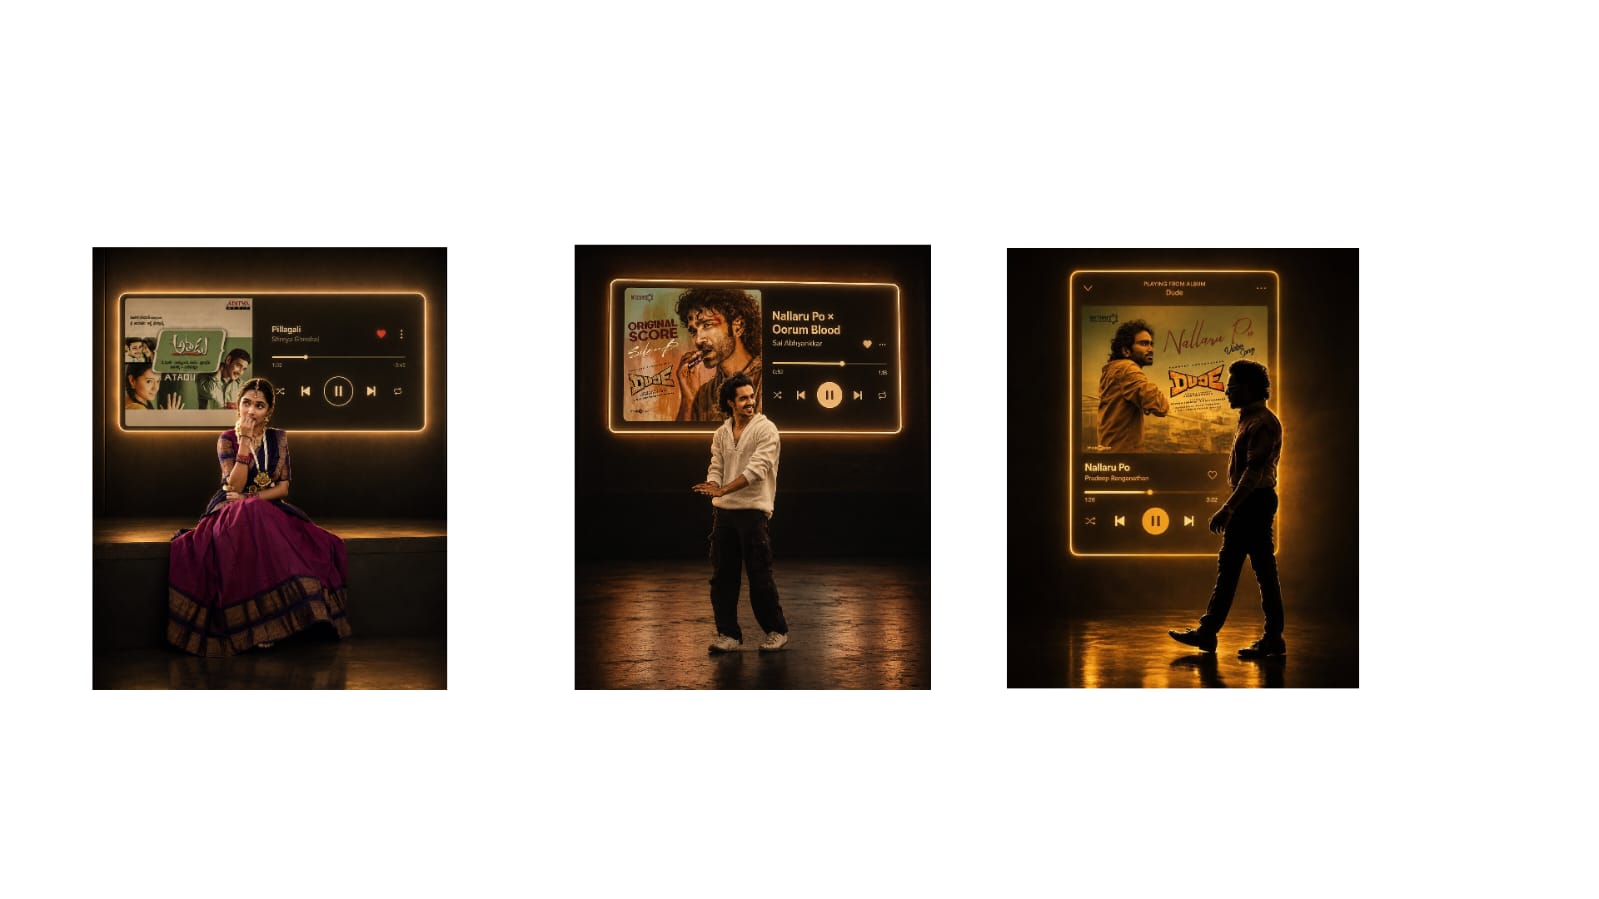
Recent times have seen these kinds of videos trending a lot. I am showing you a few demo samples here, and I will also show you the one I created. It looks really good. Converting a normal photo into a cartoon and then making it into a 3D lyrical video or simply adding music to it turns out beautiful. I will show you the video I made here just to give you an idea; please do not miss it. You should definitely not miss creating these types of videos as they look amazing and highly attractive.
For instance, to convert your regular photo into a cartoon, you can use ChatGPT. As an example, I have ChatGPT open here with a photo. I uploaded the original photo and converted it into a cartoon. For this photo, you can easily change the pose. It is perfectly fine whether you input your request in Telugu or type it out in English. For this example, I needed a back pose for this photo. This back pose is very important for me, and I will explain why later. I created a back-view pose and a side-view pose using this exact photo. Whatever angle or pose you need, if you ask ChatGPT, it will generate it for you.
Alternatively, you can search for cartoon girl images on the Pinterest app. If you are a boy, you can search for cartoon girl, and if you are a girl, you can search for cartoon boys. You will find a wide variety of images, and you can pick the ones you like. There are plenty of options available. I previously searched for “cartoon starry girl,” and there are many beautiful results. You can try using those, or you can simply upload a normal photo to ChatGPT and ask it to convert it into a cartoon, and it will do it for you. We need to use these photos for our editing process, which I will guide you through.
I have already shown you my demo video, and now I will give you a brief breakdown before we start editing. First, I will open the project I made and turn on the camera view. Right at the beginning, I added a background and created a slight animation effect to give it a nice feel. We should visually communicate what our story is about right from the start. Look at how many layers this entire video has—it contains 52 layers in total. The second video scene is also quite similar to this one, designed to look as if they are standing on a stage. I created this based purely on my own creative idea, and it turned out great. You can customize and make any changes you like to this basic setup.
Since executing this is quite simple, I will highlight a few key points you need to remember. If you do not have the Alight Motion app, I will share the link on Telegram and WhatsApp, so please check there. I am also providing the project files in the description below this video.
First, tap the plus icon below, go to audio, and select the song. I am extracting a specific piece of background music from the movie “Dhada.” It starts around the one-minute mark, so I am trimming out the extra parts to keep it to about 13 to 15 seconds. A 15-second duration is perfect for now. So, we have successfully added our song. You can add it directly from your audio files, or if you have a video clip, select it, tap the three dots at the top, and choose “Extract Audio.” That works perfectly too.
Whenever you pick a song or music track, identify the exact point where the main beat or rhythm shifts. Up to a certain point, it might move in slow motion, and from there, a great cinematic feel begins, allowing you to transition your scenes differently. Keep an eye on the rhythm and place your beat markers first. Decide how long each layer and scene should last. If you observe movies, they never stick to a single scene or a single angle. Even if it is the same sequence, the angle changes from the left side, the right side, or from an opposite perspective. Similarly, we need to change our scene angles. I am sharing this tip to give an idea to beginners who might want to shoot short films or creative edits in the future.
Now, I will import a background. I downloaded this particular background from the Pinterest app. It has a nice cartoon style featuring a roadside view. I will set this background photo for a duration of only four seconds because I want to display the boy character for just the first four seconds, after which I plan to show both characters together. I will select this background photo, go to effects, add the “Tiles” effect, and turn on the mirror option. We should not leave the photo completely static as it won’t give a realistic sense of depth. Therefore, go to effects, look under blur, select “Gaussian Blur,” and add a slight blur to it. This gives the video a highly professional look.
Next, we need to add our characters. Whoever you choose to add—whether it is a girl or a boy—place them into the composition. I will position the boy character here and extend his layer to match the scene length. Currently, both the background and the character are the same scale, which lacks depth and fails to create a proper 3D appearance. To fix this, select the background photo, go to “Move and Transform,” and set the Z-value to around 1500 while manually adjusting the zoom with your fingers to keep it well-positioned. Now, our background scale is set at 1500. For the character photo, I will go to “Move and Transform” and increase it slightly to 200, which looks perfect.
Since this scene is set by the roadside, let’s make an auto-rickshaw pass by on the opposite side to create a lively animation. I have an auto-rickshaw PNG here as an example. You can easily find these kinds of PNGs on Pinterest, or you can take a regular photo and remove its background using the PhotoRoom app, which is incredibly useful for this. I will place this auto-rickshaw PNG slightly off-screen on one side so it is hidden initially. Moving to the beginning of the timeline, I will add a keyframe there, move forward a bit, add another keyframe, and use “Move and Transform” to glide it forward along the X and Y axes. If the perspective looks slightly off, zoom in a bit and shift it downward. Now it looks excellent, making it seem as if the auto-rickshaw is moving right past us on the road, while the boy character is also perfectly grounded on the street.
To make it blend seamlessly, we need to blur the auto-rickshaw slightly instead of leaving it perfectly sharp. Go to effects, choose “Add Effect,” and apply a blur animation. Adjust the intensity of the blur to your preference. Setting it to around 150 looks great. Next, tap the plus icon below, go to “Object and Element,” add a camera, and trim its duration to match our photos. So now we have our background, the person’s PNG, and the auto-rickshaw graphic ready.
Let’s head back to the beginning, click on the layer controller, and turn on the camera. To make the depth prominent right from the start, add a keyframe at the very beginning and another one slightly further down the timeline. At the initial keyframe, adjust the values to create a tilting-up motion, making it feel as if the camera is smoothly rising. Follow this with a gentle panning movement to the left. Now, when you play it, you will see a beautiful, slow-motion camera angle sweeping across the scene while the auto-rickshaw moves past, creating a wonderful cinematic feel.
Our first scene is fully ready and looks amazing. We want to set up the second scene in a similar fashion. To save time, select the camera and these three or four layers, copy them using the top icon, and paste them further down the timeline. Since this segment only extends up to the 6-second mark, let’s trim the excess parts. For this second shot, we do not need the auto-rickshaw, so go ahead and delete that layer. Next, delete the boy’s photo, and in its place, I will add a cartoon girl image with the background removed.
We also need to change the background because the perspective changes. If the boy is coming from the left roadside, the girl should be approaching from the right side. Select the “Color and Fill” option on the background layer and replace it with a different backdrop. This is a very straightforward method. I will choose this new background, which fits beautifully. Let’s adjust it slightly upward so the road remains visible to maintain a proper perspective.
In this scene, I am going to add a bus PNG. Let’s place the bus image, extend its duration, and scale it up significantly so it initially covers the girl completely. We will add a keyframe at the start of the clip, move forward a bit, and place a second keyframe. At the second keyframe, animate the bus so it moves completely off-screen to the opposite side. Remember, keyframes are absolutely essential for these animations. While the auto-rickshaw in the first scene moved from right to left, this bus needs to travel from left to right because the girl is positioned on this side.
On top of this, we will add another character. I will select a male character photo, but this time, it will be a back-view pose rather than a front-facing one. As I mentioned earlier, I generated this back-view photo beforehand. I will place it here and apply a blur effect to it. You can adjust the Z-value into negative numbers to scale it properly to your liking. Now, when the bus drives past, it reveals both characters facing opposite directions, looking towards each other, which creates a wonderful emotional feel in the edit. If you want to include lyrics, you can add them to the side or in the background. You can also place quotes or text alongside the characters. This setup looks great, and we have successfully created two distinct angles within a single sequence.
Now, copy the four layers from our very first shot and paste them again further down. We don’t want the auto-rickshaw to reappear here. Instead of the auto, you could use a jeep or something similar. I will add a jeep PNG and flip its orientation so it moves in the same direction the auto did. To ensure the sequence doesn’t feel repetitive, go to “Move and Transform,” open the scale settings, and zoom in a bit. Adjusting the framing ensures the shots look distinct. If the first shot was a wider view, the subsequent one should be a closer look.
Opposite to the character, I will add a girl’s photo in a back-view pose. I have this back-pose photo ready as well, which I generated earlier. I will apply a blur effect to it and position it on the side. If you feel the framing or size isn’t looking perfect, you can easily scale it down. This looks wonderful. We have successfully established a cohesive scene showing perspectives from both the left and right sides.
If you want to make further changes based on your own creative vision, feel free to experiment. To guide you, I will open the final project file that I completed. I have shown you the first, second, and third scenes. What you will notice most in this final sequence is that the boy appears to be standing slightly behind the girl, utilizing photos where both are in back-view poses.
For the final scene, I generated a photo where they are introducing themselves and shaking hands. I simply uploaded the two character photos to ChatGPT and asked it to create an image of them shaking hands, and it generated this beautiful result. You can continue the scene with this. You can easily generate similar photos. If you prefer to use Telugu, you can use the voice input feature to state your prompts. There is no need to hesitate; sharing your ideas clearly helps get the best results.
Try experimenting with slow-motion and fast-motion transitions to see what fits best. To help you understand the workflow better, I am providing two different project files in the description, and you can try whichever you prefer. You can easily swap out the photos or the lyrical videos according to your project requirements. I hope this clears up your doubts. If anyone has any further questions, please leave a comment, and I will definitely reply. The project files and templates are available in the description. For prompts, as I mentioned, simply describe your idea as a “cartoon anime style,” and it will generate it perfectly for you. Once done, you can easily export and save your video from Alight Motion. If you face any issues while importing the project files, I am also linking a troubleshooting video below, so please check that out.
Jai Hind!