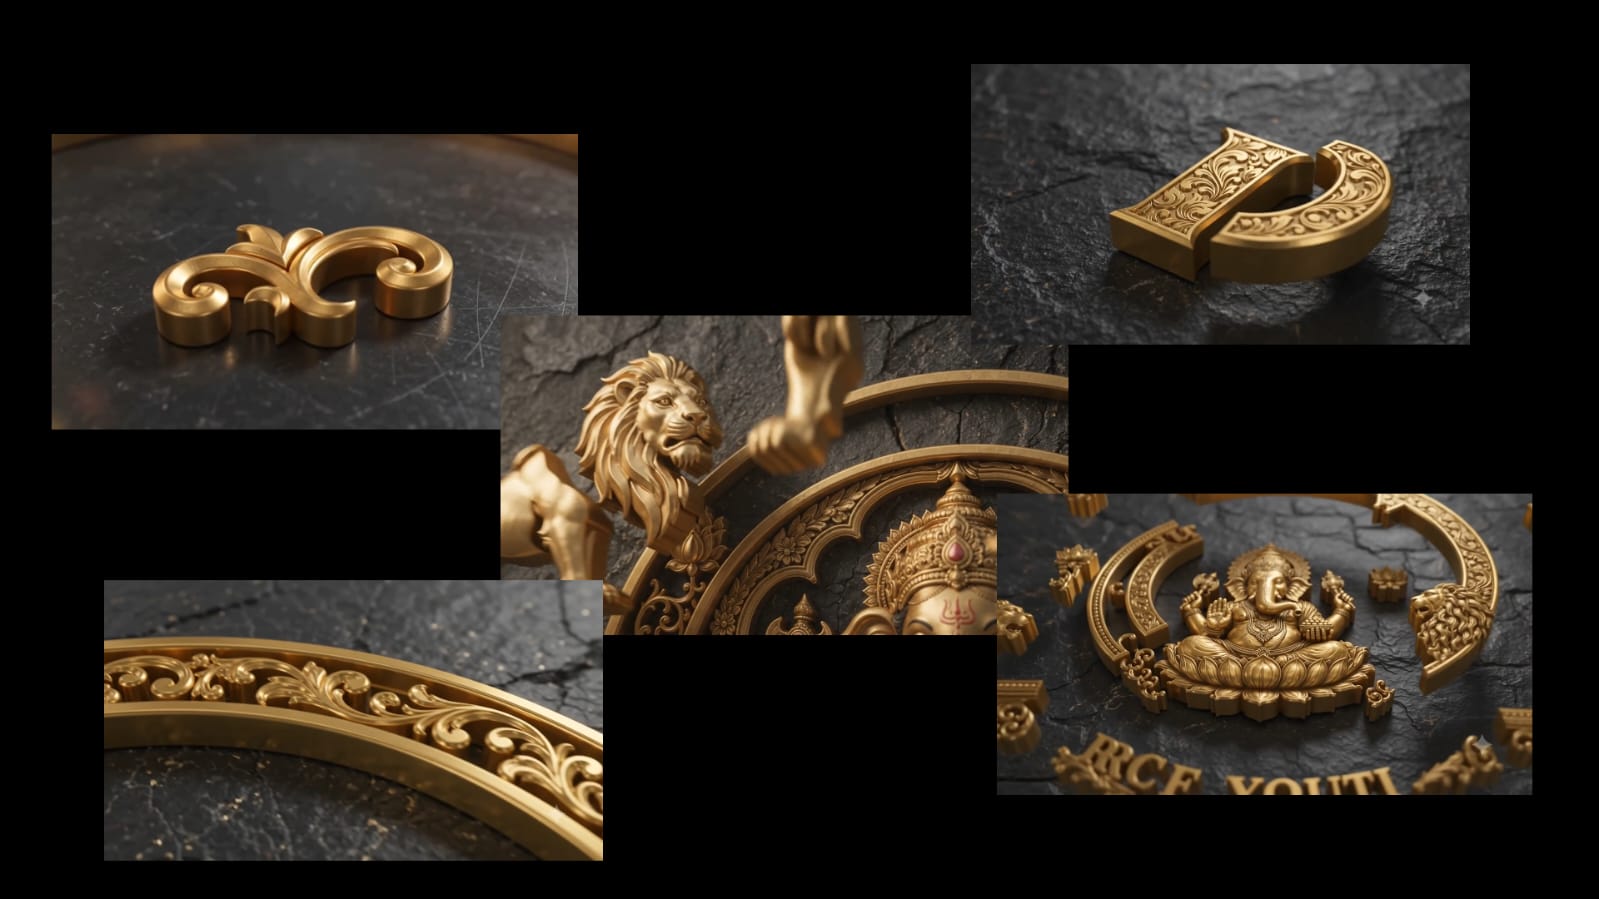
Smart Photo Editing Tips for Creating Professional Images GANESH

Photo editing is an essential skill in today’s digital world. Photographs are used everywhere, from social media and websites to online stores, advertisements, portfolios, and personal collections. Even a well-captured photograph can often benefit from careful editing. Adjusting lighting, improving colors, correcting composition, and removing distractions can make an image cleaner and more attractive. However, effective editing is not about adding as many effects as possible. The goal is to enhance the photograph while keeping it natural and visually balanced.

Choose a Strong Original Photograph

The quality of the original image plays an important role in the editing process. Start with a photograph that is reasonably sharp, properly focused, and contains sufficient detail. A high-quality original provides more flexibility when adjusting colors, cropping, or resizing.

Always create a backup of the original image before editing. This allows you to experiment without worrying about permanently changing the source file. If an editing application supports non-destructive editing, use that feature whenever possible.

Correct Exposure and Lighting

Lighting should usually be corrected before making creative changes. Look at the overall brightness and determine whether the photograph appears too dark or too bright.

Exposure adjustments can correct the overall brightness, while highlights and shadows provide more detailed control. Reducing highlights can restore details in bright areas such as skies and windows. Increasing shadows can reveal information hidden in darker parts of the photograph.

Contrast can then be adjusted to give the image more depth. Avoid making contrast too strong because it can remove details from shadows and highlights.

Fix White Balance

White balance affects the overall color appearance of a photograph. Indoor lighting, cloudy conditions, and artificial lights can sometimes produce unwanted color casts.

Temperature controls whether the image appears warmer or cooler. Tint can help correct green or magenta color shifts. When editing people, pay particular attention to skin tones because incorrect white balance can make faces look unnatural.

A neutral object in the photograph, such as a white or gray surface, can help you judge whether the colors are balanced.

Improve Colors Naturally

Color enhancement can make photographs more appealing, but it should be handled carefully. Increasing saturation too much can make colors appear unrealistic and can reduce the professional quality of an image.

Vibrance can sometimes provide a gentler way to improve weaker colors. Selective color adjustments can also be used to change specific colors without affecting the entire image.

For example, you can make a sky slightly deeper or improve the color of clothing while leaving skin tones relatively unchanged. Always compare the edited version with the original to ensure the colors still look believable.

Retouch Portraits Carefully

Portrait editing requires a balance between improvement and realism. Small blemishes, temporary marks, and background distractions can be removed with healing or retouching tools.

Skin smoothing should be used moderately. Natural skin texture is an important part of a realistic portrait, and excessive smoothing can make the face look artificial.

Eyes can receive small adjustments to brightness and clarity. Teeth can also be whitened subtly when necessary. Facial reshaping should be limited because significant changes can alter the natural appearance of the subject.

Remove Unwanted Objects

Unwanted objects can sometimes distract viewers from the main subject. Modern editing applications offer object-removal, healing, and cloning tools that can remove wires, signs, stains, unwanted people, and other distractions.

After removing an object, zoom in and examine the area carefully. Automatic tools can occasionally create strange patterns or distorted textures. Manual correction may be needed to make the background appear natural.

Improve Composition Through Cropping

Cropping is one of the easiest ways to improve composition. Removing unnecessary empty space can make the main subject more noticeable. Straightening a tilted horizon can also make a photograph look significantly cleaner.

Consider where the photograph will be used before choosing the final crop. Different platforms and devices may require different aspect ratios. Keep important parts of the subject inside the frame and avoid accidental cuts.

Add Creative Effects With Purpose

Creative effects can give a photograph a distinctive appearance. A subtle vignette can guide attention toward the subject, while color grading can establish a particular mood.

Black-and-white editing can also be effective for portraits, architecture, street photography, and emotional scenes. However, creative effects should support the image rather than dominate it.

If an effect is the first thing viewers notice, it may be stronger than necessary.

Sharpen and Reduce Noise

Sharpening can make an image appear clearer and can restore some crispness after resizing. However, excessive sharpening can create unnatural outlines around objects.

Noise reduction is useful for photographs captured in low-light conditions. It can reduce visible grain, but excessive use can remove fine details. Use both tools carefully and inspect the image at full size before exporting.

Save and Export Correctly

After completing the edit, save a high-quality master copy. Create a separate version for online publishing if compression or resizing is required.

Before exporting, check the entire photograph for accidental marks, unnatural colors, excessive effects, and retouching problems. Viewing the final image at full size can reveal issues that are difficult to notice when zoomed out.

Conclusion

Smart photo editing is about making purposeful improvements rather than dramatically changing every photograph. Correcting exposure, balancing colors, retouching portraits, removing distractions, improving composition, and enhancing details can produce professional-looking results.

The most valuable editing skill is knowing when to stop. Subtle adjustments often look more natural and polished than heavy effects. With regular practice and careful comparison between original and edited photographs, anyone can develop a reliable editing workflow and create attractive images for digital platforms, professional projects, and personal collections.


✨ LOGO PROMPT
A highly detailed, cinematic 3D render of an ornate ancient Indian temple-style emblem mounted on a rugged black stone brick wall. At the center is a majestic golden Lord Ganesha sculpture, seated gracefully on a lotus pedestal, richly adorned with an elaborate crown, jewelry, and traditional ornaments. Ganesha has four arms holding traditional sacred objects, with a serene and powerful expression. Two finely sculpted golden lions stand symmetrically on either side of Ganesha, facing inward. Surrounding the central deity is a large circular antique-gold medallion with intricate Indian ornamental filigree, lotus motifs, engraved decorative patterns, and raised dimensional lettering. At the top, prominently engraved in bold classical serif letters: “MUDIRAJ”. At the bottom, engraved lettering reads: “RCF YOUTH”, with the inner lower arc containing the word “MAHBUBNAGAR”. Make the typography elegant, embossed, metallic, and convincingly integrated into the sculpture. Use a charcoal-black Dark background with rough, cracked, naturally irregular masonry texture. Warm golden rim lighting highlights the relief sculpture, with subtle glowing orange embers and tiny sparks floating around the emblem. Strong cinematic shadows, realistic metallic reflections, volumetric lighting, deep contrast, luxurious antique-gold finish, sacred temple aesthetic, symmetrical composition, photorealistic materials, extremely intricate craftsmanship, dramatic atmosphere, 8K detail, sharp focus, centered frontal view, premium architectural emblem design. 16:9,

✨ VIDEO 1 PROMPT
Use the uploaded logo image as the EXACT and ONLY logo design reference. Create a highly realistic, premium cinematic 3D logo formation animation. IMPORTANT: Do NOT create a generic particle assembly. Do NOT show the complete logo at the beginning. Do NOT make the entire logo appear suddenly. The logo must be physically formed piece by piece. START: Begin with an extreme macro close-up of a dark, premium black stone / metallic surface. The camera is very close to the surface. Only a small portion of the future emblem area is visible. Individual SOLID GOLD 3D components begin entering the scene one at a time from outside the frame. These are not flat images and not glowing particles. Each component must be a real, thick, heavy, beautifully engraved 3D gold-metal object with realistic bevels, grooves, reflections and depth. First, several small ornamental curved gold pieces fly into the frame from different directions. Each piece naturally rotates in 3D while moving through the air. The camera follows the moving pieces with cinematic macro camera movement and realistic motion blur. One piece reaches the dark surface and physically settles into its exact position. Then another piece arrives from a different direction, rotates, aligns precisely and locks into position beside it. Then another piece arrives. Continue this process with individual ornamental gold components, decorative curves and parts of the outer circular frame. Every piece must have realistic weight, inertia, gravity, contact shadow and metallic reflection when it touches the surface. Show extremely detailed close-ups of the engraved gold surfaces. Use shallow depth of field and cinematic focus pulling: focus on the approaching gold piece → then shift focus to the piece already placed on the emblem. Use dramatic soft golden highlights, realistic reflections, subtle dust and very small golden particles only in the atmosphere. The animation should feel like a real luxury handcrafted 3D metallic emblem is being physically constructed by invisible precision mechanisms. At the end of exactly 10 seconds, only the FIRST PORTION of the logo should be constructed. The complete Ganesha, lions and text must NOT be visible yet. The camera should remain close to the partially formed emblem. END FRAME: A clearly visible partially assembled golden section on the dark surface, with a few individual gold pieces still floating nearby, ready for the next stage. NO sudden cut. NO morphing. NO instant transformation. NO complete logo reveal. NO random symbols. NO extra text. NO redesign of the uploaded logo. The uploaded logo is the exact final design target; only its individual 3D components are being physically revealed and positioned. Duration: EXACTLY 10 seconds. Aspect ratio: 16:9. Ultra-realistic 3D. Premium cinematic macro cinematography. Realistic gold metal. Realistic depth and shadows. High-end Hollywood-style product-film quality.
✨ VIDEO 2 PROMPT
Use the Uploaded first photo as first frame Also use the secong original uploaded RCF YOUTH MAHABUBNAGAR logo as the EXACT final design reference. Continue the animation directly from the first frame. IMPORTANT: Do NOT restart the animation. Do NOT change the camera position suddenly. Do NOT create a new logo. Do NOT show the complete logo instantly. Continue the same realistic physical 3D construction process from Scene 1. The partially constructed golden emblem from Scene 1 is already present on the dark premium surface. Continue with individual SOLID GOLD 3D components arriving one by one. Each component must physically travel through the air, rotate naturally in 3D, approach its exact location, touch the existing structure and lock into position. Show different components entering from different directions and different depths. The camera moves smoothly around the partially constructed emblem in extreme macro close-up. Now progressively construct the more detailed central and side portions of the logo. First, continue completing the intricate golden outer ornaments and curved decorative elements. Then begin revealing the two golden lion elements from the original logo. Do NOT make the lions appear suddenly as complete images. Their detailed 3D ornamental components should arrive individually: mane details, face structure, ears, eyes, mouth details, and surrounding golden decorative elements. Each component must look like a real solid sculpted gold-metal piece with thickness, bevels, engraved details and realistic reflections. Then begin constructing the central Ganesha area. Do NOT make Ganesha appear instantly. Individual sculpted 3D golden components should physically arrive and lock into position: the decorative circular halo, ornamental throne structure, crown, head, ears, trunk, arms, jewelry and surrounding details. Keep the movement slow enough to clearly see every individual piece, but cinematic and powerful. Use realistic gravity, inertia, contact shadows, metallic reflections and subtle vibration when each piece locks into place. Use extreme macro cinematography: very shallow depth of field, cinematic focus pulls, realistic motion blur, slow camera movement, dramatic golden highlights, dark premium background. The camera should occasionally pass extremely close to the gold surface, revealing the engraved texture and realistic 3D depth. By the end of the 10 seconds, the outer frame, lions and most of the central Ganesha structure should be substantially constructed. IMPORTANT: Do NOT reveal the complete MUDIRAJ / RCF YOUTH / MAHBUBNAGAR text yet. End with the logo still partially incomplete, ready for the final text and finishing elements in Scene 3. The final frame must be visually stable and usable as the FIRST FRAME of Scene 3. NO sudden cut. NO morphing. NO particle-to-logo effect. NO flat 2D elements. NO instant appearance. NO random text. NO additional objects. Duration: EXACTLY 10 seconds. Aspect ratio: 16:9. Ultra-realistic cinematic 3D. Realistic gold metal physics. Premium Hollywood-level macro cinematography.
✨ VIDEO 3 PROMPT
Use the Uploaded first image as the EXACT FIRST FRAME of this scene. Also use the second original uploaded RCF YOUTH logo as the EXACT final design reference. Continue the animation seamlessly from Scene 2. IMPORTANT: Do NOT restart the animation. Do NOT change the existing logo structure. Do NOT generate a different logo. Do NOT make the final logo appear instantly. The partially completed golden emblem is already visible. Begin with an extreme macro close-up of the remaining unfinished areas. The final individual gold-metal components now arrive one by one. Each component must be a real, solid, thick 3D metallic object. They physically fly into the frame, rotate naturally, align precisely and lock into their exact position. First complete the remaining outer decorative details. Then complete the two detailed golden lion elements. Then complete the final central Lord Ganesha ornaments and surrounding decorative elements. Now begin the FINAL TEXT REVEAL. The words must appear as REAL THICK RAISED GOLD 3D LETTERS, physically moving into position — NOT flat text and NOT a fade-in. Reveal the exact words from the uploaded logo: RCF YOUTH MAHBUBNAGAR Each letter should independently move into the correct position, rotate slightly in 3D and physically settle into the emblem. The spelling must be EXACT. Do NOT generate any other words. Do NOT change the typography arrangement. Do NOT add extra text. After the final letter of MAHBUBNAGAR locks into place, create a powerful but realistic metallic impact. A bright golden light sweep travels across the entire completed logo. The camera then slowly pulls backward from the macro close-up into a wider cinematic hero shot. As the camera pulls back, the entire RCF YOUTH MAHABUBNAGAR emblem becomes clearly visible. Show realistic polished gold reflections, deep engraved details, bevels, contact shadows and subtle atmospheric golden particles. The background remains dark, premium and cinematic. The final 2–3 seconds must be a steady hero shot of the COMPLETE logo. The final logo must match the uploaded reference design in overall composition, symbols, proportions and text. NO morphing. NO instant appearance. NO generic particle assembly. NO flat 2D logo. NO random objects. NO extra text. NO sudden cuts. The entire scene must feel like a real luxury handcrafted 3D metallic emblem has just been physically completed. Duration: EXACTLY 10 seconds. Aspect ratio: 16:9. Ultra-realistic 3D. Premium Hollywood-level cinematic product-film quality. Realistic gold metal physics. Macro cinematography. Dramatic lighting.
  • Related Posts

    Viral Trending part 2 Epic Reel Editing 178

    You might wonder why we need this shape. This shape works like a mask layer. Go to ‘Blending’, then ‘Mask’, and apply the mask. Now look—like this, like this, like…

    Viral Trending Epic Reel Editing 177

    First, observe these two videos carefully. We are going to make these two videos right now. We are going to do this very simply and easily right on your mobile…

    Leave a Reply

    Your email address will not be published. Required fields are marked *

    You Missed

    Viral Trending part 2 Epic Reel Editing 178

    Viral Trending part 2 Epic Reel Editing  178

    Viral Trending Epic Reel Editing 177

    Viral Trending Epic Reel Editing 177

    Professional Photo Editing Workflow for Stunning Results 176 Ayyappa

    Professional Photo Editing Workflow for Stunning Results 176 Ayyappa

    Complete Guide to Modern Photo 175

    Complete Guide to Modern Photo 175

    Creative Photo Editing Ideas to Transform Ordinary Pictures 174

    Creative Photo Editing Ideas to Transform Ordinary Pictures 174

    Photo Editing Workflow Prompt

    Photo Editing Workflow Prompt