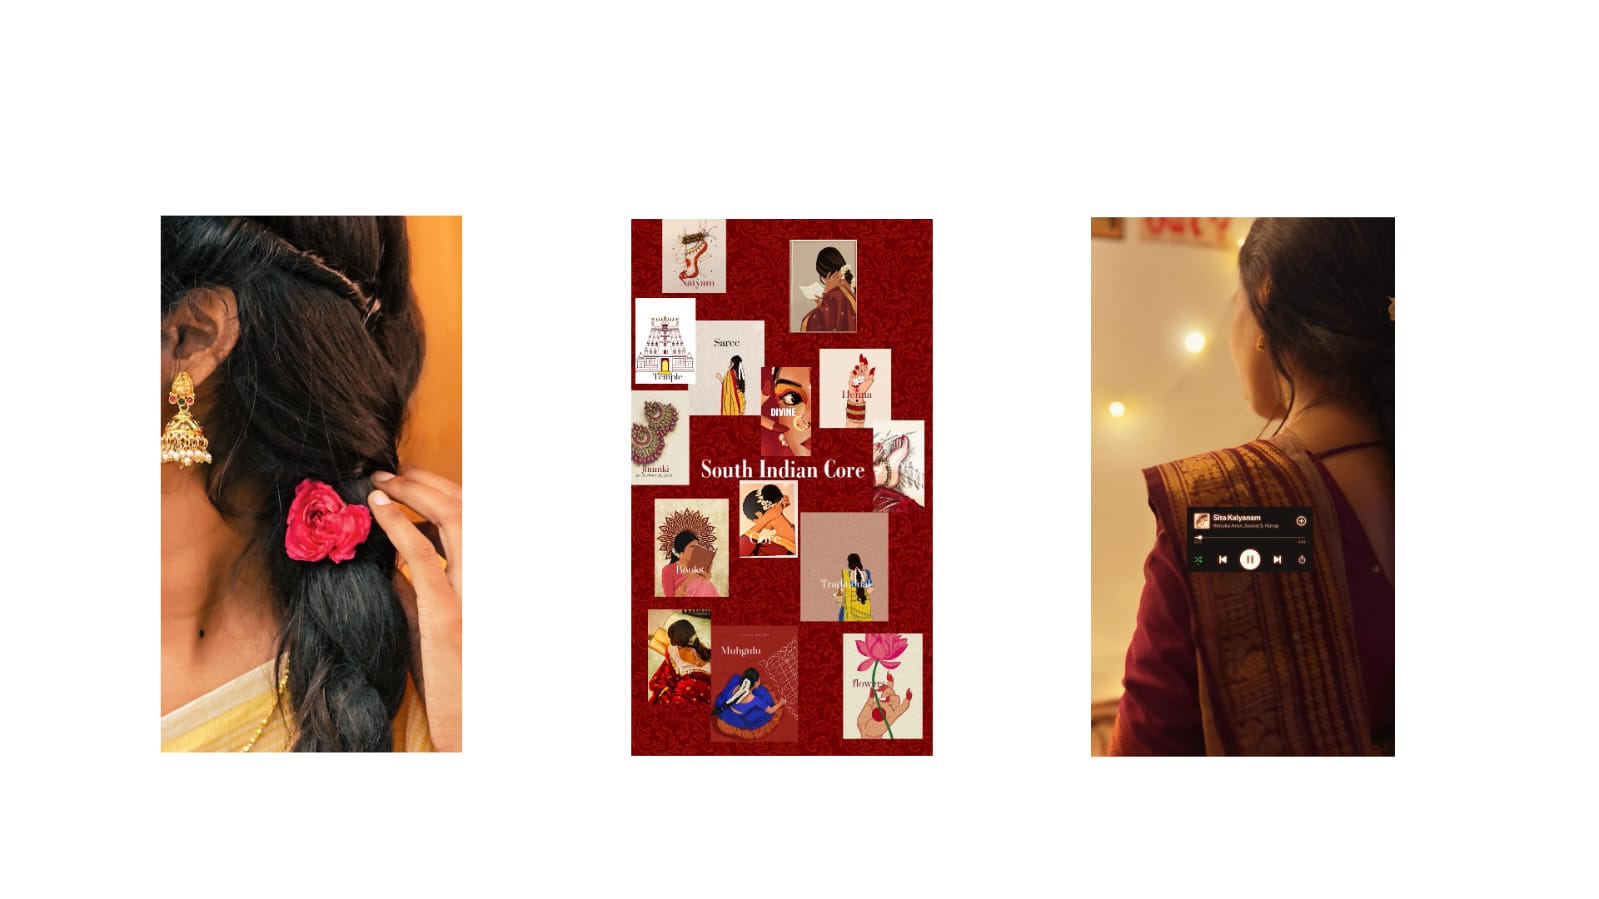
Photo editing has become an important part of modern photography. From smartphone pictures to professional camera images, editing can improve the way a photograph looks and communicates its subject. A few carefully chosen adjustments can correct lighting problems, improve colors, remove distractions, and create a consistent visual style. The best editing does not necessarily make an image look heavily processed. Instead, it enhances the original photograph while preserving its natural character.
Start With the Best Available Image
The editing process begins with selecting a suitable photograph. Choose an image that is sharp, properly focused, and contains enough detail. If the original photograph is extremely blurry or severely underexposed, editing tools may not be able to recover all the missing information.
Always keep an untouched copy of the original before editing. This gives you the freedom to experiment without permanently changing the source image. When possible, work with the highest-quality version available because it provides greater flexibility during cropping and adjustment.
Balance Brightness and Exposure
Lighting is one of the most important elements of a photograph. An image that is too dark can hide important details, while excessive brightness can make areas appear completely white.
Begin by adjusting exposure gradually. Then use highlights and shadows for more precise corrections. Lowering highlights can restore detail in bright areas, while increasing shadows can reveal information in darker sections.
Contrast can add depth to an image, but excessive contrast may make shadows too dark and highlights too bright. A balanced adjustment usually produces a cleaner result.
Correct White Balance
White balance controls the overall color temperature of a photograph. Poor lighting can sometimes cause an image to appear too yellow, blue, green, or magenta.
Temperature adjustments allow you to make an image warmer or cooler. Tint can help correct unwanted green or purple tones. When editing portraits, white balance is especially important because inaccurate colors can make skin appear unnatural.
If the photograph contains a white or gray object, use it as a reference when determining whether the overall color balance looks correct.
Enhance Colors Carefully
Color enhancement can make photographs more vibrant and visually interesting. However, increasing saturation too much can quickly make an image look unrealistic.
Instead of making large changes, use small adjustments and compare the result with the original. Selective color controls can also be useful when you want to change only certain elements, such as the sky, clothing, plants, or background.
A natural-looking color palette is usually more appealing than extremely bright colors.
Improve Portrait Photography
Portrait editing requires careful attention because viewers naturally focus on faces. Small blemishes, temporary marks, and distractions can be corrected with healing and retouching tools.
Skin smoothing should be subtle. Natural skin texture adds realism, and removing too much texture can make a person look artificial. Eyes can receive a small increase in brightness or clarity, while teeth can be whitened gently.
When using facial adjustment tools, avoid dramatic changes. The purpose of editing should be to improve the photograph while keeping the person’s natural appearance recognizable.
Remove Unwanted Elements
Objects in the background can sometimes distract attention from the main subject. Modern editing applications provide tools that can remove unwanted people, wires, signs, stains, and other objects.
After using automatic removal, inspect the area carefully. Background patterns may become distorted or repeated. Healing and cloning tools can help correct these imperfections and make the edited section blend naturally with its surroundings.
Use Cropping to Strengthen Composition
Cropping is a simple technique that can make a major difference. Removing unnecessary space can direct attention toward the main subject and create a stronger composition.
Straightening tilted horizons is another useful correction. When cropping, consider the final platform where the image will appear. Websites, social media platforms, profile pictures, and printed photographs may require different dimensions.
Avoid cropping important parts of the subject unless the cut is an intentional creative choice.
Add Creative Effects
After completing basic corrections, creative effects can be used to establish a particular mood. A subtle vignette can draw attention toward the center of the photograph. Color grading can create a warm, cinematic, cool, or dramatic appearance.
Black-and-white editing is another powerful option. It can emphasize expressions, textures, shapes, and contrast without relying on color.
Creative effects should enhance the purpose of the image rather than overwhelm the original photograph.
Sharpen and Reduce Noise
Sharpening can improve clarity and make details appear more defined. It is particularly useful after resizing an image, but excessive sharpening can create unwanted halos around edges.
Noise reduction can improve images captured in low-light environments. However, too much noise reduction can make fine details disappear. A balanced combination of noise reduction and sharpening usually provides better results.
Develop a Consistent Style
If you edit photographs regularly, developing a consistent style can make your work more recognizable. You may prefer warm colors, soft contrast, muted tones, strong shadows, or bright highlights.
Presets can save time when processing multiple photographs, but they should not be applied without adjustments. Different lighting conditions require different corrections, even when the photographs belong to the same collection.
Conclusion
Effective photo editing is about improving an image with purpose. Exposure correction, white balance, color enhancement, portrait retouching, object removal, cropping, creative effects, and detail enhancement can transform an ordinary photograph into a polished visual.
The key is moderation. Instead of applying every available effect, focus on the adjustments that genuinely improve the photograph. With practice, careful observation, and a consistent workflow, anyone can create attractive and professional-looking images while preserving their natural appearance.
Full Project (template)
XML file
Song link