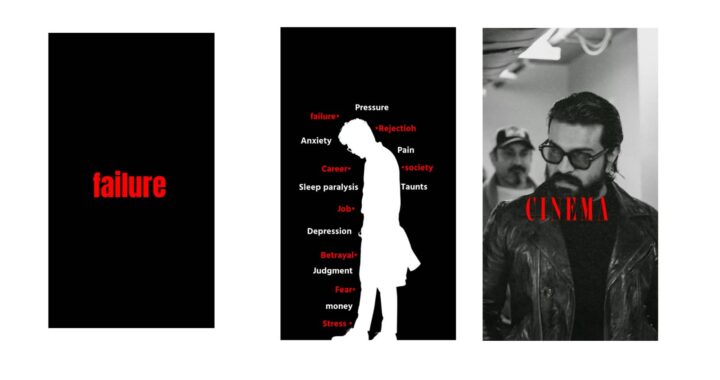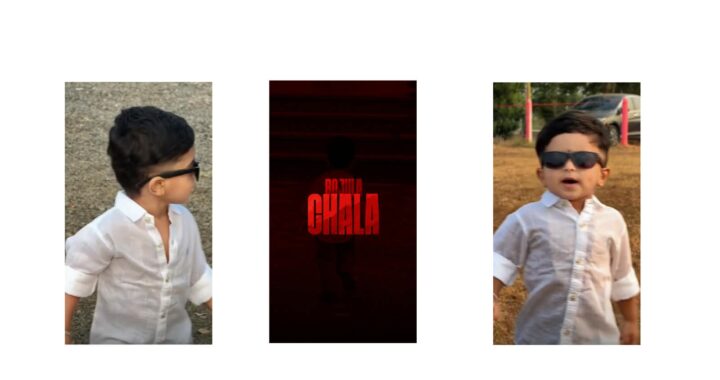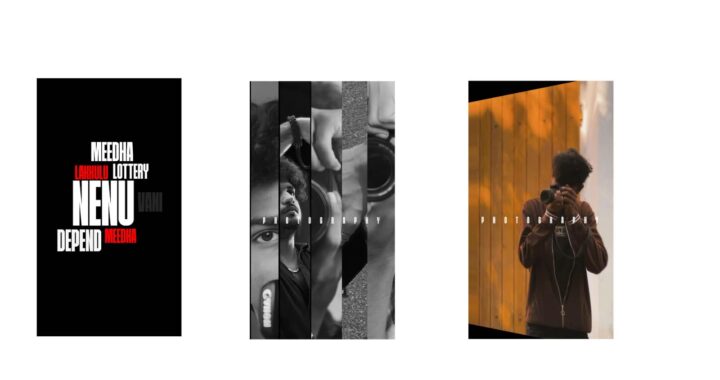
As keyframe animation transitions are important in video editing, another most important thing is masking. By using masking, we can create animations like this, transitions like this, and much more in Alight Motion. There are two options to use masking in Alight Motion: the first is group and mask, then clipping mask. Additionally, there is a tool in Alight Motion called vector drawing, which we can use to perform custom masking. So, are you going to learn everything right in the intro? Let’s start the video quickly. To begin, for those who don’t know what masking is, understand it with an example: like there is a window on a wall, and after opening it, you can see the outside view; so here, the window is acting as a mask. In Alight Motion, we are given some shapes that we use in many ways, and through them, we can perform masking. It is not necessary that you only mask through shapes; you can use text, images, or even video. Here I have two video layers, so we will perform masking on them. By tapping on plus, first take a shape according to our masking—so I have selected the rounded rectangle and adjusted it a bit. Now you have to select the shape, and along with it, select the video that needs to be masked. Now there are two mask options at the top; tapping on the first one will mask this video, and it will only show inside this shape, while the rest of the part gets masked. Now I will undo this, then select the shape and video layer again, and choose the second mask option, which works exactly opposite.
Because the ocean video is masked from the center, the background stock footage of the mic is now visible. So I hope you have understood the use of masking, and after creating these seven masking effects, you will learn even better. We will move from simple to professional, so let’s first create a simple transition through masking. I have added two stock footages, and you can place them like this, keeping a gap between them for the transition you want to create. After that, coming to the point where your second video starts, we will add a rectangle. Now we will increase its size, making it double or triple the size of the canvas. Then we will rotate it here according to your transition. Now coming into Move & Transform, rotate it like this and hide it in the corner by transforming. Add a keyframe at the starting point, then put a second keyframe at the point where your first video ends. From here, drag it upwards to completely cover the canvas, and you also need to add a graph between these two keyframes, so it will look like this. Now, to make it look more professional after masking, we will apply an effect on this shape called Gaussian Blur, adjusting it according to your preference. Now select the shape layer and the video that is ending, and choose the second masking option from the top, so your transition will be created. Now we will create this short cinematic text: first add your text, then add any font and color according to your choice, and also add a glow so the text looks good. Now I will increase its size; at the start, you need to add a rectangle and increase its size just like we did in the first animation. Now we will rotate it around 35 degrees and set it in the corner.
Now duplicate this layer and add it to the second side like this. Now hold and select both layers to make a group. Select the group, go to effects, and apply the Gaussian Blur effect, keeping the settings as much as you like. After that, come to Move & Transform and hide the text through the shape, adding a position keyframe here. Then add a keyframe further ahead and transform the shape downwards like this, and it should look something like this. Now select the text and group layer and choose the second masking option; now your cinematic text effect will be created. You can give a shining effect on top of any element using masking. I have added a laptop PNG and also animated it a bit. Now to give a shining effect to this laptop, tap on plus, add a rectangle, and adjust its size like this. After that, change its color to white, and coming into Move & Transform, rotate it slightly. Now come to effects, add the Gaussian Blur effect, and set its strength. That’s it, now we will add a position keyframe on this shape, matching its position like this, and on the second keyframe, move it out. The animation is made, now to make it smooth, we will add an ease-in and ease-out graph. Now for the final process: select the image layer, duplicate it, and drag the copy layer to the top. Now select the copy layer and the shape layer and choose the first option of masking; your shining effect is ready. To create the next effect, I have added a background, so coming into Blending & Opacity, lower its opacity slightly. After that, import any icon, like let’s take KineMaster, and reduce its size. Now add a position keyframe at the start of this layer, move forward to add a second keyframe. Coming to the first keyframe, drag the icon downwards.
Now add a graph to create an animation like this. From the second keyframe, take a brief rest, add a position keyframe, move forward, and add one more keyframe. Now drag the KineMaster logo to the right side. Go further ahead, add another keyframe, and now drag the icon to the left side. Now we need to add a graph between both keyframes so that the animation becomes smooth. So the animation is ready, now it’s time for the text, so let me quickly add the text and adjust its size. You have to set up the text according to the final position of the logo—like this is the final position of the logo, and now let’s set up the text here. Everything is ready, so let’s start masking: first drag the text layer down. When the logo comes to the right side, start the text from that point. At this exact point, we need to add a rectangle and adjust its size according to the text. Now add a position keyframe on the shape layer, and when the logo completely shifts to the left side, add a second keyframe at that point. After that, drag the rectangle to the left side along with the KineMaster logo, and add a graph to it as well. Now check to ensure your shape stays right on top of the logo. Select the shape layer and text layer, choose the second option of masking, and now your animation is ready. We have used group and mask, now let’s use clipping mask to create this effect:
first add a circle shape, increase its size a bit, and you can also change the color, so I will select the grey color here. Now you need to add any image or icon from your gallery, which should be in PNG format. For example, I will add this image, reduce its size, and fit it inside the circle. Now you have to animate the circle shape through keyframes like this, which is quite simple. Select the character layer and come into Move & Transform. Just a little before your circle shape completely comes onto the screen, add a position keyframe on this layer. From here, go forward and put a second keyframe. Coming to the first keyframe, we need to drag the image layer downwards. Now after adding a graph, it will look like this. Select the character layer, tap on the three dots at the top, and click on Create Clipping Mask from there, and it will be completed, then your animation will look like this. You can add a drop shadow on the character to make it more attractive. Now let’s see the second animation of clipping mask, which is a text animation: first add a text, add a font and color to it, and increase its size. Now add a rectangle and make its size a little larger than the text. Now tap on effects here and add a Wave Warp effect with standard settings. You can adjust the rest of the settings according to your preference, just select the phase setting and add a position keyframe. Go forward, add a second keyframe, and set the phase value.
Now we will apply this shape to half of the text, then tap on the three dots and click on Clipping Mask from here. Before playing, I will change the color of the shape; now the animation is ready. I used this animation in my previous video, which I also created through masking, and this is custom masking. So now we will use the vector drawing tool. I have added my character and icon here, which are already animated, but it is not coming from behind the chair; it is just coming from the top. So we will first draw a shape through which we can mask. Tap on plus and add the vector drawing tool. This is your drag pad with which you can adjust this point. Now we will mask this area of the chair because the icon is coming out from here, so we will add a point here. You can add a point by tapping on the track pad or by tapping on the plus icon. Now, according to the turn of the chair, add a second point, and a line will keep drawing in between.
Now keep adding points according to your chair. You do not need to mask the whole chair; only mask the area from where the icon comes out. Add the remaining points temporarily. To connect the points together, tap on this option and click here; all the points will be connected together. Now select the shape and the icon, then choose the second option of masking; now your custom masking will also be done. So I hope you have understood how to use masking. That’s all for this video, I hope you got to learn a lot in today’s video. Now quickly press the like button to end the video, and definitely do the work I mentioned.