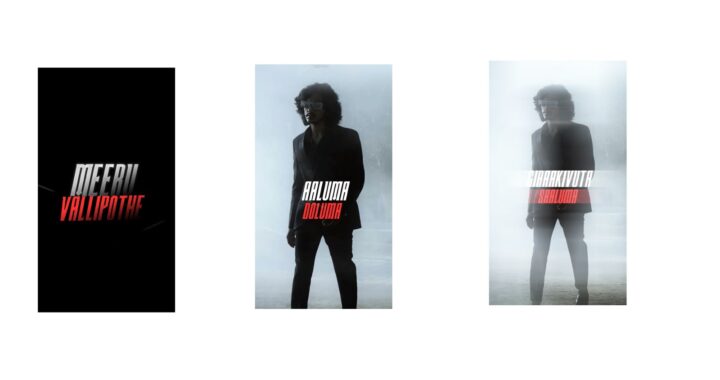
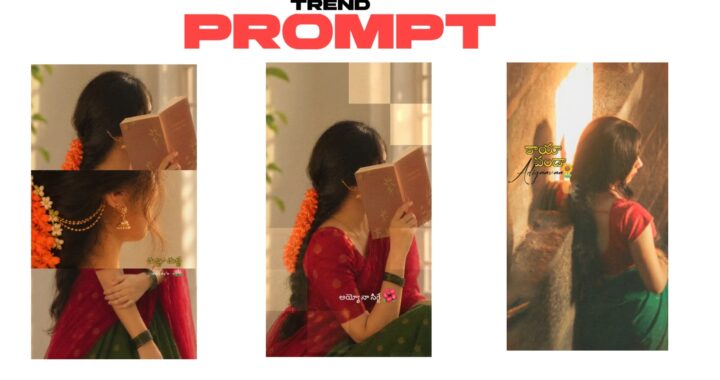
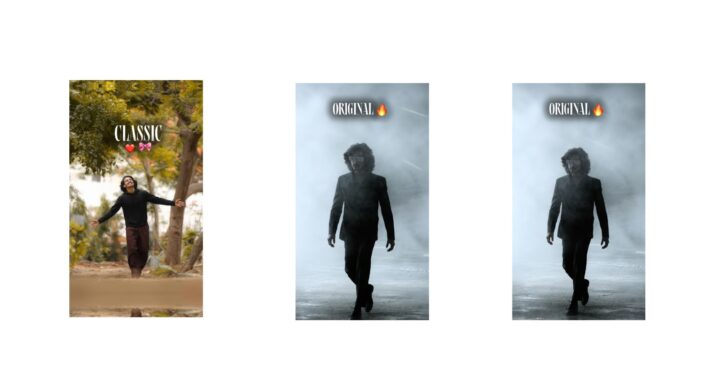
Try making a video editing project like this once. I will show you a demo. And please leave a Like, it gives me a little support. The editing turns out truly amazing. It took me a long time to complete this edit, so please drop a Like first. Look at the demo: “I saw you and went crazy… you are my heart and my breath…”
Okay, you are watching the video, right? Let me know in the comments how you like it, and do leave a Like. I saw a video on Instagram that I really liked, and I made this video inspired by it. Even if you consider it a copy, that is no problem. I made it because I felt everyone would really like it, and I personally loved it a lot. Let’s make it in that exact same style, and I decided to add a few small changes here and there. If you watch this video until the end, you can definitely make this using your own photos—I can easily assure you of that. Try it once with your photo or the photo of someone you like; it will turn out really beautiful.
Okay, first of all, since we need all the photos that are used here, let’s generate them first. I have provided a link in the description called “All Photos,” which is a Google Drive link containing every single photo. Every single photo is important, and I will explain why they matter. First, since I am doing this in the Alight Motion app, if you don’t have it on your phone, I will share my Telegram channel link below where you can get it. Install either Ultra Motion or Alight Motion. After that, open the project file I provided. You won’t face any missing font errors, so just open it up. If you face any import issues, I have provided a troubleshooting video below, so check that out. First, click on this box and turn on the camera. As soon as you turn it on, the starting scene will look like this. If you want to put the photo of someone you like, we can change the girl’s photo layer to fit our preference. You can also customize the background photo.
First, if you want to change this girl’s photo, you can replace it with a photo of your choice, okay? As I mentioned, I gave the Drive link under “All Photos” in the description. Let me show you that Drive link here—look at this. Every photo is inside, but right now we need the specific photo I showed you earlier. Since we need that exact image, I will select it here. Let me show you the photo… wait a second, it is loading… okay, this photo. Download this photo first, okay? This is the original photo, so download it.
After downloading it, I’ll tell you what to do. Open ChatGPT. For the first photo, open ChatGPT and press the add button at the bottom. The photo I told you about earlier—I will add it here. Add this image, and after adding it, type “This is a reference image” and send it. Once that is set, take the photo you actually want to use—whichever photo of yours you plan to put there—and add it here. I will just add a normal photo to demonstrate. Look at this photo, okay? Add this photo, and then type: “Recreate that reference image” and send it. It will then generate a photo for us that looks just like the reference image. The position will be the same, and maximum elements will match. It will change the face cut, and sometimes it might change the outfit too, or keep it in the same outfit. I will show you and give you an idea, just a minute.
Look, our photo is ready! See, it turned out really well. As you can see, there might be a few small variations sometimes, but go ahead and download this photo. Now, follow the exact process I just explained for the rest. Check out the demo video inside Alight Motion to see which photo matches where. Since I gave you the Drive link, look at the photos there, download them, upload them to ChatGPT, and follow the process I just told you. Make sure to generate all your photos first. After that, you need to remove the backgrounds of the photos one by one. I use the PhotoRoom app to remove backgrounds. If you have a different app, that’s fine too. The PhotoRoom app is also available on my Telegram channel, so check it out.
Now, I will upload this photo here. Look at this, it removed it easily in just five seconds. Click on confirm, and from here, I will save the photo in PNG format by clicking this option. After saving it—well, many of you might wonder why I don’t explain everything right from the very beginning. Explaining from scratch is not a big deal, but it takes a lot of time. And when a video is too long, many people don’t watch it, which is a major problem. Explaining this entire video from scratch would take 30, 35, or even 40 minutes, but people won’t watch it. It feels very disappointing when you put so much hard work into a video and people don’t watch it. That’s why I’m skipping ahead, because most people come specifically for the project files and a few key steps. So, I am continuing with that.
Okay, now in place of this photo—in place of this girl’s photo—go to ‘Color & Fill’ and select the photo we just processed. I am placing the background-removed photo here. After placing it, the photo isn’t aligned perfectly, so I will adjust it properly using my fingers. Since there is a slight cropping error, you will find an ‘Edit Shape’ option where you can adjust it to fit perfectly.
Afterward, you need to do the exact same thing for the boy’s photo. And since the eyes blink here, you can set it to ‘Eye Close’, or it looks fine even if you leave it normal. You need to generate your own photos in the exact same way. There are some eye shots in the middle; leave those running as they are. Do not change them. You only need to change a few specific ones. This pose photo is also in the folder, so go ahead and recreate that one. After that, this photo is also there; recreate it, remove the background, and place it here. This photo is there too; leave it running exactly as it is, do not change it. And this last eye photo, keep it the same as well, and if you want to add your photo at the very end, add it and export the video. That’s all. Even if it felt a bit boring or if you feel bad that I didn’t explain from the absolute beginning, please understand. If you support me strongly, I can do it. Just comment “Tutorial,” and that’s it. After that, save it. The app is in the Telegram channel, so check it out.