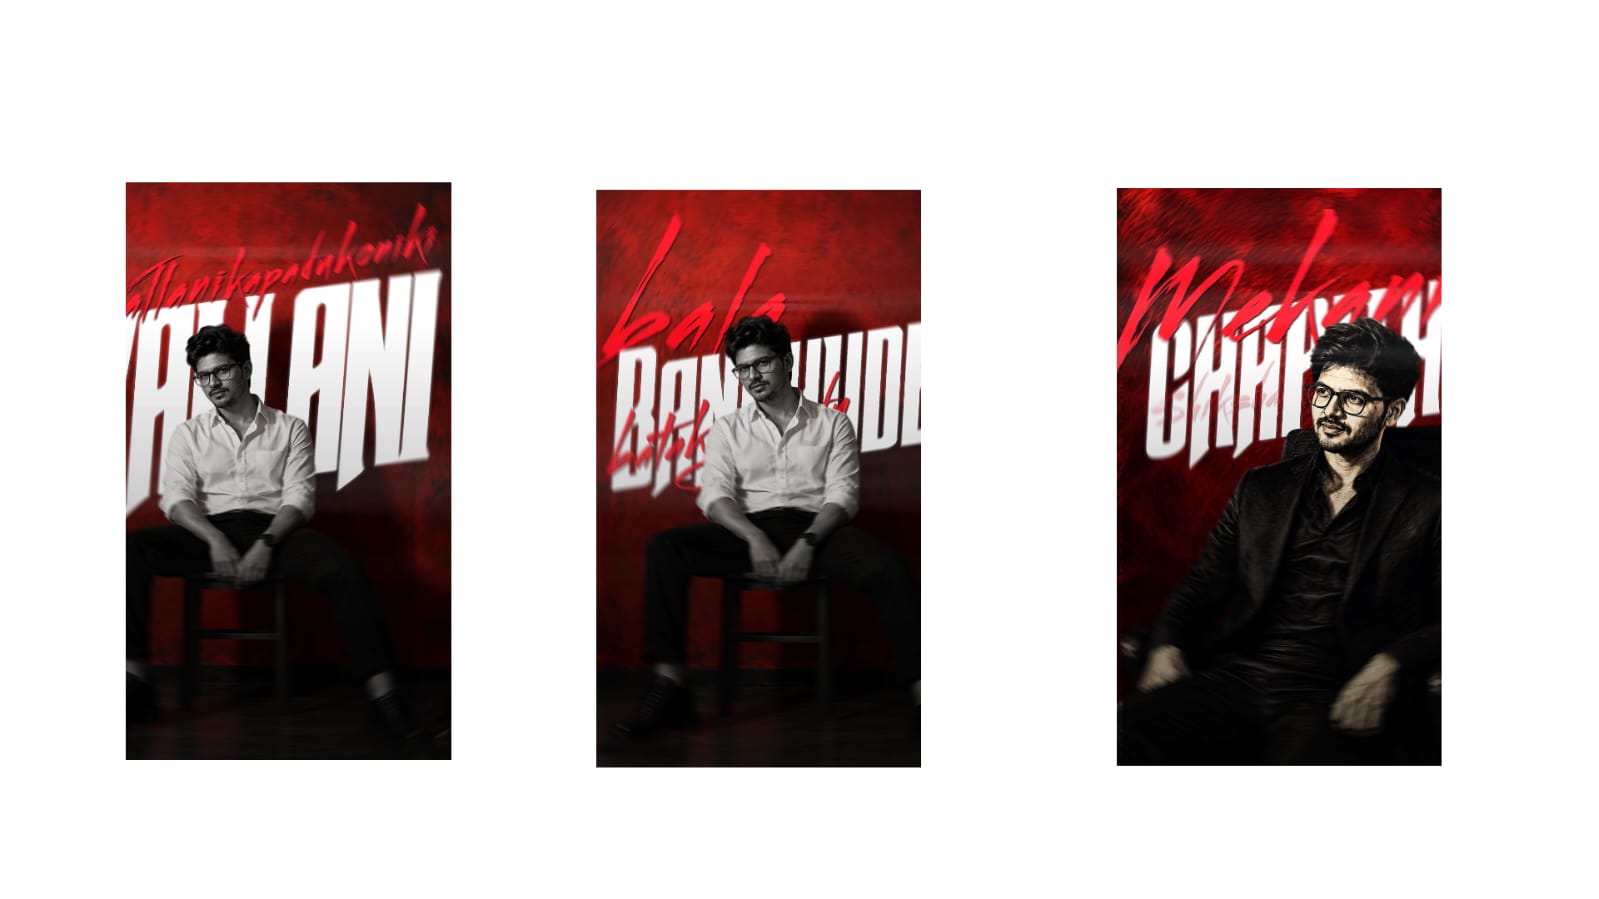
“How to create these typography videos. Do you also want a voice like mine? Hey, I am Faizan, a video editor. Just like mine, this video is very, very trendy, and today we are going to learn how to make it. Look, a lot of people are showing how to make these kinds of videos using AI tools—how you can create these kinds of typography videos. Yes, you can also make them; it will take a little less effort and time, but bringing that personality and quality is not possible with AI. That is why today we are going to learn how to make typography videos completely from scratch. Look, I know it will take time, but 9 to 10 minutes of time isn’t too much. However, the personality and quality that will come into your video is something you won’t find anywhere else. And seriously, once you learn how to make it, it will take even less time here than it takes to make it with AI.
So I won’t waste too much time on intros and things; I will take you straight to the mobile screen, and there I will tell you about the complete editing. First, there are a few points here that I should give you a small example of. Look, the very first task is that you should have some stylish text and fonts because the name typography is given precisely because you need to have stylish text, right? Only then will it become typography. And where will you find all of this? I will tell you later in the video; you can check the description. And the second thing, brother, is the script, topic, and voice. Look, these three things matter. Look here, you can write the script yourself or you can have an AI write it. As for the topic, you have to find that with your own mind—which category you want to make it on, tech category, or motivational, or whatever topics there are, you understand, right? And about the voice, what kind of voice should be in the background—your real voice or an AI voice? Moving forward, I am going to tell you all the methods here. If you want to use your real voice, then speak just like I am speaking, but the personality and quality should be a little good, even better than mine. But if you want to use an AI voice that is currently trending, I will tell you later how to generate it. Along with that, if you don’t know how to write a script, I will tell you that too. First, watch this video ahead. So now look, we have come to our mobile screen, and here, first of all, what do we need to do? We need to get a script written, so I will open my chat and here I will tell you step-by-step.
let me write 15 seconds here because I am only going to make that much. I have written: give me a script in Hindi for a 15-second reel, which should contain something like ‘what things to keep in mind before uploading reels on Instagram’. So basically, I want to ask for a script for my background voice here, and it’s for 15 seconds because I don’t want to use my real voice here in my typography videos; I am going to have it made by AI. Now look, if you have had a script written by ChatGPT or any AI tool, copy it and go to your mobile’s notes. What do you need to do here? In the script you have written, wherever there are spaces, or ‘@’ symbols, or commas, remove all of them, and add the ‘@’ symbols according to your preference. That means add a comma or an ‘@’ symbol after every line according to your needs. There should be no spaces anywhere in the text, and I will just copy it. Now, to create and generate that professional, high-quality AI voice that is currently trending, I will go to Google Chrome and type ‘ElevenLabs’. You see, this gives a very realistic voice; everyone is using this to make them, which is why I am telling you. Go to ElevenLabs and create your account. I had already made one, so I will just click on sign up and log in. Now you can see here, where will we find the option for the voice and the script we copied? When you come to the homepage of ElevenLabs,
look above, near the home icon in the corner, there is an option—go there. You will easily see the text-to-speech option there, text-to-speech, so go there. Now this becomes even easier, I will show you. You have already copied the script there, meaning the one we got made by ChatGPT. What you need to do is copy the script and paste it here. Well, brother, now I feel like it only generated a single line here and stopped. Wait, let me try cutting it once; maybe it is visible above, the lines and all. It is only giving a single line here. One thing is written here, let me leave it. Below, ‘Add Speaker’ is written here. I will just go to Add Speaker, and look here, yes brother, now I will cut the upper one because it is of no use there. In the Add Speaker option below, you need to put your script. After that, look here, you get the trending voice character here—well, you won’t just get it, you will have to search for it. So I will just go here, and now look, the voice character that most people are using is Vonty. You can write V-O-N-T-Y like this, and you will find this one. I had already added this voice character, so you can add it, and after that, click on the generate speech option here. Look, there is one thing: you are given credits in this, you should probably already know this, but if you don’t, let me tell you. Look, credits are given in this, I am telling you beforehand because you cannot make a voice here without credits, otherwise you will complain to me later in the comments like this or that, brother, which is why I am telling you beforehand. So I had some credits left, which is why I generated a voice here. ‘Before this, remember these five things, the first video always…’
So maximum, I had around 200 credits or something like that, so I generated it. Now I will just come back. It’s time for editing. For editing, we go to our Alight Motion. Look, you generate a professional, high-quality voice code from ElevenLabs, and after that, we are going to learn editing from Alight Motion because we can easily customize a lot of text transitions, animations, and things in Alight Motion. And anyway, most of our channel’s users are perfect in Alight Motion. So I will just open it. Now what to do? Open Alight Motion here, go to the plus icon, and after that, this size here, the 16:9 one, I will select that. Any color in the background for now, and just create project. So first of all, we will learn how to customize the background color. Go to the plus icon and take any rectangle shape. For example, I have taken this one. Now I will go to edit shape and fill it to full screen using the X and Y options. You have done this task. Now we need to customize the color, so go to color and fill, and here you get a lot of colors. But the gradient one, if you want to apply your favorite gradient color here, you can go to gradient and apply your favorite color. I find this one the best because this color is being used the most in typography videos, as everything gets highlighted really well in it. Now the next step is the audio. I will go to the plus icon, go to audio, and take the audio we got from ElevenLabs here. If you have edited it anywhere, you will find it right here. After adding the audio, the timeline of the layer of the rectangle shape you placed should be exactly the same length as your audio. This is the end, and this is the starting part. So now what do we need to do? Suppose you play your audio here and check it. When you play your audio, the text that is written there…
yes, whatever is spoken in the audio, we need to write some text according to that, and we need to animate some stickers according to that. So the first task is, ‘Instagram’ is spoken in this, so I have an Instagram PNG, so I have just taken it here. Now coming to move and transform, I will make it a little bigger, zoom in, and hide it completely from the screen. Again, I will go here, add a keyframe, let me check the timing of its layer first. The first line, meaning our first intro, is only going to be up to here. So you put a beatmark at every intro part in the audio according to your audio. Now I will go to move and transform, look here, I will add a keyframe, and the logo that was inside the screen, I will bring it a little to the center, bring it outside the screen. After that, go to rotate, give a keyframe here, just go to this position where we gave it earlier, and rotate it a bit. Now look, we also have to give a little curve here. Go to the center of the keyframe you applied, and here go to curve. Applying a curve makes the animation a little slow and fast, which looks nice. Here, ‘Instagram’ is spoken in the audio, so here I will just go to text and write ‘Instagram’ because that is what is spoken in the audio. On the top side, you get the color—which color do you want to apply to your text here? Along with that, you also get the font. I will give you better sticker fonts on the TG channel. I applied the color and font to the text in the description, just go to move and transform, I will zoom in a bit because we need to highlight this first text really well on the screen. As for the rest around it, we will add the next text later. First, let me play my audio and check it, this one… so I played my audio, and the first line is spoken maximum up to here, so I timed the text layer up to that point.
Now we need to give an effect, so go to effect, go to add effect. There is an effect named ‘Fade In/Out’, and keep the opacity at 10s 10s in both in and out. Now what to do? Write some more text ahead, so go here, copy text, and duplicate the text. So what will happen is we won’t need to apply the animation again and again to this text. And look here, I will go to edit, let me check the effect here first, it’s quite fine, and just go to edit. Next, I will write the exact same thing that was spoken in the audio. So I have written here ‘reels dalne’ (to upload reels), and the font and all, whatever stylish one need
s to be applied… for now, I don’t want to do it in this, I have only changed the color here. Moving forward, we will see more and apply stylish fonts; for now, if we apply a stylish one in this part, it will look a bit wrong. This text, I have just placed it here. We will change the animation a bit in this, so again, I will come back, go to effect, go to add effect, and write ‘Text Spacing’. Through text spacing, the text will look a bit realistic and like an intro. So I gave a little space, maximum see here, first you have to give a little space in the text, and give a keyframe at the starting part of the layer, and move forward a bit. Then look here, make it exactly the size it was, do it carefully, there should be no mistake anywhere. So this task is done. So now look, this task is done here. Now look, where the word of the second text layer starts being spoken is also a very important point. So where the word is spoken, the text should start from right there, not ahead or behind from anywhere. Now the third layer is also going to come in this same intro, so I will copy this. The method to copy and duplicate has already been told, you can easily do it by clicking here. And in the last line, I will write ‘se pehle’ (before), meaning a complete intro will be created here: ‘Instagram reels dalne se pehle’ (Before uploading Instagram reels). Now look, the third text that I wrote, I will rotate it a bit and place it in the next style. If I place it below, it won’t look good, and text spacing is already applied, so look, the font is also exactly similar. If we had applied any other font to this, the text would have looked a bit off. If the color of the text isn’t exactly similar, make them different, then it looks quite good. So we created our first intro like this. Similarly, we are going to look at the upcoming intros. Look, this is also very important, where the first intro is being spoken up to… so maximum it is spoken up to here, so I will split and delete the rest of the text parts. Now the next line is going to come from here, so I will take a new text
here. It is spoken here ‘Five’, meaning five is spoken, so I will only write ‘Five’. I have only written five in this. Look, typography is a scene where you have to create your text in different ways according to your own preference. It doesn’t have to be line-by-line; you can put it anywhere above, anywhere below, anywhere in the center. The more animations and transitions you put into it, the more professional it will look. So now the ‘Five’ text that I wrote here, let me give a little animation to it. Go to move and transform, apply keyframes, and at the last part, I will also apply keyframes. Look at how I am giving animation to each of my texts, how I want to give it, and how I should demonstrate it for you. I am showing you a method here. By going to move and transform, you can give much better animations there. Now I will go to the part where the next line is spoken, here I will write the text. I have added a lot of stylish categories of fonts in my Alight Motion, so it is quite easy for me to make this. I just have to give transitions and animations, which I have already told you earlier. This is an effect named ‘Text Transform’, through which you can give much better animations, and I have already told you about text spacing because if I explain every setting, it will take a lot of time. As for the rest, I will create an XML project of the texts with different types of animations and give it on the Telegram channel. So what to do here? Look, the basic editing I am telling you now, I am trying to give a very good example in this. Now suppose there are some stickers that you might have seen, some animations… if you want to show a screen, show a mobile screen recording, or show a screenshot, you can go to the plus icon, go to media, and you can easily show it there. For example, through typography, I was telling the method of uploading an Instagram video, so look here, what a great screenshot I have placed. Now near it, meaning on its left or right, anywhere I will write some text, then it will become even easier. And similarly, a lot of stickers are available here. For example, there is this sticker… not this one, look, I will tell you another one. Look here, the arrow one, arrow icons come in very handy, so you can find them here.
And as for the rest of the stickers, I will give a lot of them along with the materials for you. And look here, there is another sticker. I will apply a yellow color to it, and I will show you how to give an animation to it so that it helps you later. I have taken a shape that looks like a star, applied the yellow color, and along with that, I will go to move and transform, zoom in a bit, and bring it by swiping up to this bottom corner. Now look, I will go to rotate and apply a keyframe at the starting part of the layer, go to its ending part, and rotate it. Then what will happen is it will start spinning in circles, just like you saw. Now I will duplicate this and place it on the upper side. So now look here, look at the screen, how great it looks, meaning absolutely amazing, right? And if you write some text in the middle, it will be even better. So in this way, making stickers and animations in typography reels is very easy in Alight Motion, brother, to make all of this. So I have told you the method of doing this basic editing. Give time to it, learn it, and you can make it much better. If there is any other doubt, definitely let me know in the comment box.”