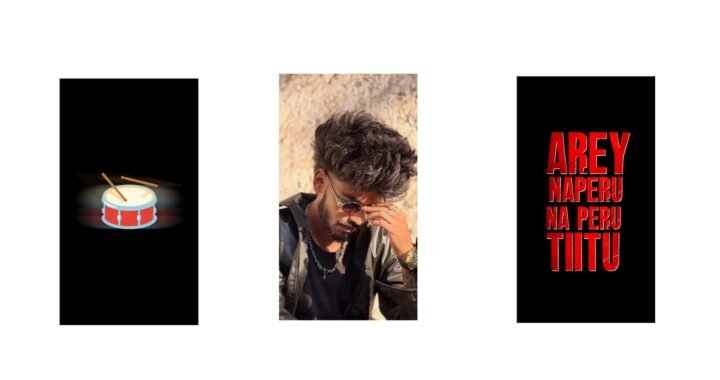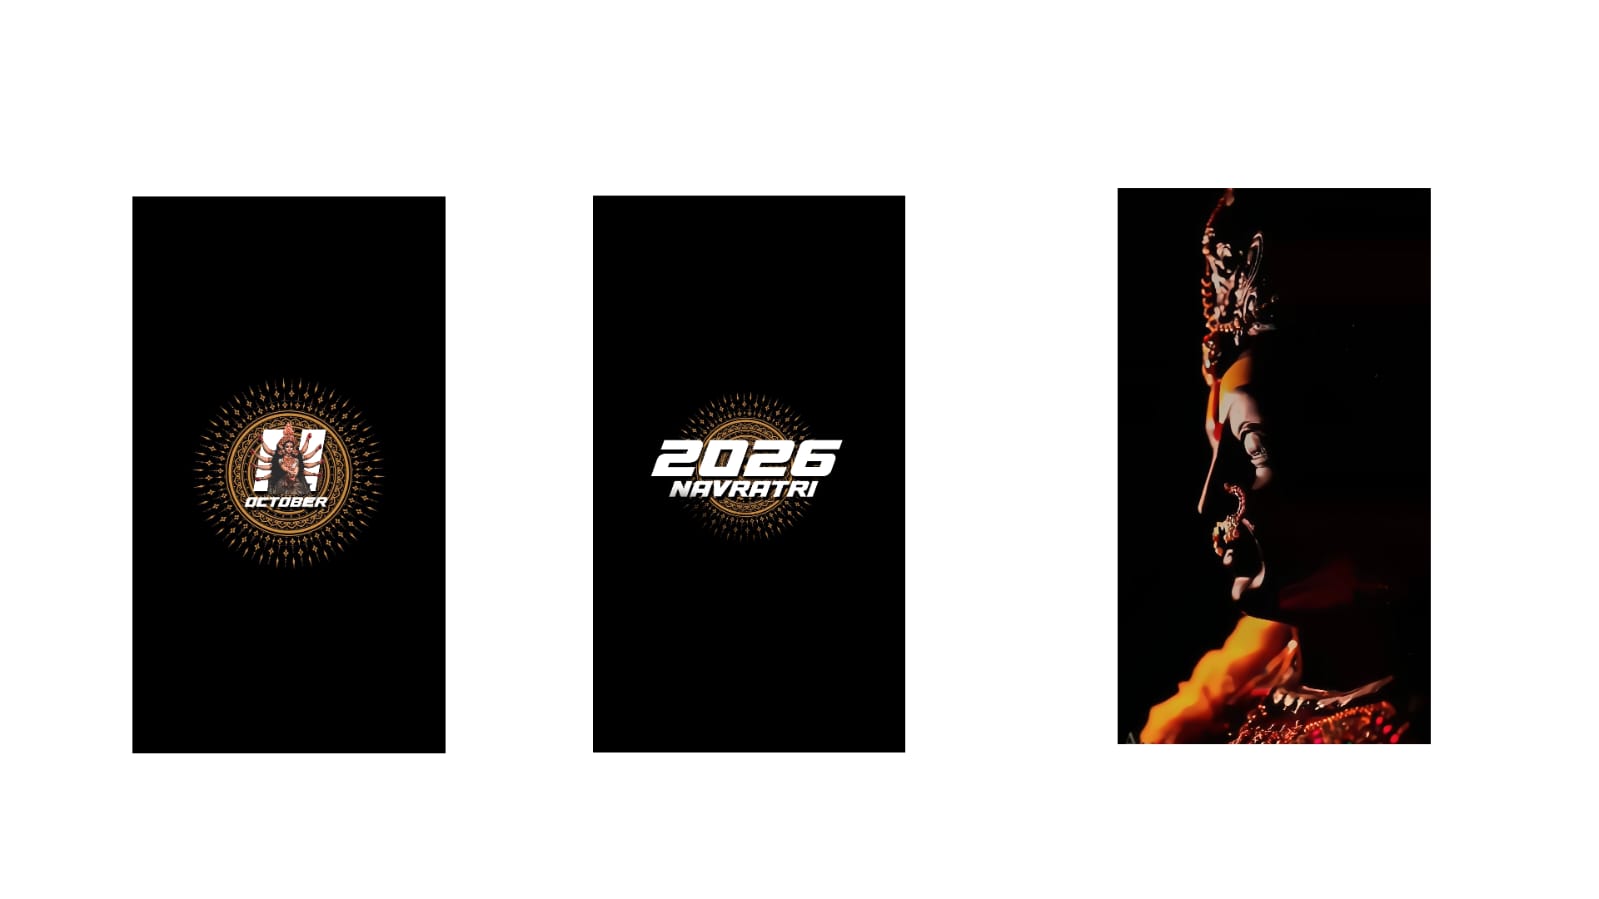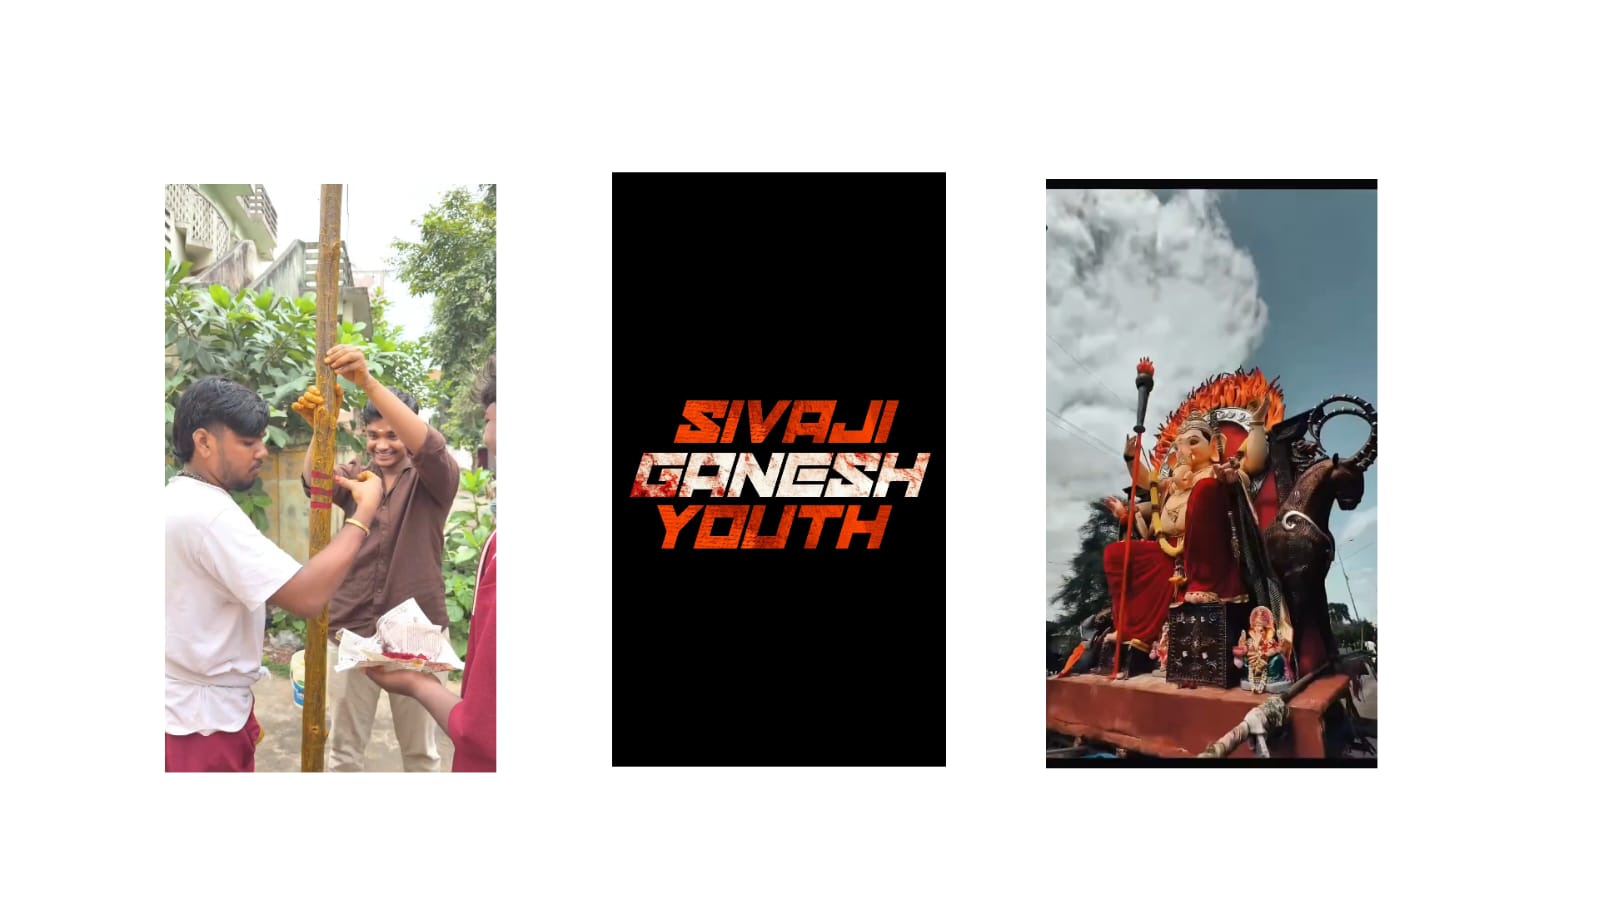
First, take a look at this video. A lot of people have requested me to make a tutorial on this video, especially many who reached out just today. I really liked how it turned out, so let’s make it simple. I will show you a side-by-side demo of what I created; if you like it, please try it out and give it a like. Please support me by leaving a comment on how you felt about it, and just one like from you means a lot. If I start explaining everything from the very beginning, the video length will become too long. Therefore, I will provide you with the project file. Before that, since I have used a total of three fonts in this project, I have also provided those font materials in the description. You can use the XML file without any problem, and it will help you get the required materials.
I am showing you the materials here, which include the PNGs, full photos, and particle videos. First, let’s add the fonts. Select the plus icon at the bottom, and instead of jumping into the project details, go to the text section, type something, click on ‘Roboto Regular’ at the top, select ‘View all fonts’, click on the three lines, and select the ‘Import Fonts’ option. Navigate to the folder where your fonts are stored—I keep mine in a separate folder to make searching easier—select them, and click import. Make sure to check the favorite imported option. Now, when you return and open the project, you won’t get any font missing errors. Remember to add the fonts before opening the project, as doing it afterward won’t work. This is how the starting interface will look. I planned to replicate that video exactly, and I have managed to do that. If you still face a font missing error, you can simply change it to any other font you prefer. Now, let’s look at something important. I have provided a specific prompt in the video description. Copy that prompt from there. After that, open Gemini, upload your photo, paste the prompt, and within a minute or two, your photo will be generated with a nice sketch-like look.
Most of the photos here were created this way, and they look great. If you don’t have the Alight Motion app, search for it on my Telegram channel to find and install it, then log in to use the template. Now, refresh at least one base photo at the bottom through the ‘Color and Fill’ option, and adjust its position using your fingers if it doesn’t align perfectly. Scrolling down, you will see an Arjun Reddy title card; you can keep it or remove it as you choose. Further down, there is a butterfly video which I have hidden for now since it is only needed at the end. To start adding your photos, click the plus icon, go to media, select the photo you created earlier, and place it. You can use the blending option, and to send the photo to the background so the text appears clearly in front, long-press the photo layer and drag it down. To create a smooth look, I added an ink effect with a fade-in animation, which looks really good and is simple to do. If you have an ink effect video, add it, fast-forward it to match the timing, trim the extra part, and zoom in slightly.
Then go to effects, select ‘Chroma Key’, apply standard settings, choose the white color, select both the photo and the effect layer, and click the center option to generate the fade animation. You can then blend it seamlessly. You can add every single photo in the middle using this technique. There are also moon photos and couple PNGs available that you can place in between, positioning your photos over them. The animation is minimal and very simple, so continue the process through to the end and export your final video. If you have any doubts, feel free to leave a comment.
Full Project
XML file
Song link